Mandible Chair
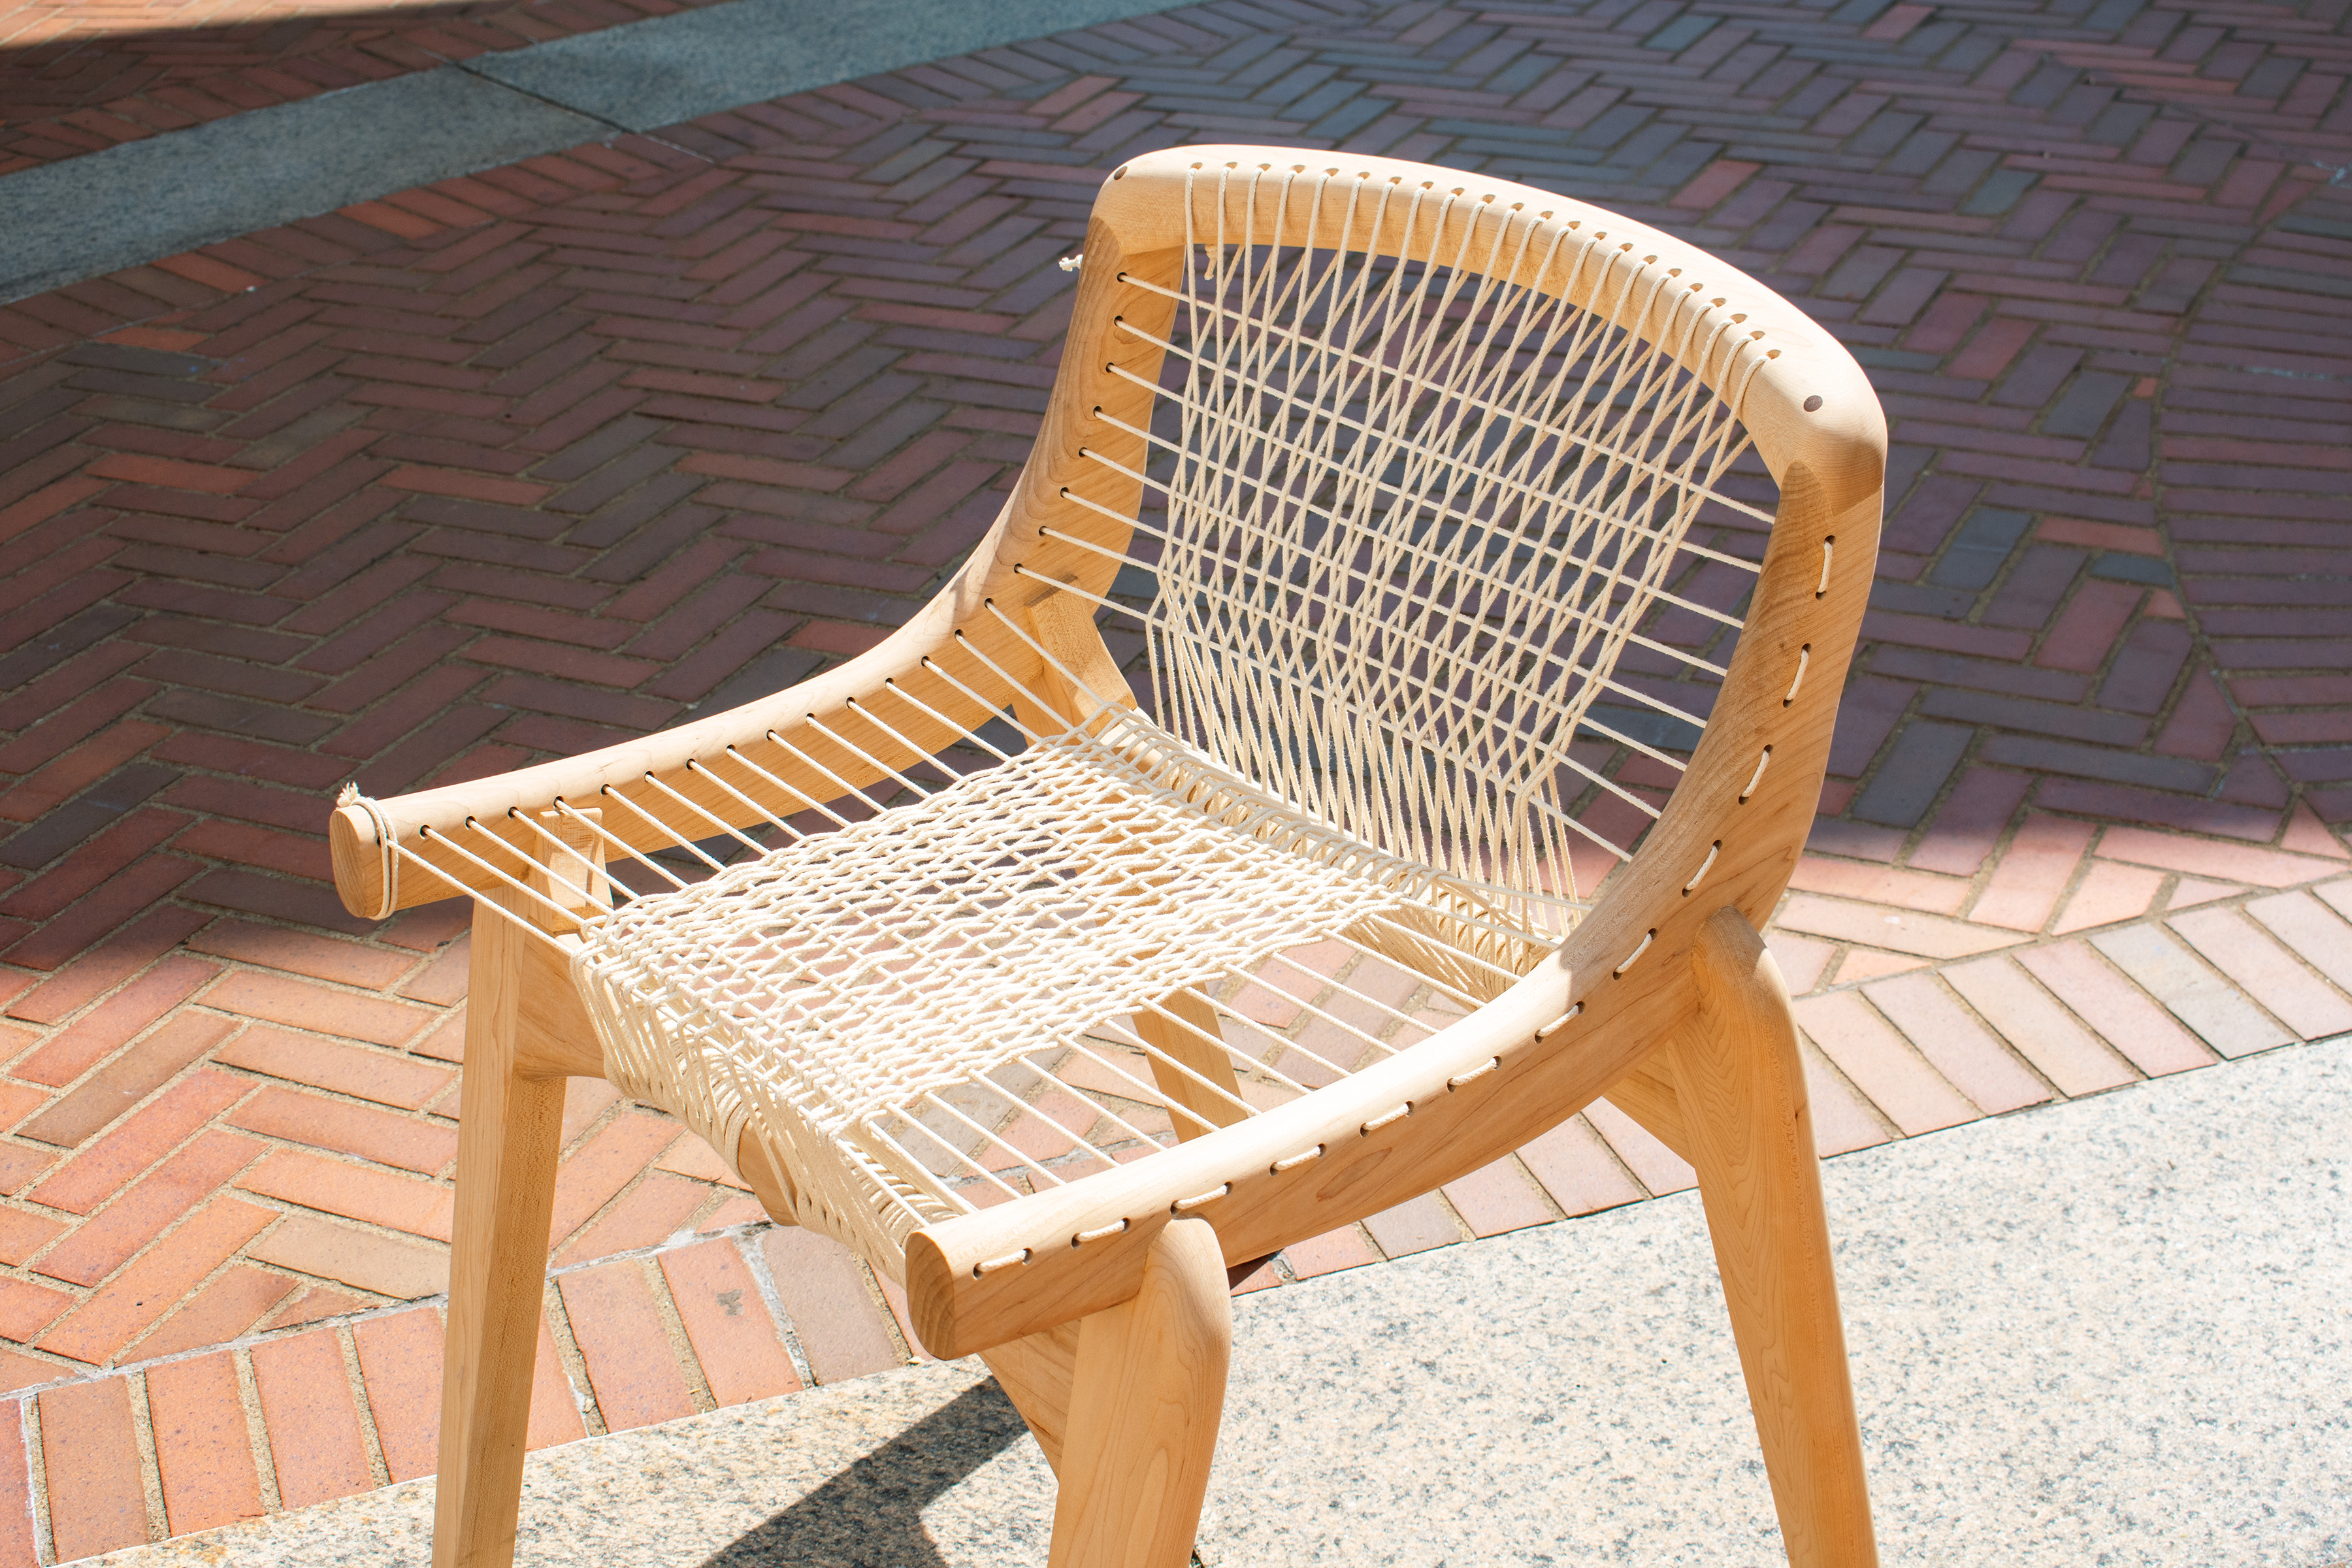
Furniture ProjectDesigning and fabricating a maple hardwood chair with a sash cord seat
Tools
CNC Router
Table Saw
Router Table
Handsaws
Chisels
Adobe Illustrator
Laser cutter


Process
Research
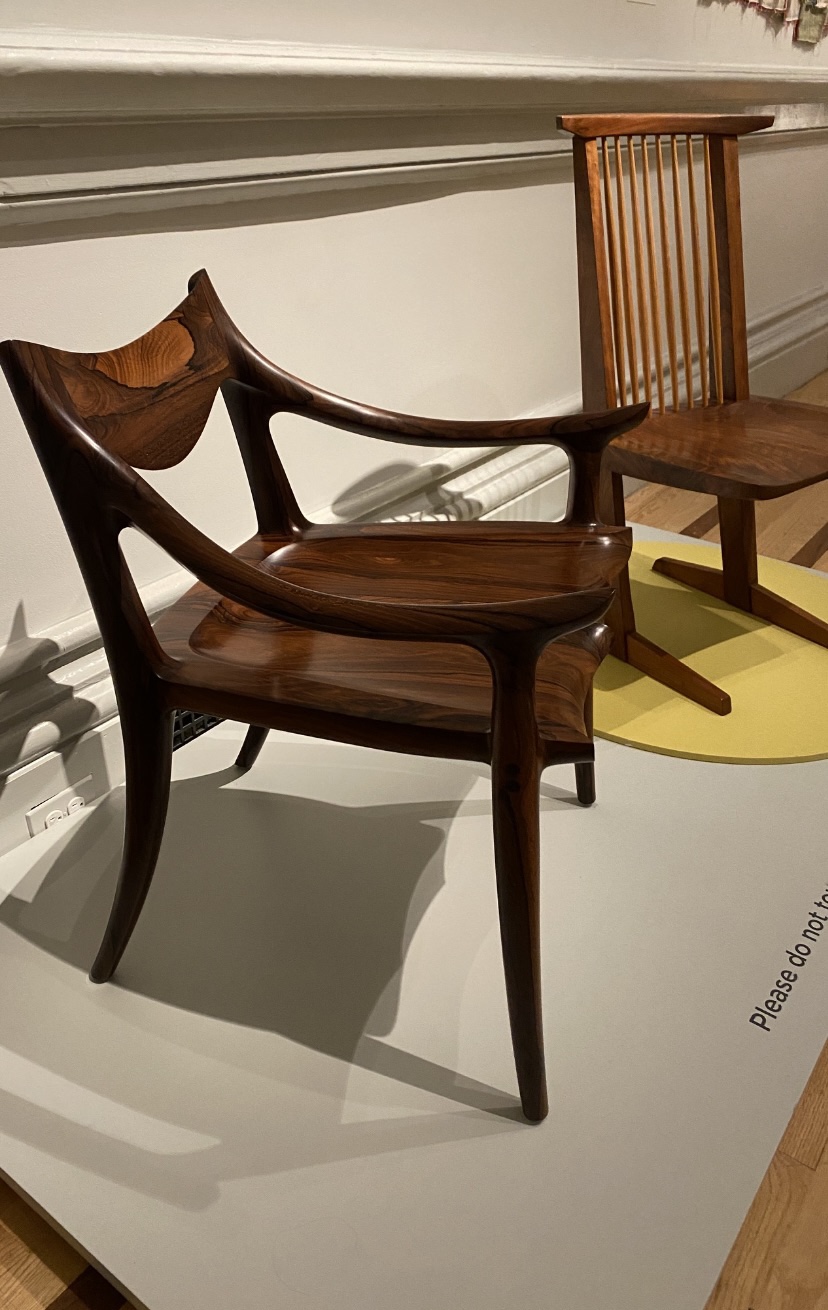
At the beginning of the project I visited the Carnegie Museum of Art to see the furniture collection.There is a nearby store called Construction Junction. I visited and sat in different chairs to figure out the dimensions I wanted for my chair.
Exploration
In the exploration phase, I sketched concepts for chairs based on what I had gathered during my research phase. During this phase I continued to collect chairs online. This allowed me to look at different weaving methods and the types of seats they formed. The seat’s shape and construction were prioritized in my process.
I wanted to create a frame that would support a certain type of seat. During this phase I discovered Jacques Guillon’s Cord Chair. This chair is great illustration of what I wanted to accomplish with this chair.
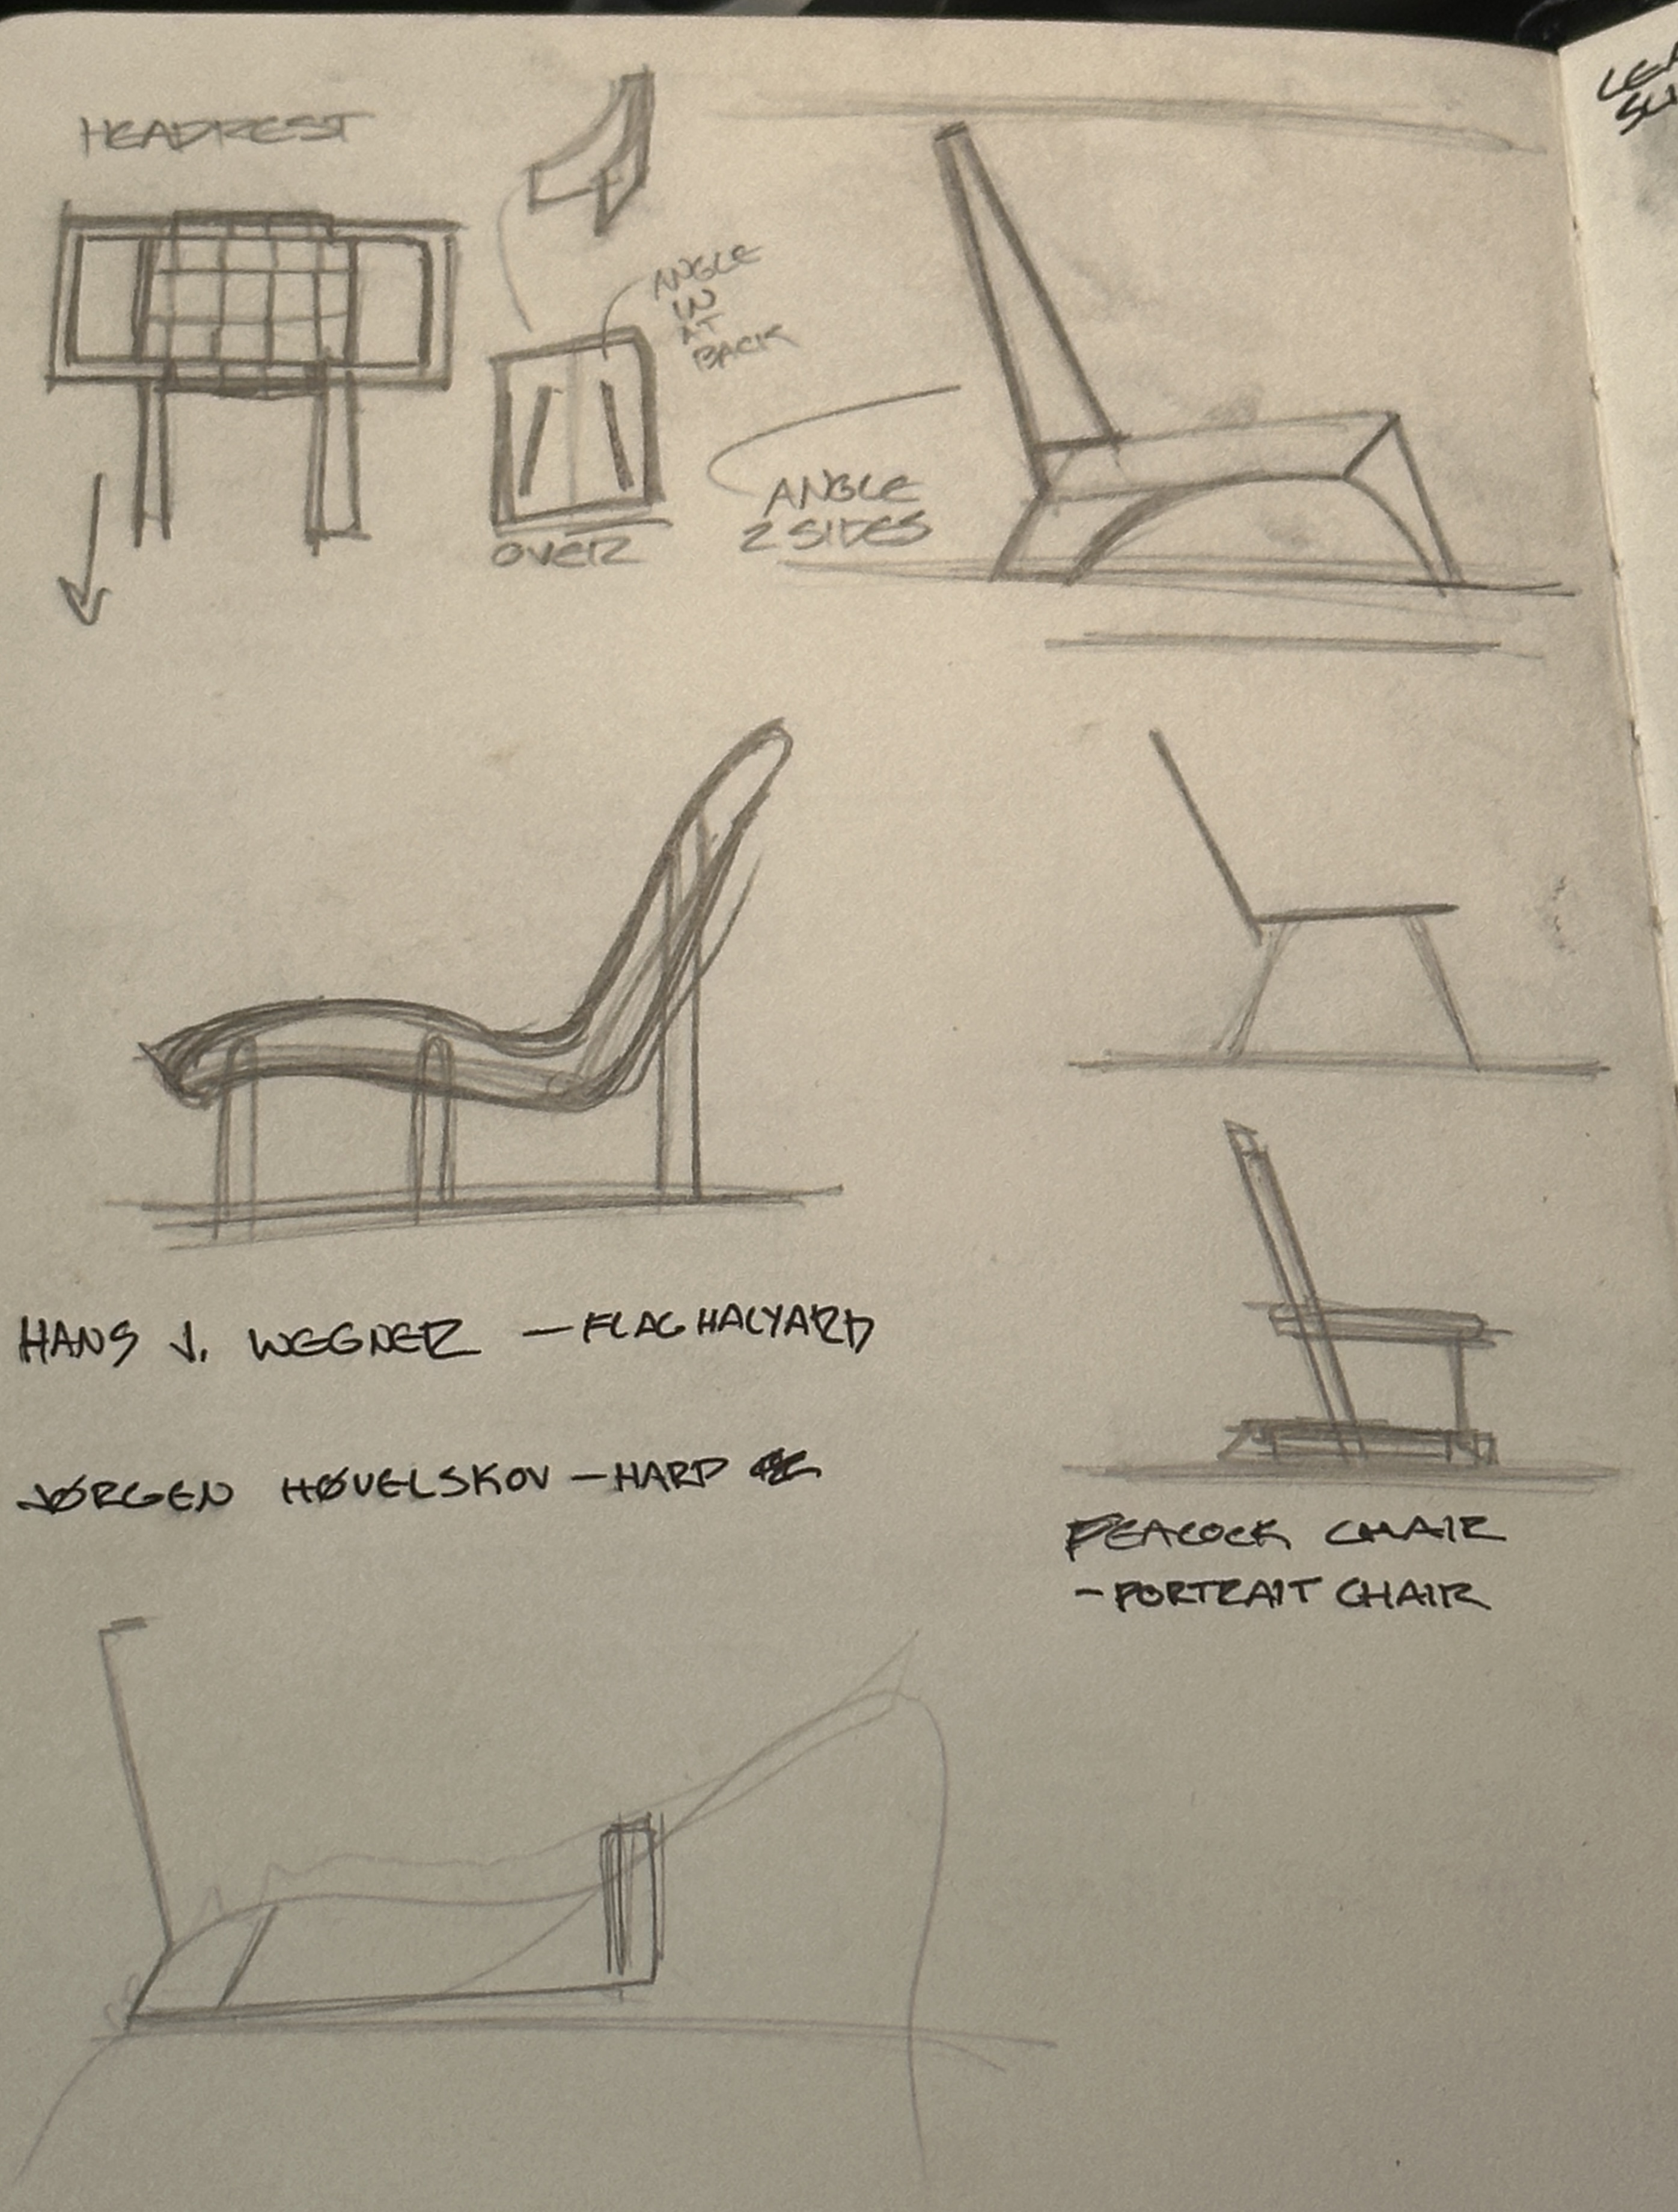
I began sketching with the cord seat concept in mind. At this point, I was very interested in creating a chair with a cord seat in which the person sitting has no physical contact with the wood.
Through sketching, I worked towards a concept for a chair with horizontal cord seat. At this point, I imagined the seat made with thick bungie cord strung across the frame. After using the CNC router last project + a conversation I had with my professor about mass production - I made the decision that I would try to utilize flat pieces that could be created with CNC and could potentially be flat packaged and assembled by the buyer.
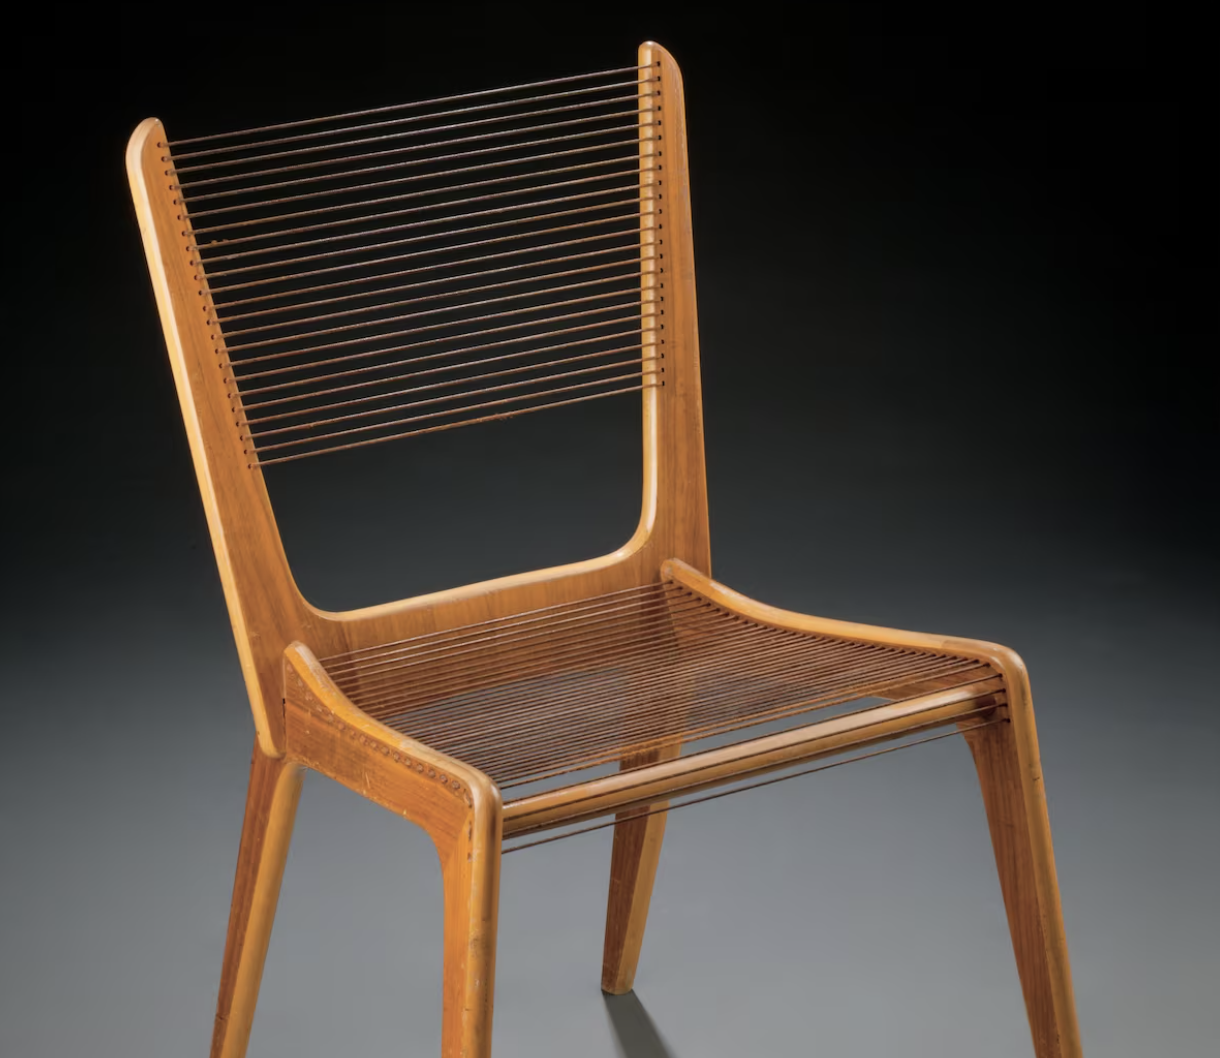
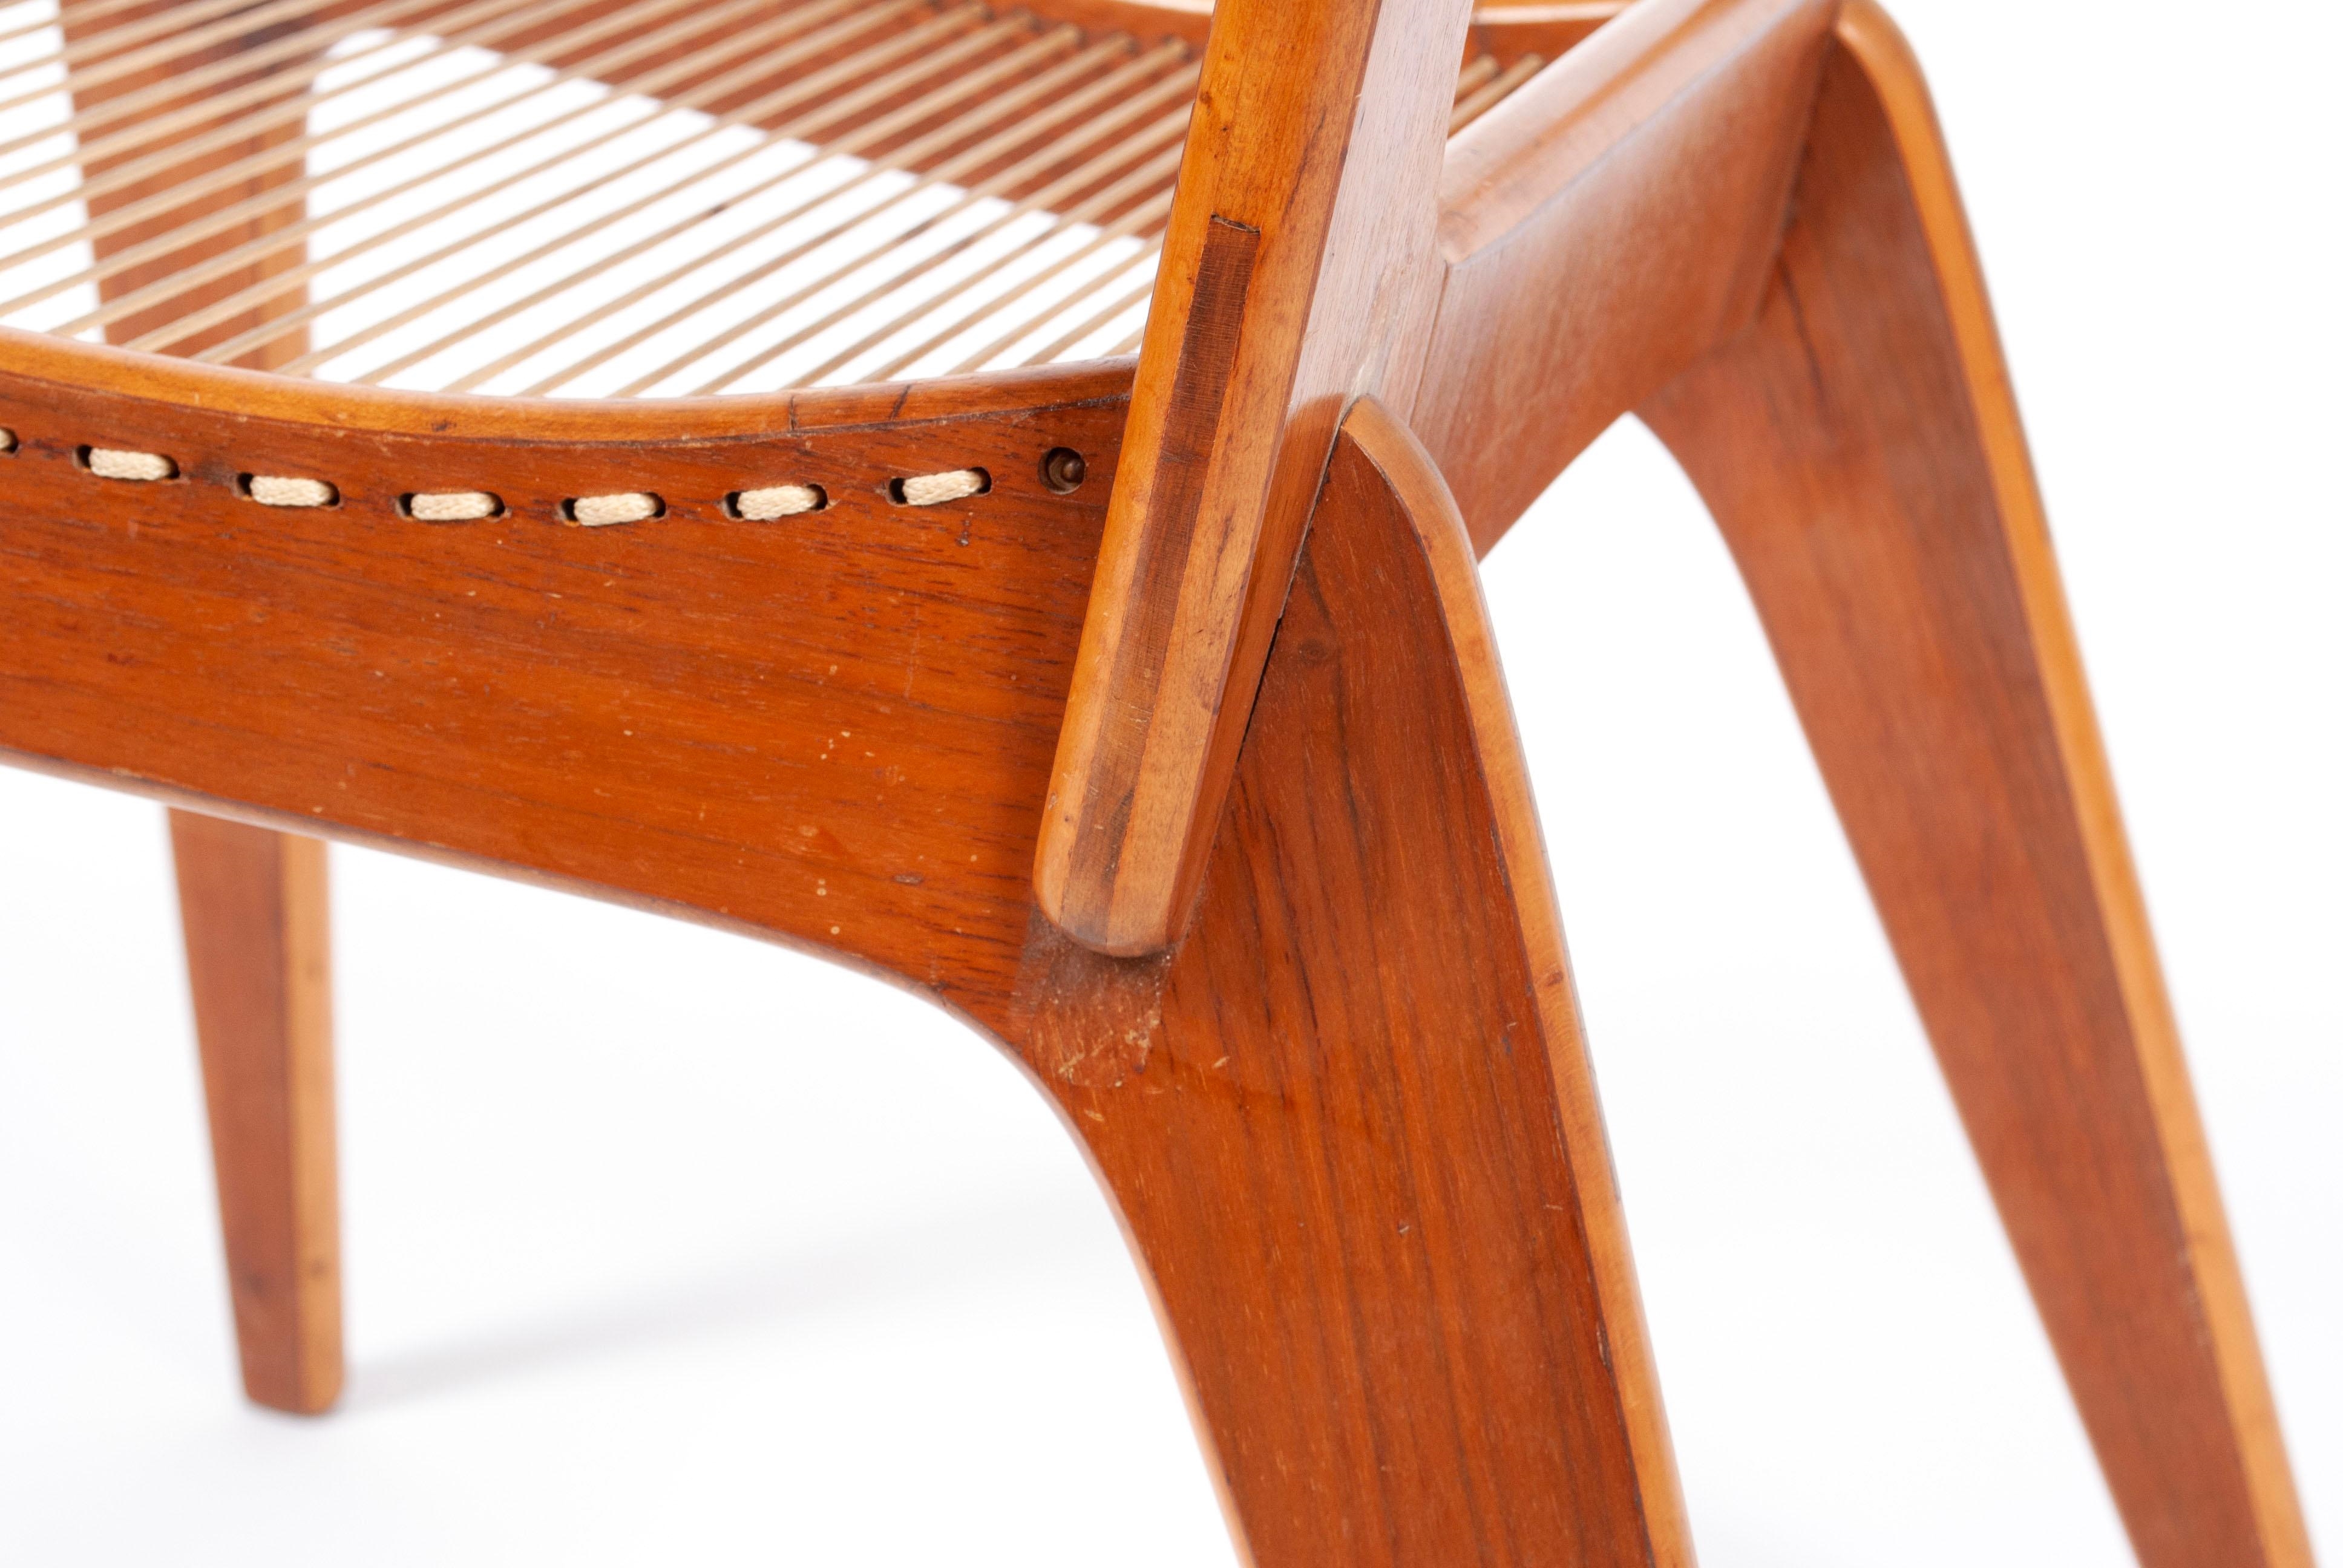
During this phase I discovered Jacques Guillon’s Cord Chair. This chair is great illustration of what I wanted to accomplish with this chair. I like the simple construction this chair and how it’s shape allows it to be flat packed and easily assembled.
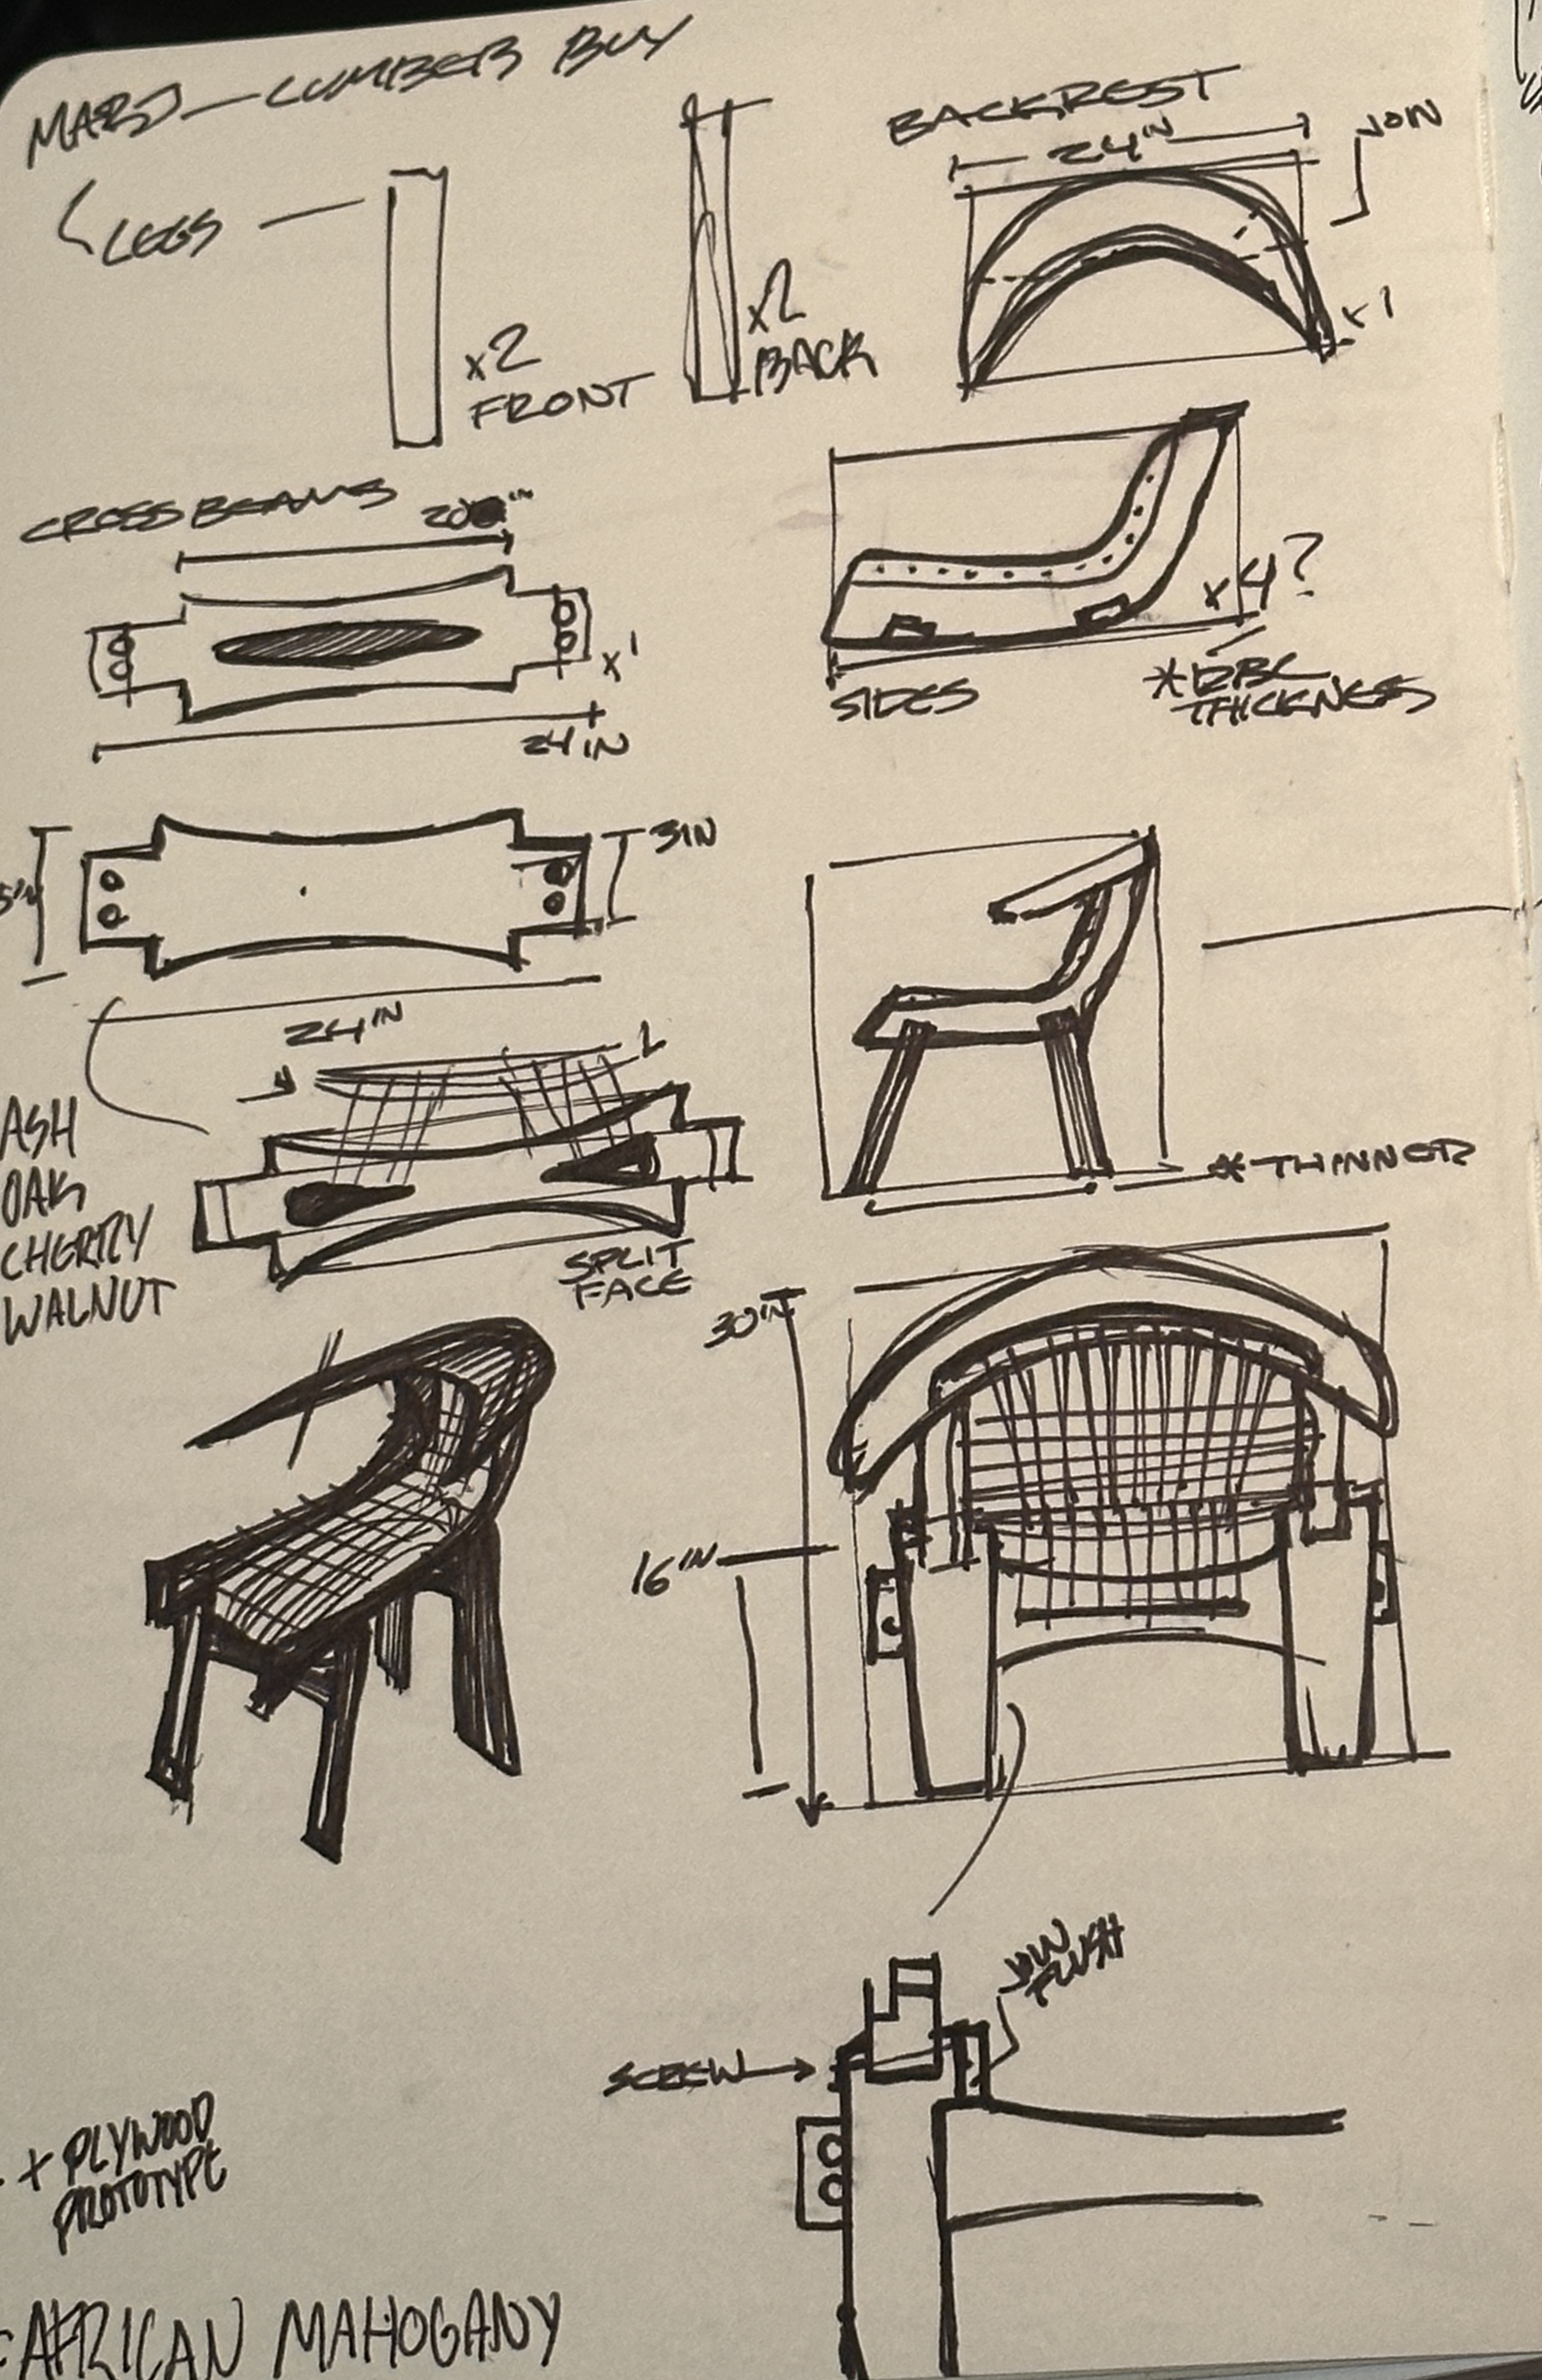
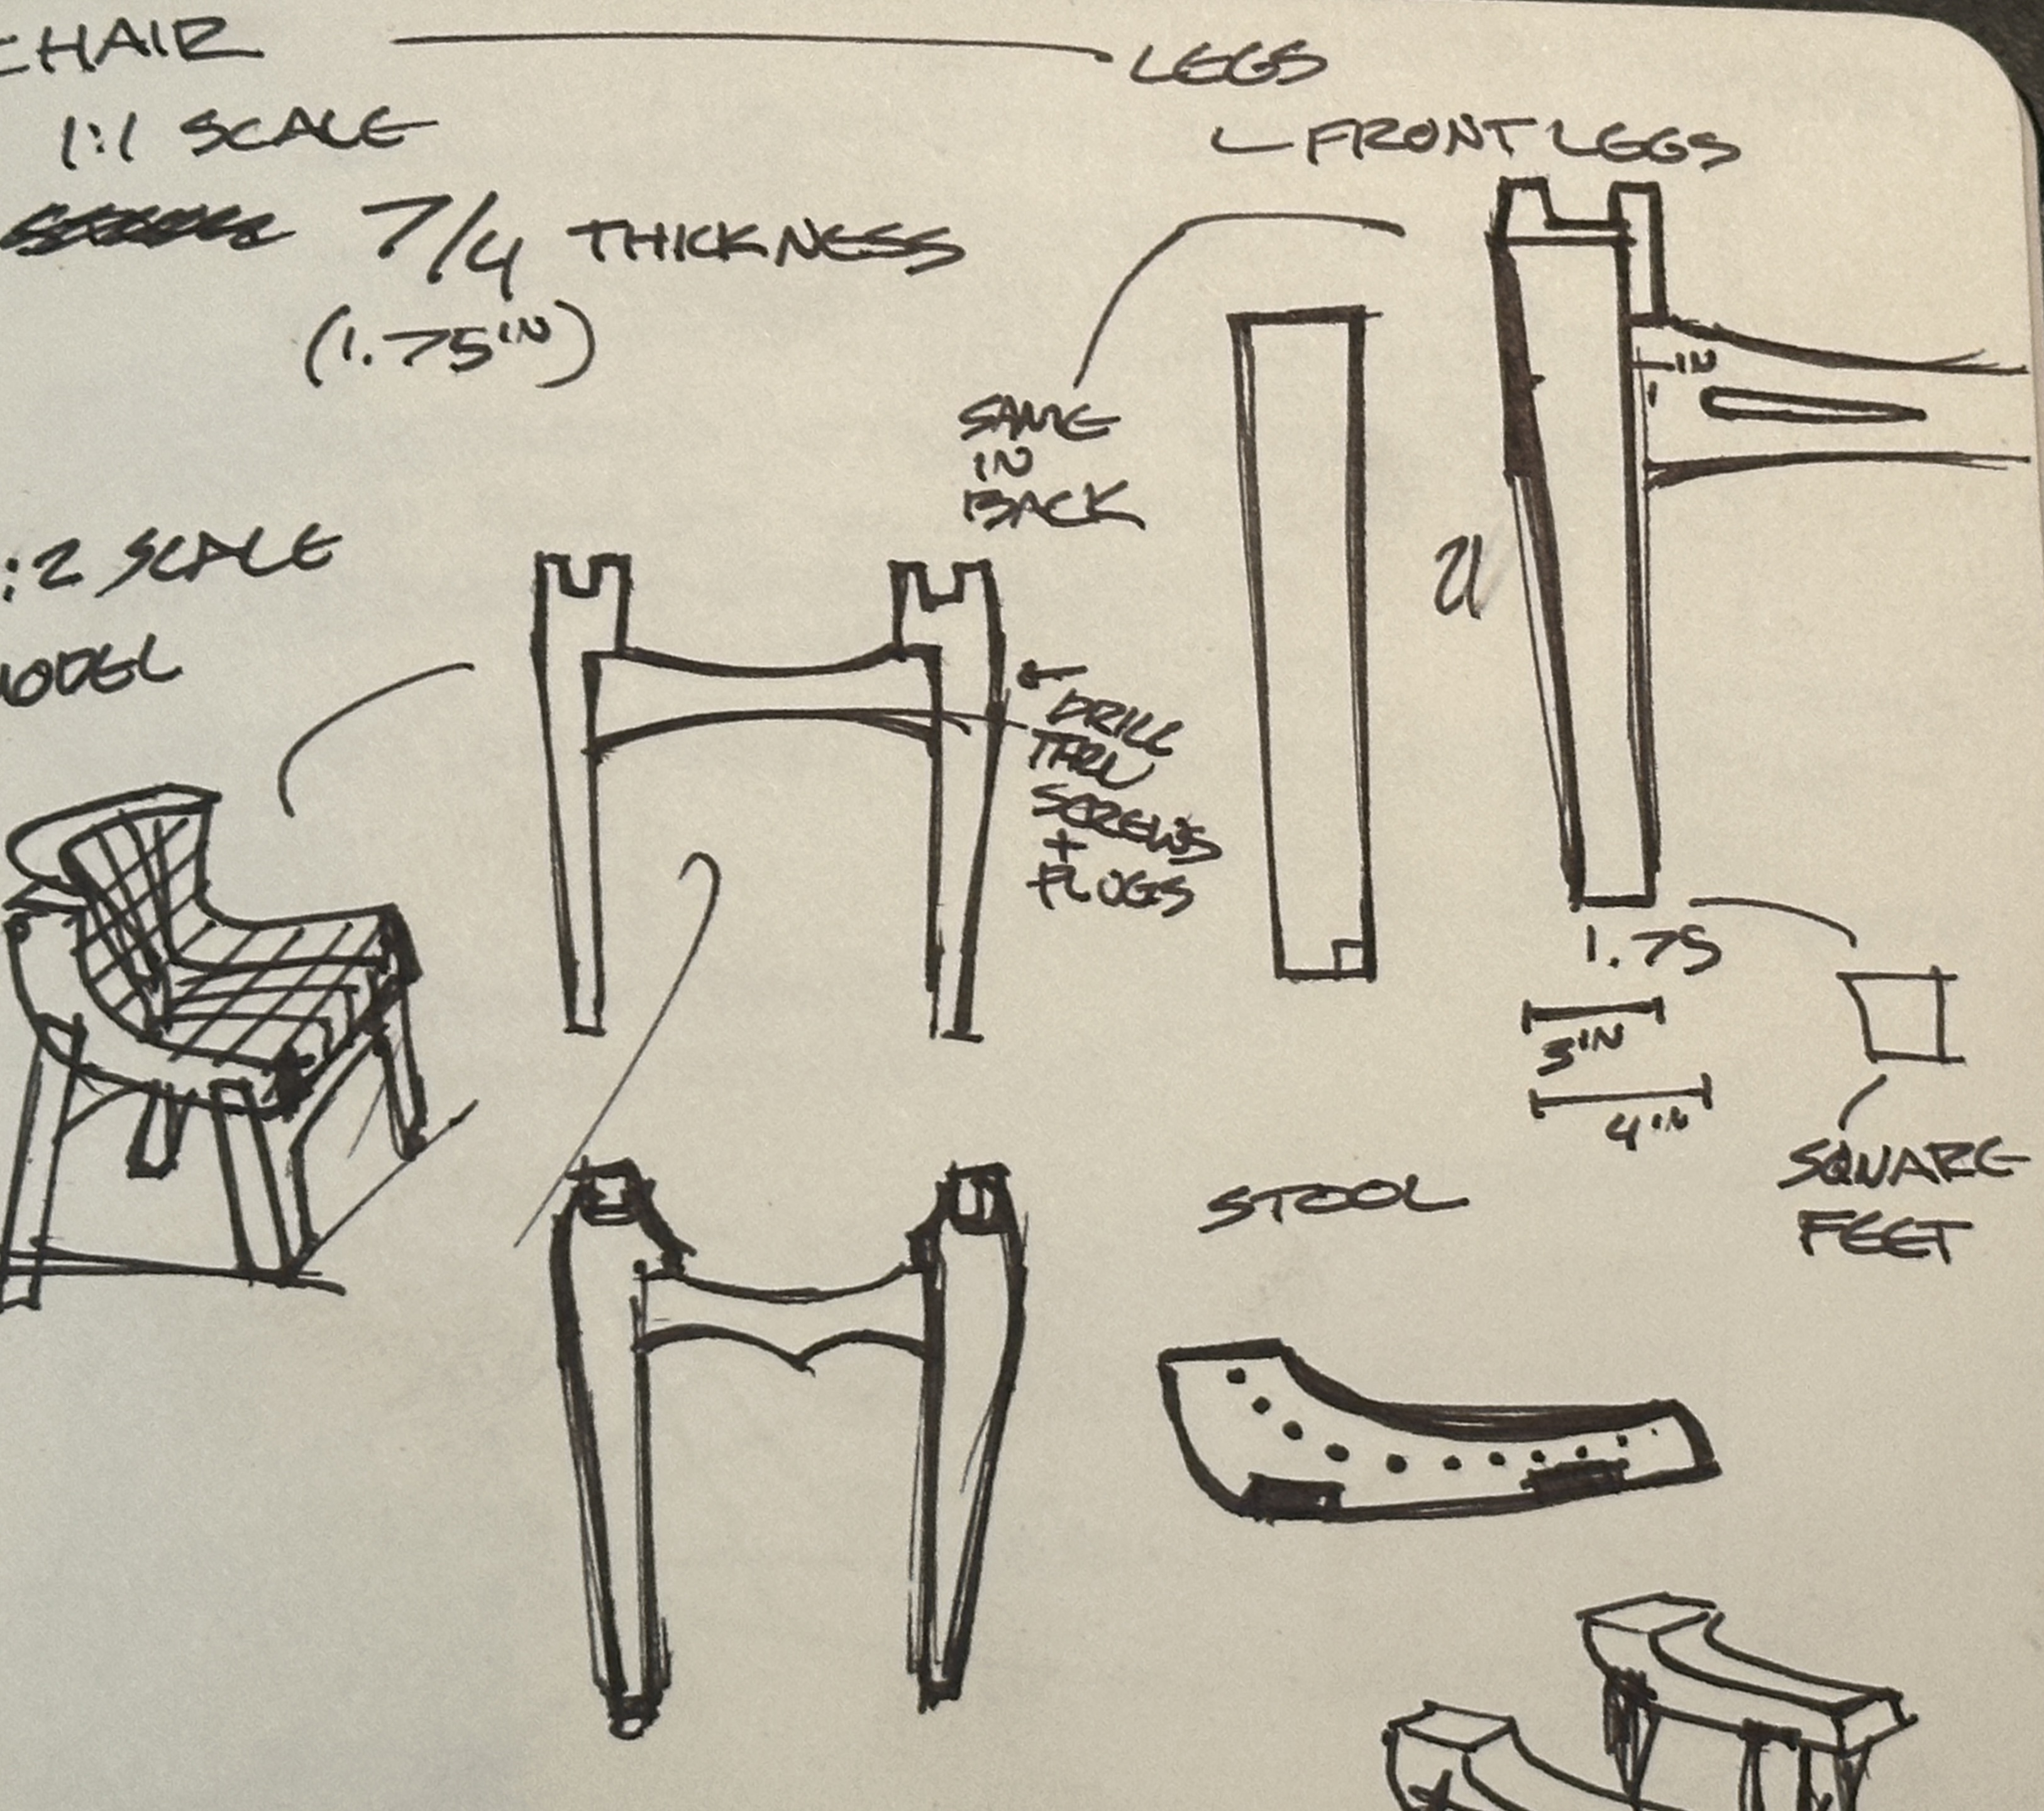
At this point, I felt like I had a solid understanding of what I wanted to accomplish while balancing an interesting set of design considerations. After a few more sketches I felt ready to create my first scale model.
My first model I made using Adobe Illustrator to create 2d versions of my seat components. Then using the laser cutter, I was able to create the pieces needed to assemble my chair at 1/4 scale out of chipboard.
I simplified the front and back legs to be one piece in order to save time. At this point I was also unsure of the joinery technique I planned to use to attach the left and right legs to a stretcher between them.
After the glue finished drying I began to create the seat of the chair using white thread. Very quickly I realized that I had made a mistake and created far too many holes. It was extremely difficult to weave accurately.
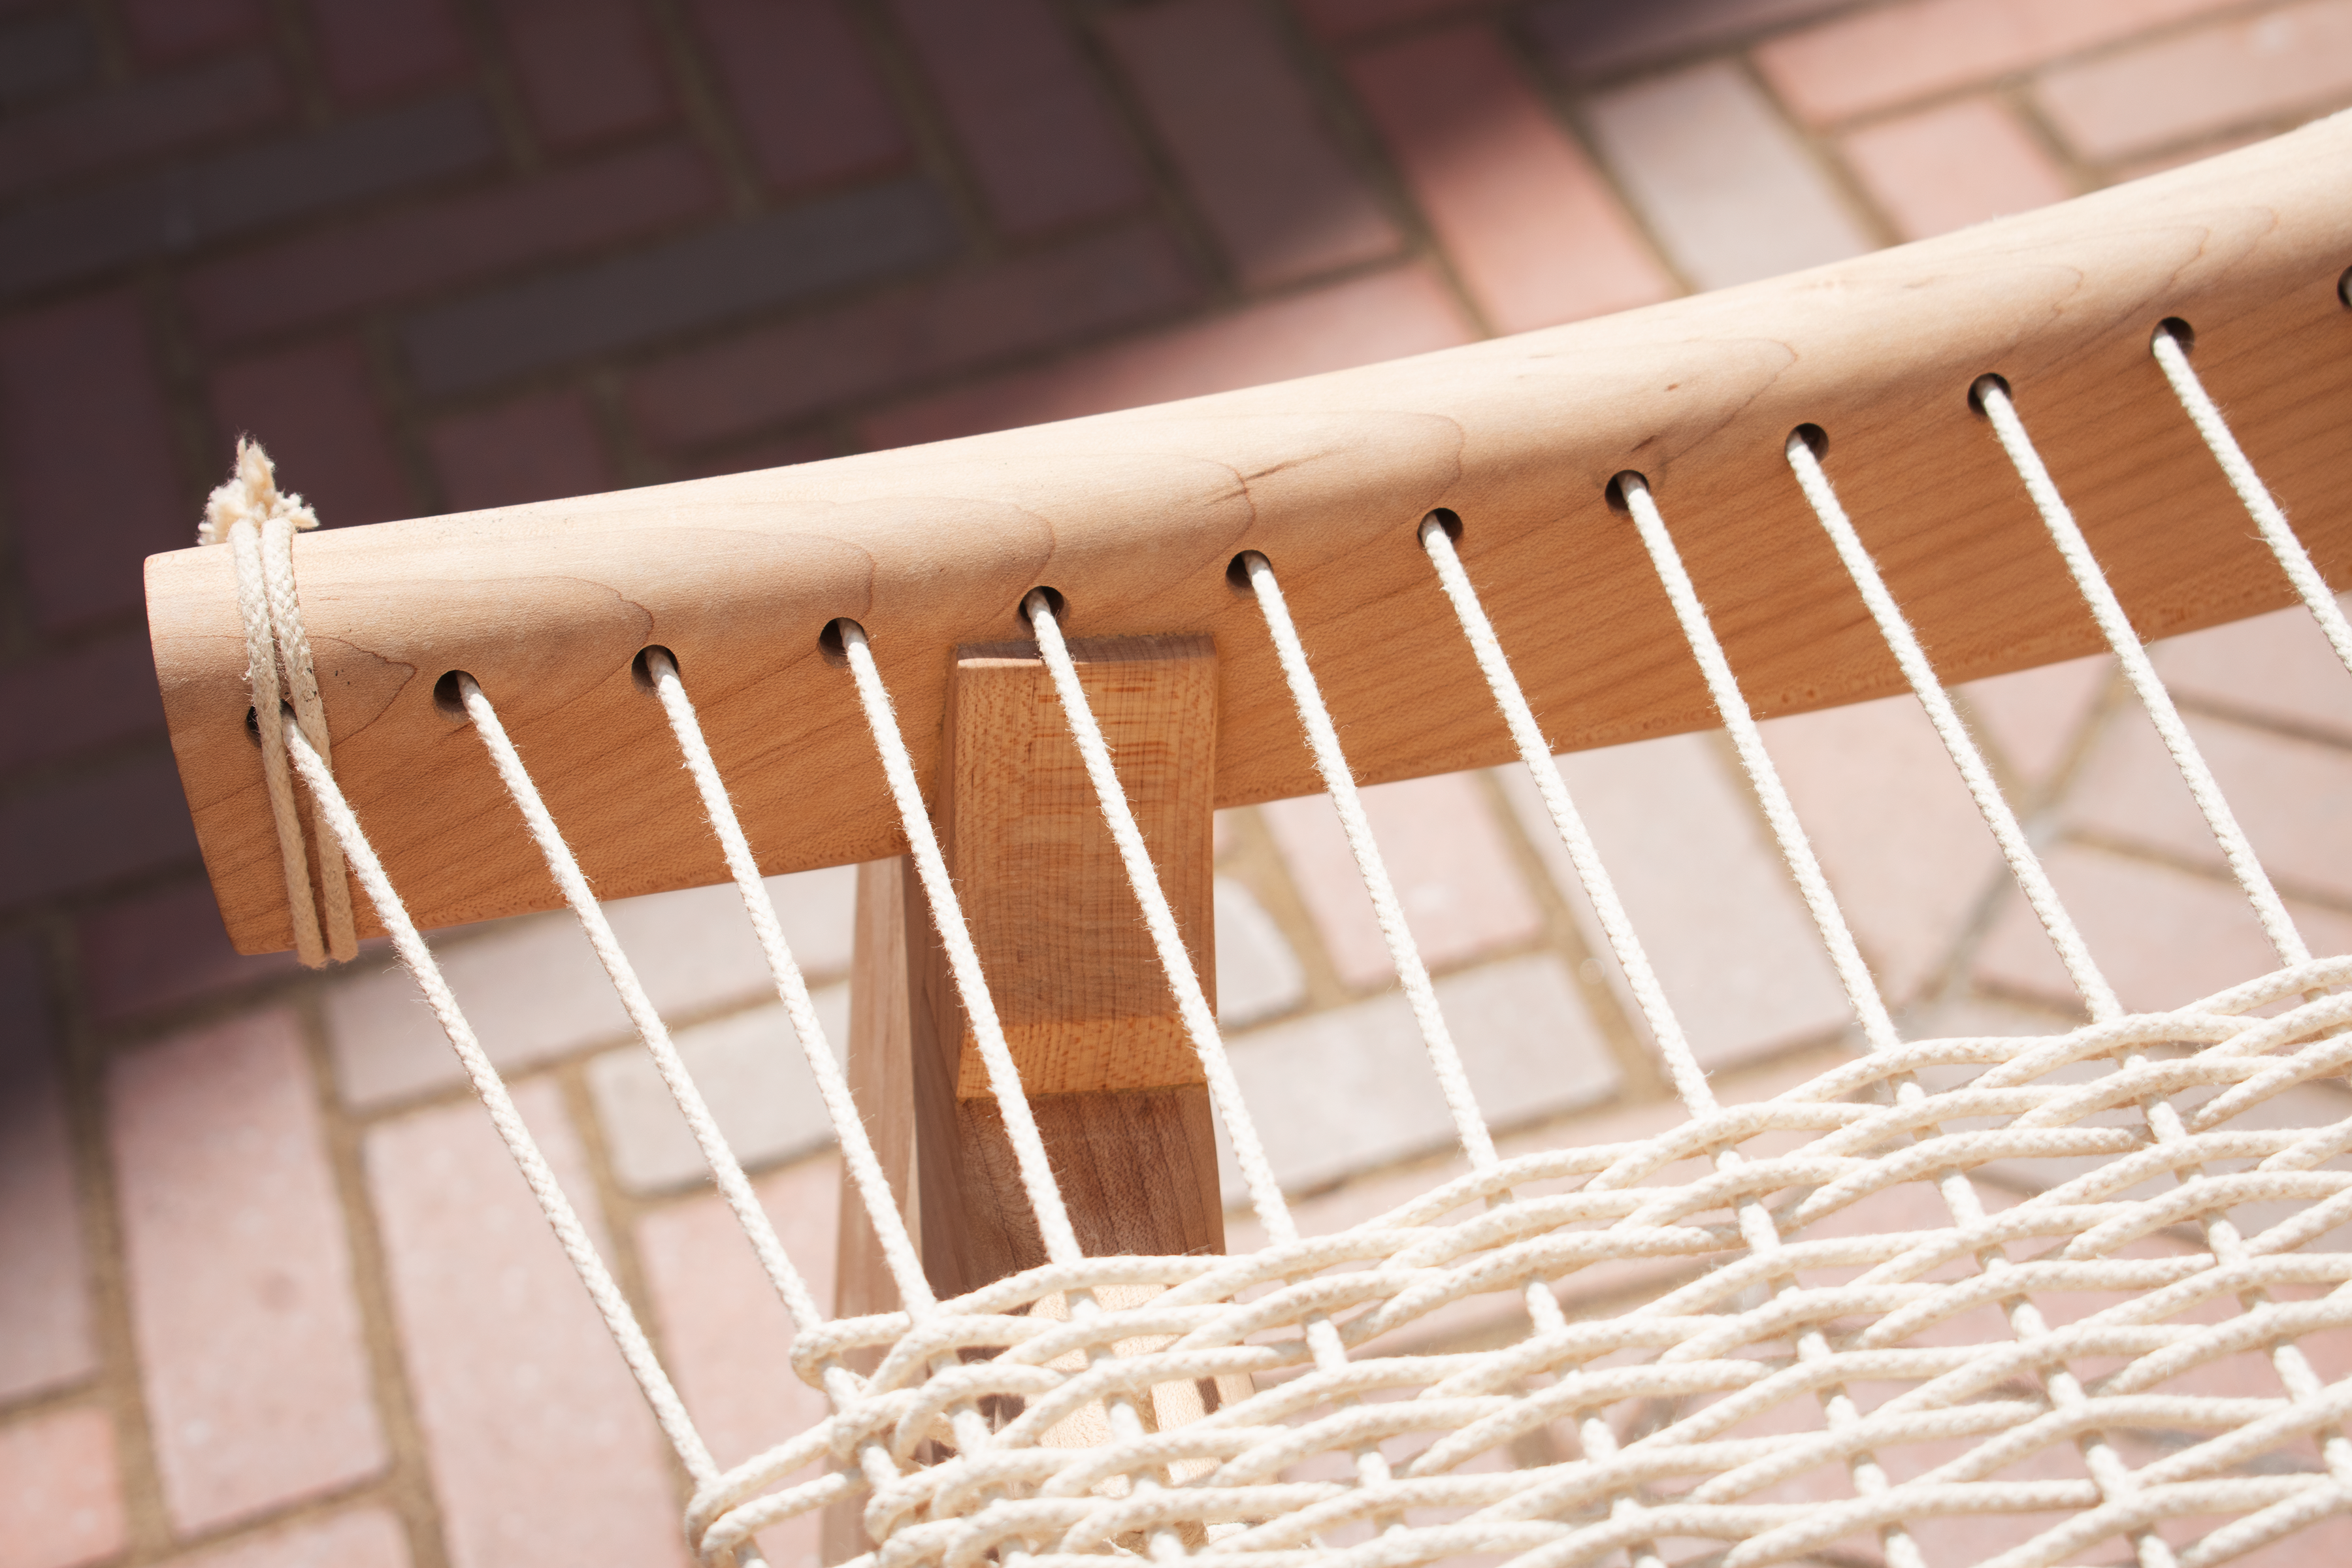
Additionally the distance between holes appeared much closer than I imagined they would and I began to be concerned that the wood could tear through.
Shortly after completing my first model, I began to plan the second one to test the changes I wanted to make. For this attempt I decided to go larger and make a 1/2 scale model.
For this model I also tested the actual process I planned to use for the final chair. I created CNC plans and scaled them down to half scale and ran the operation on a poplar board.
For this model I also tested the actual process I planned to use for the final chair. I created CNC plans and scaled them down to half scale and ran the operation on a poplar board.
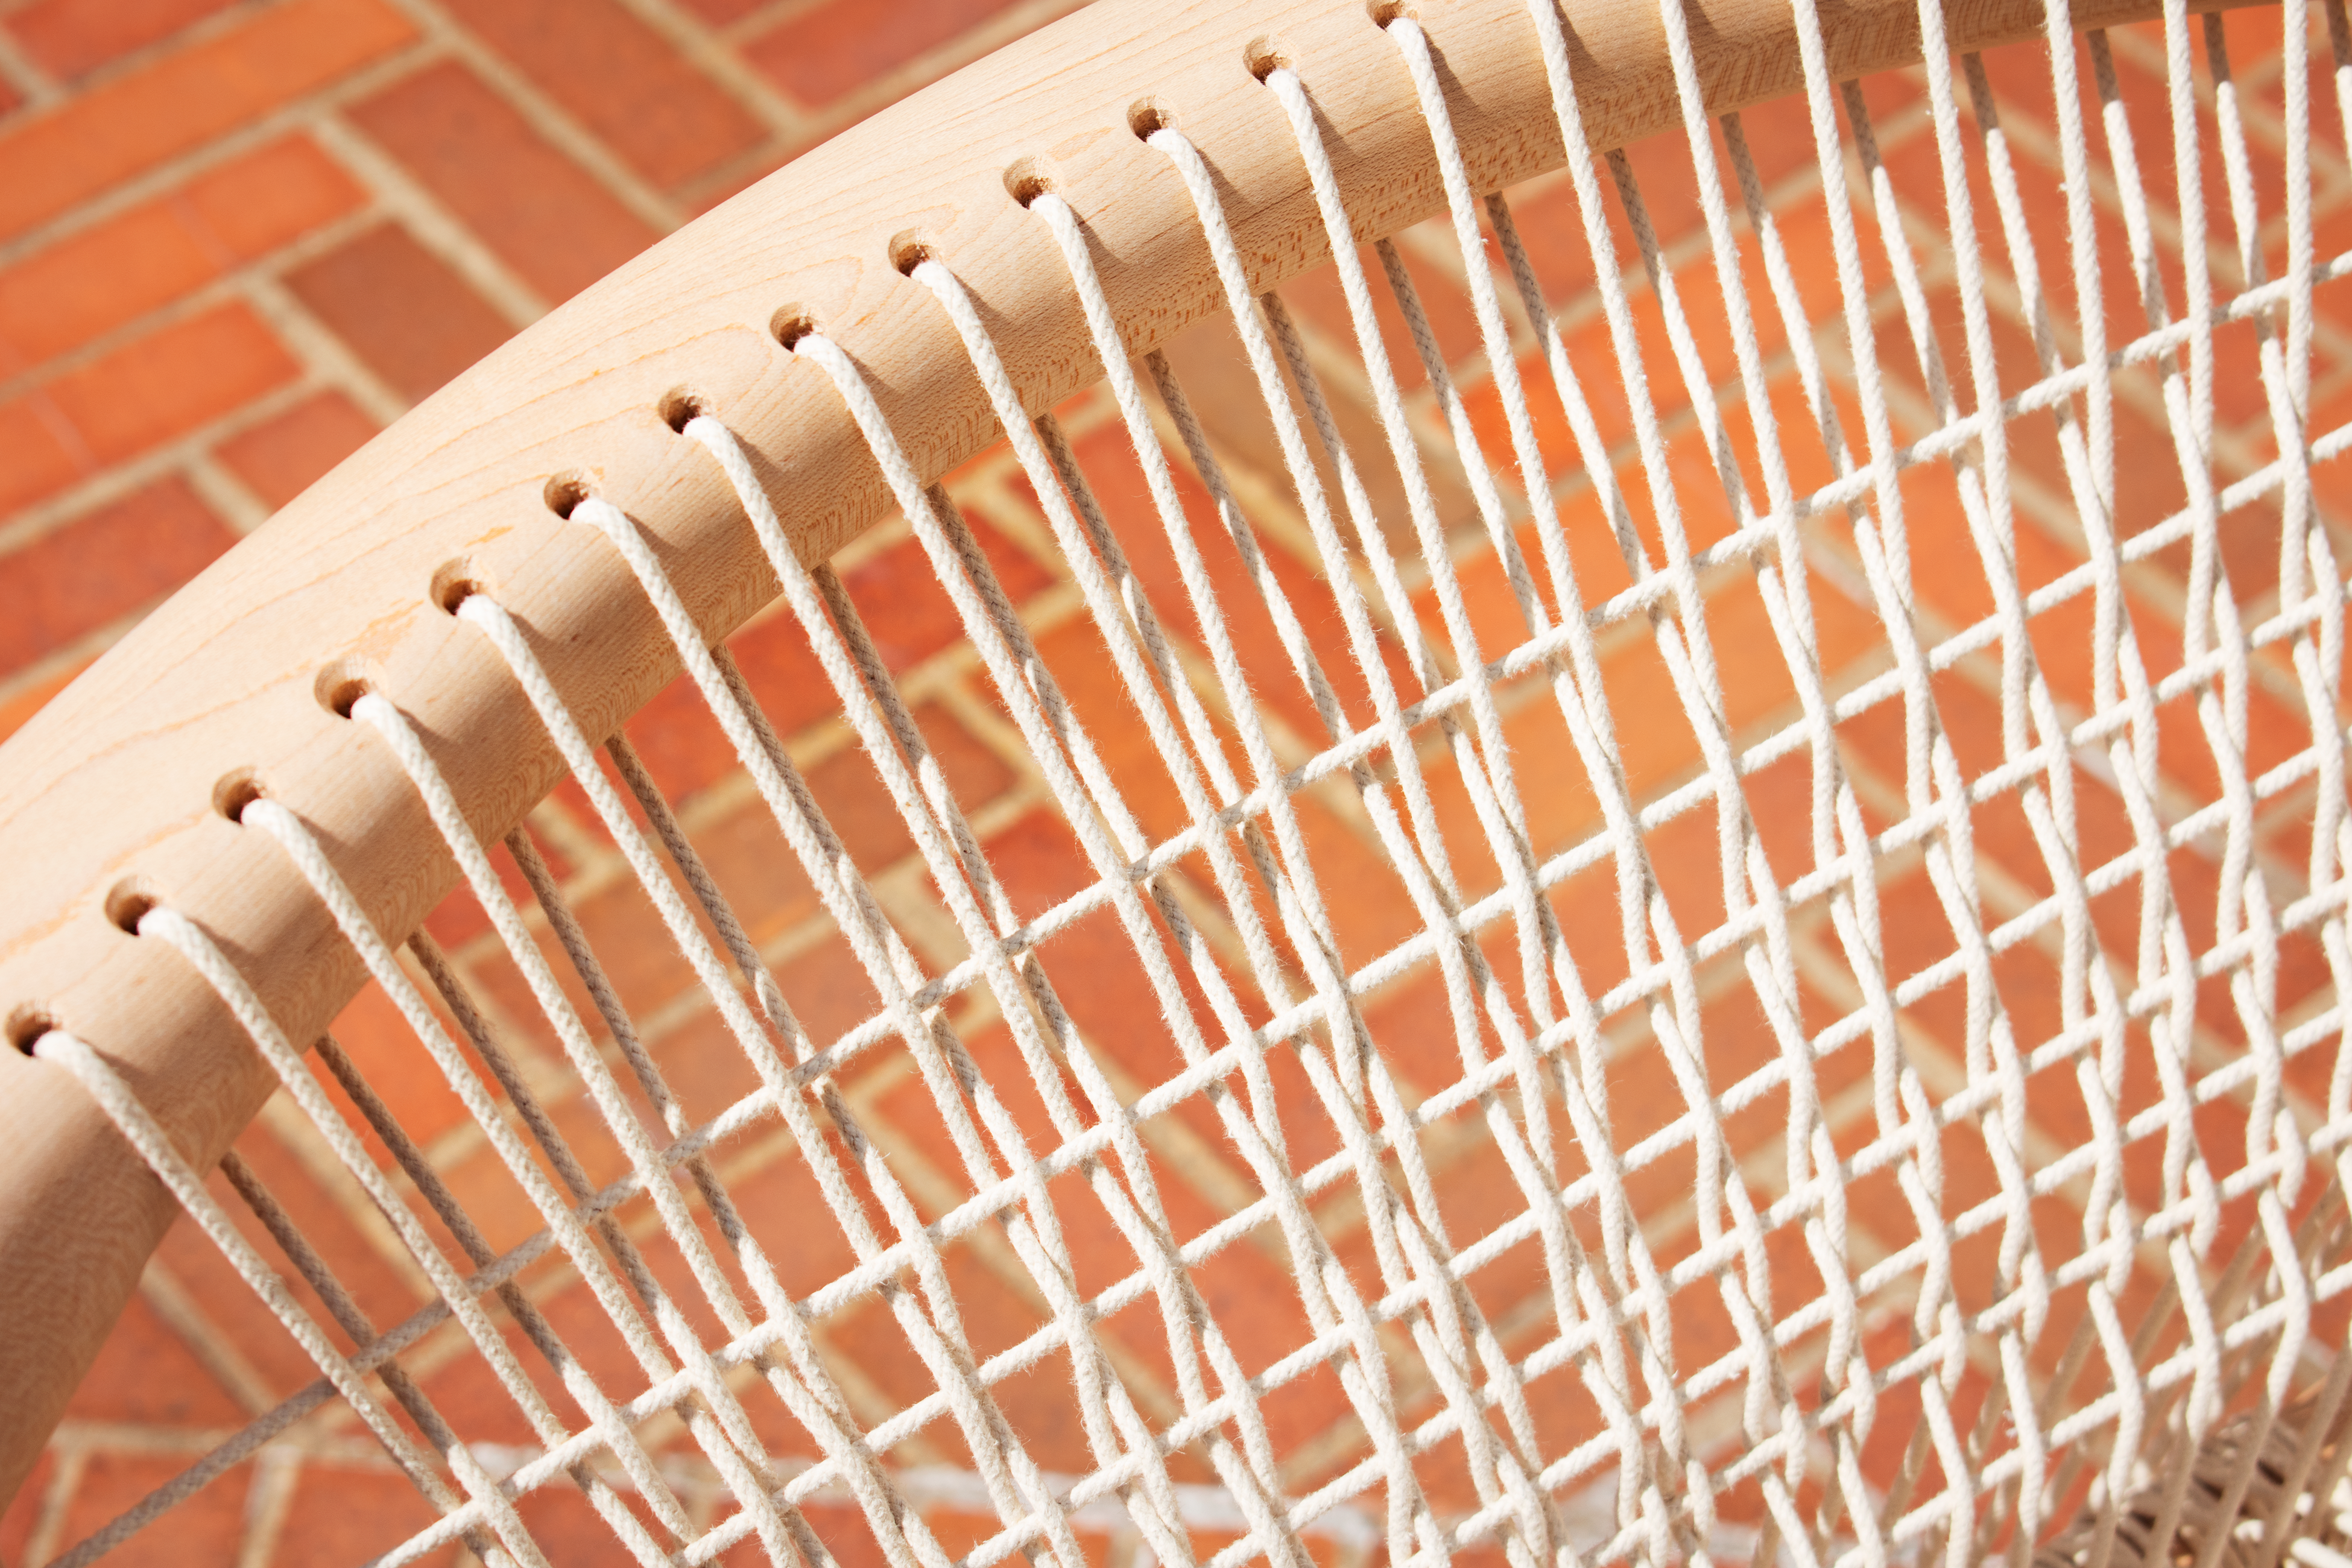
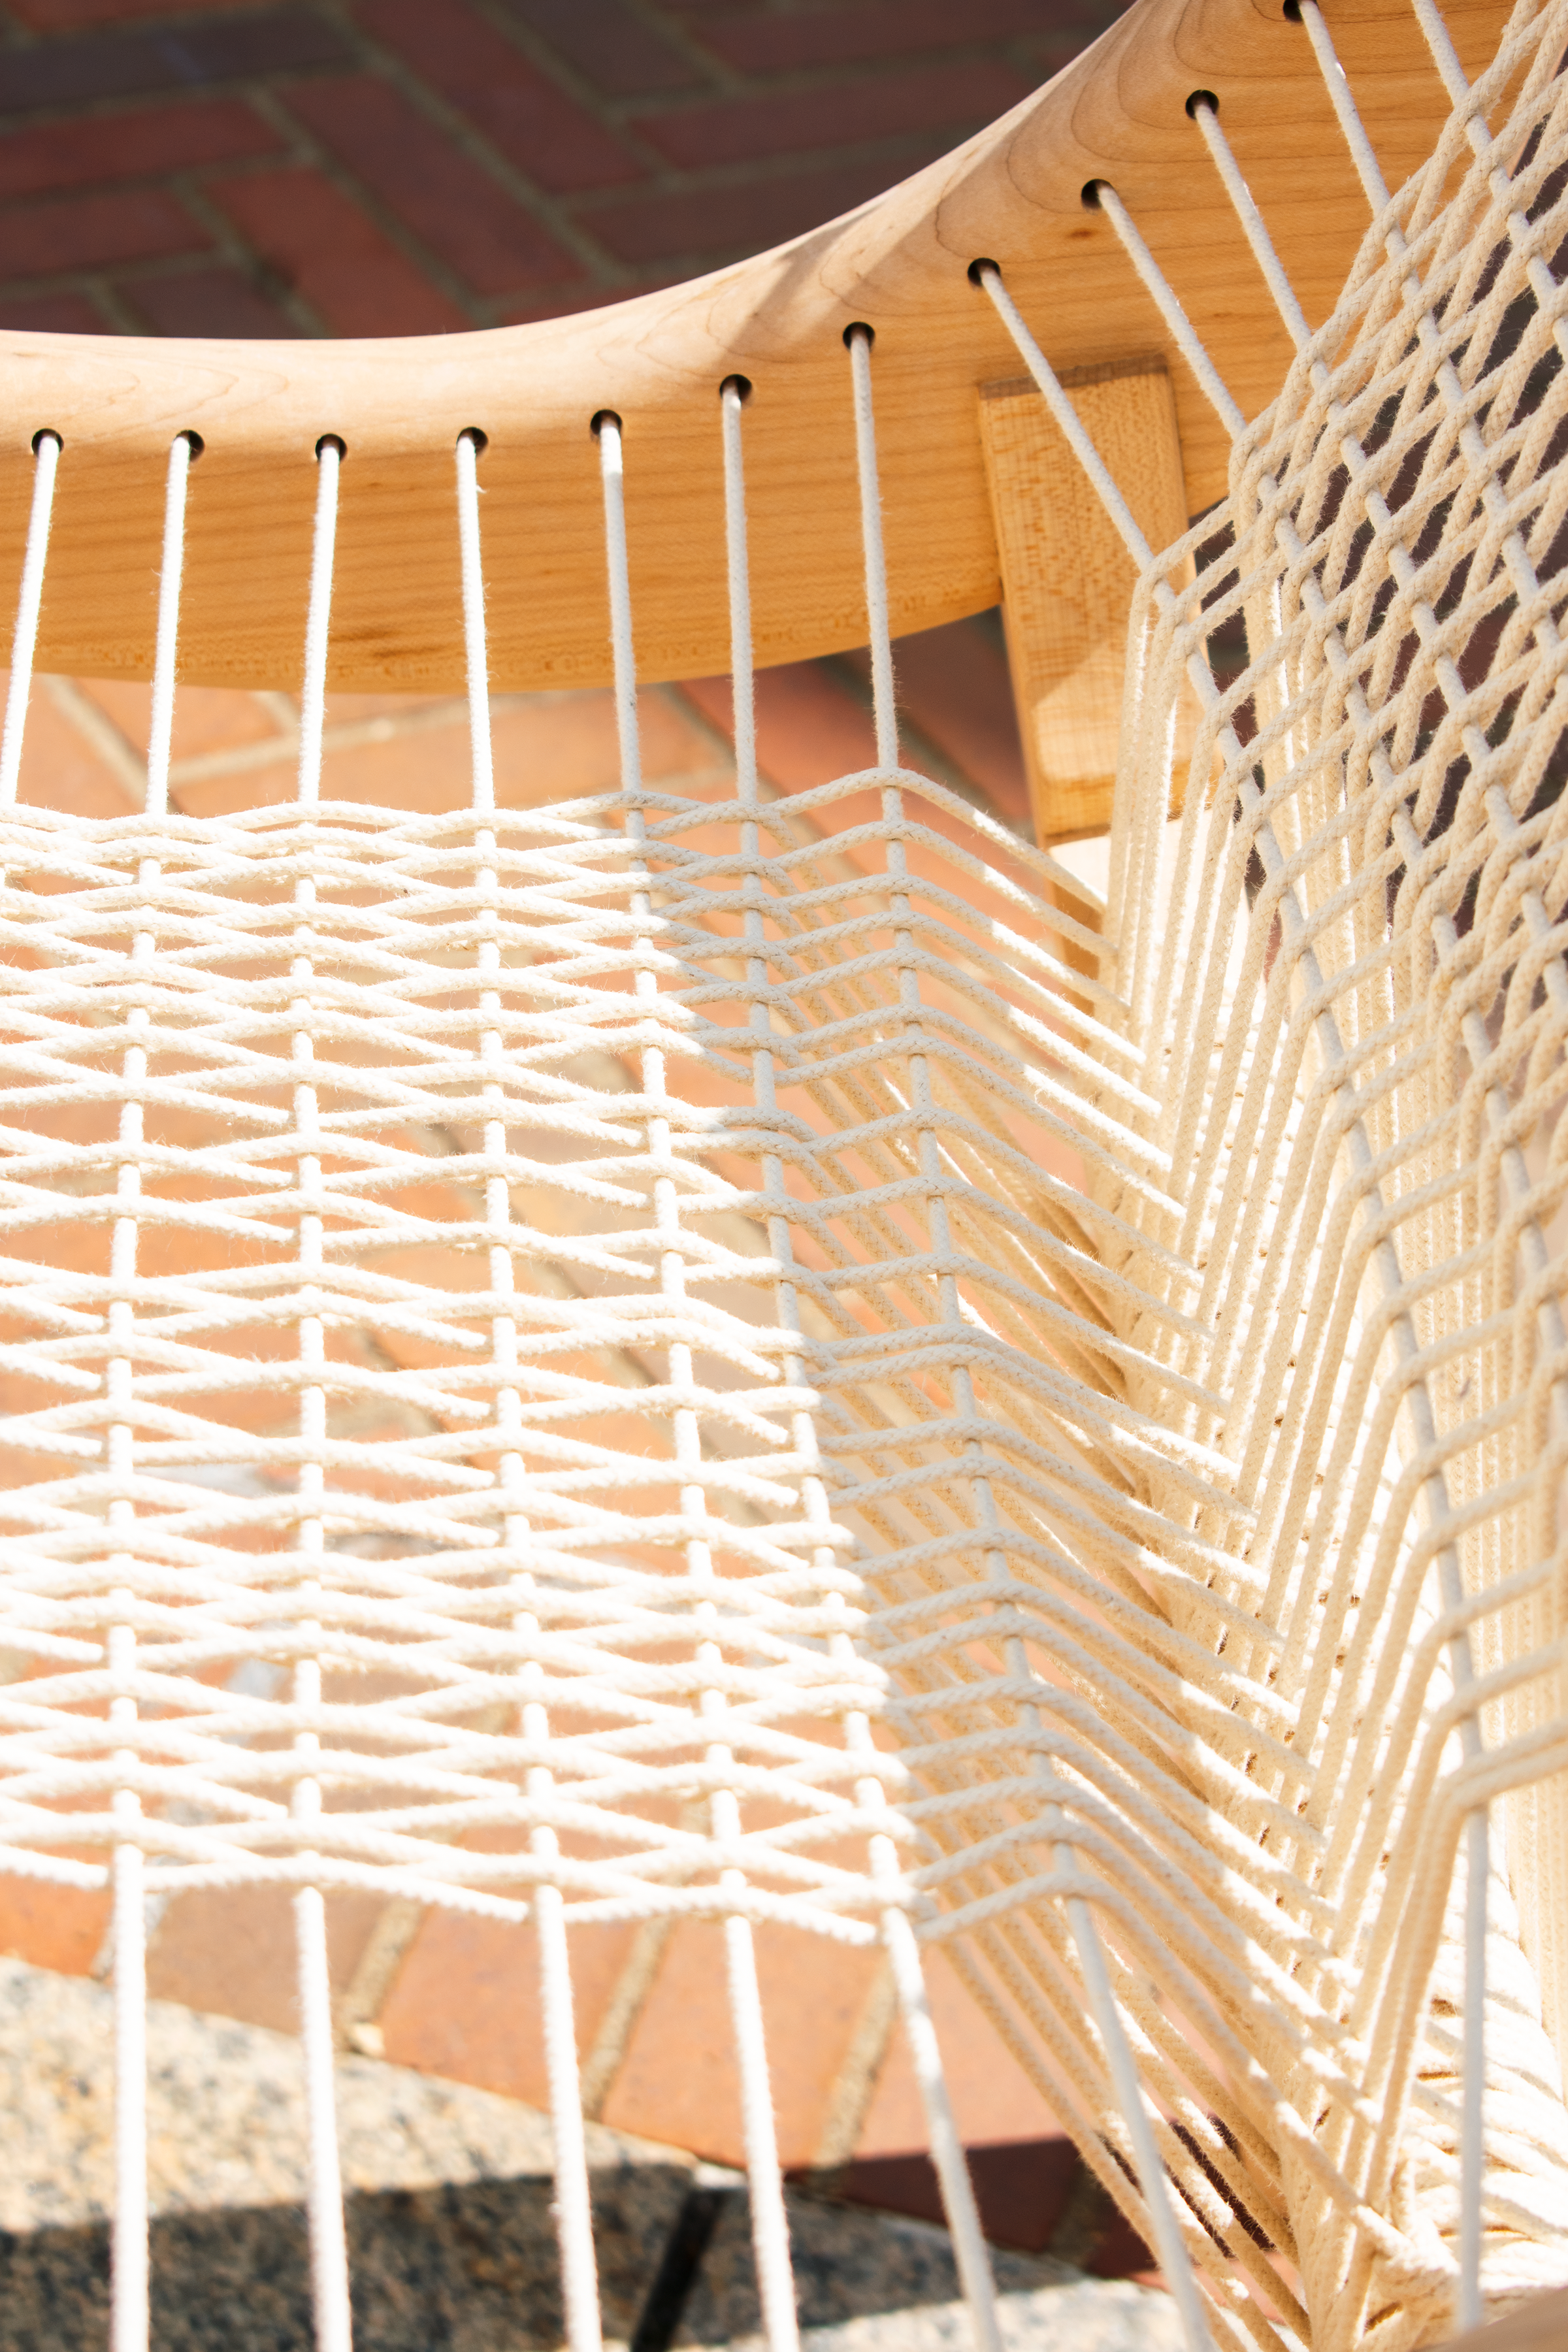
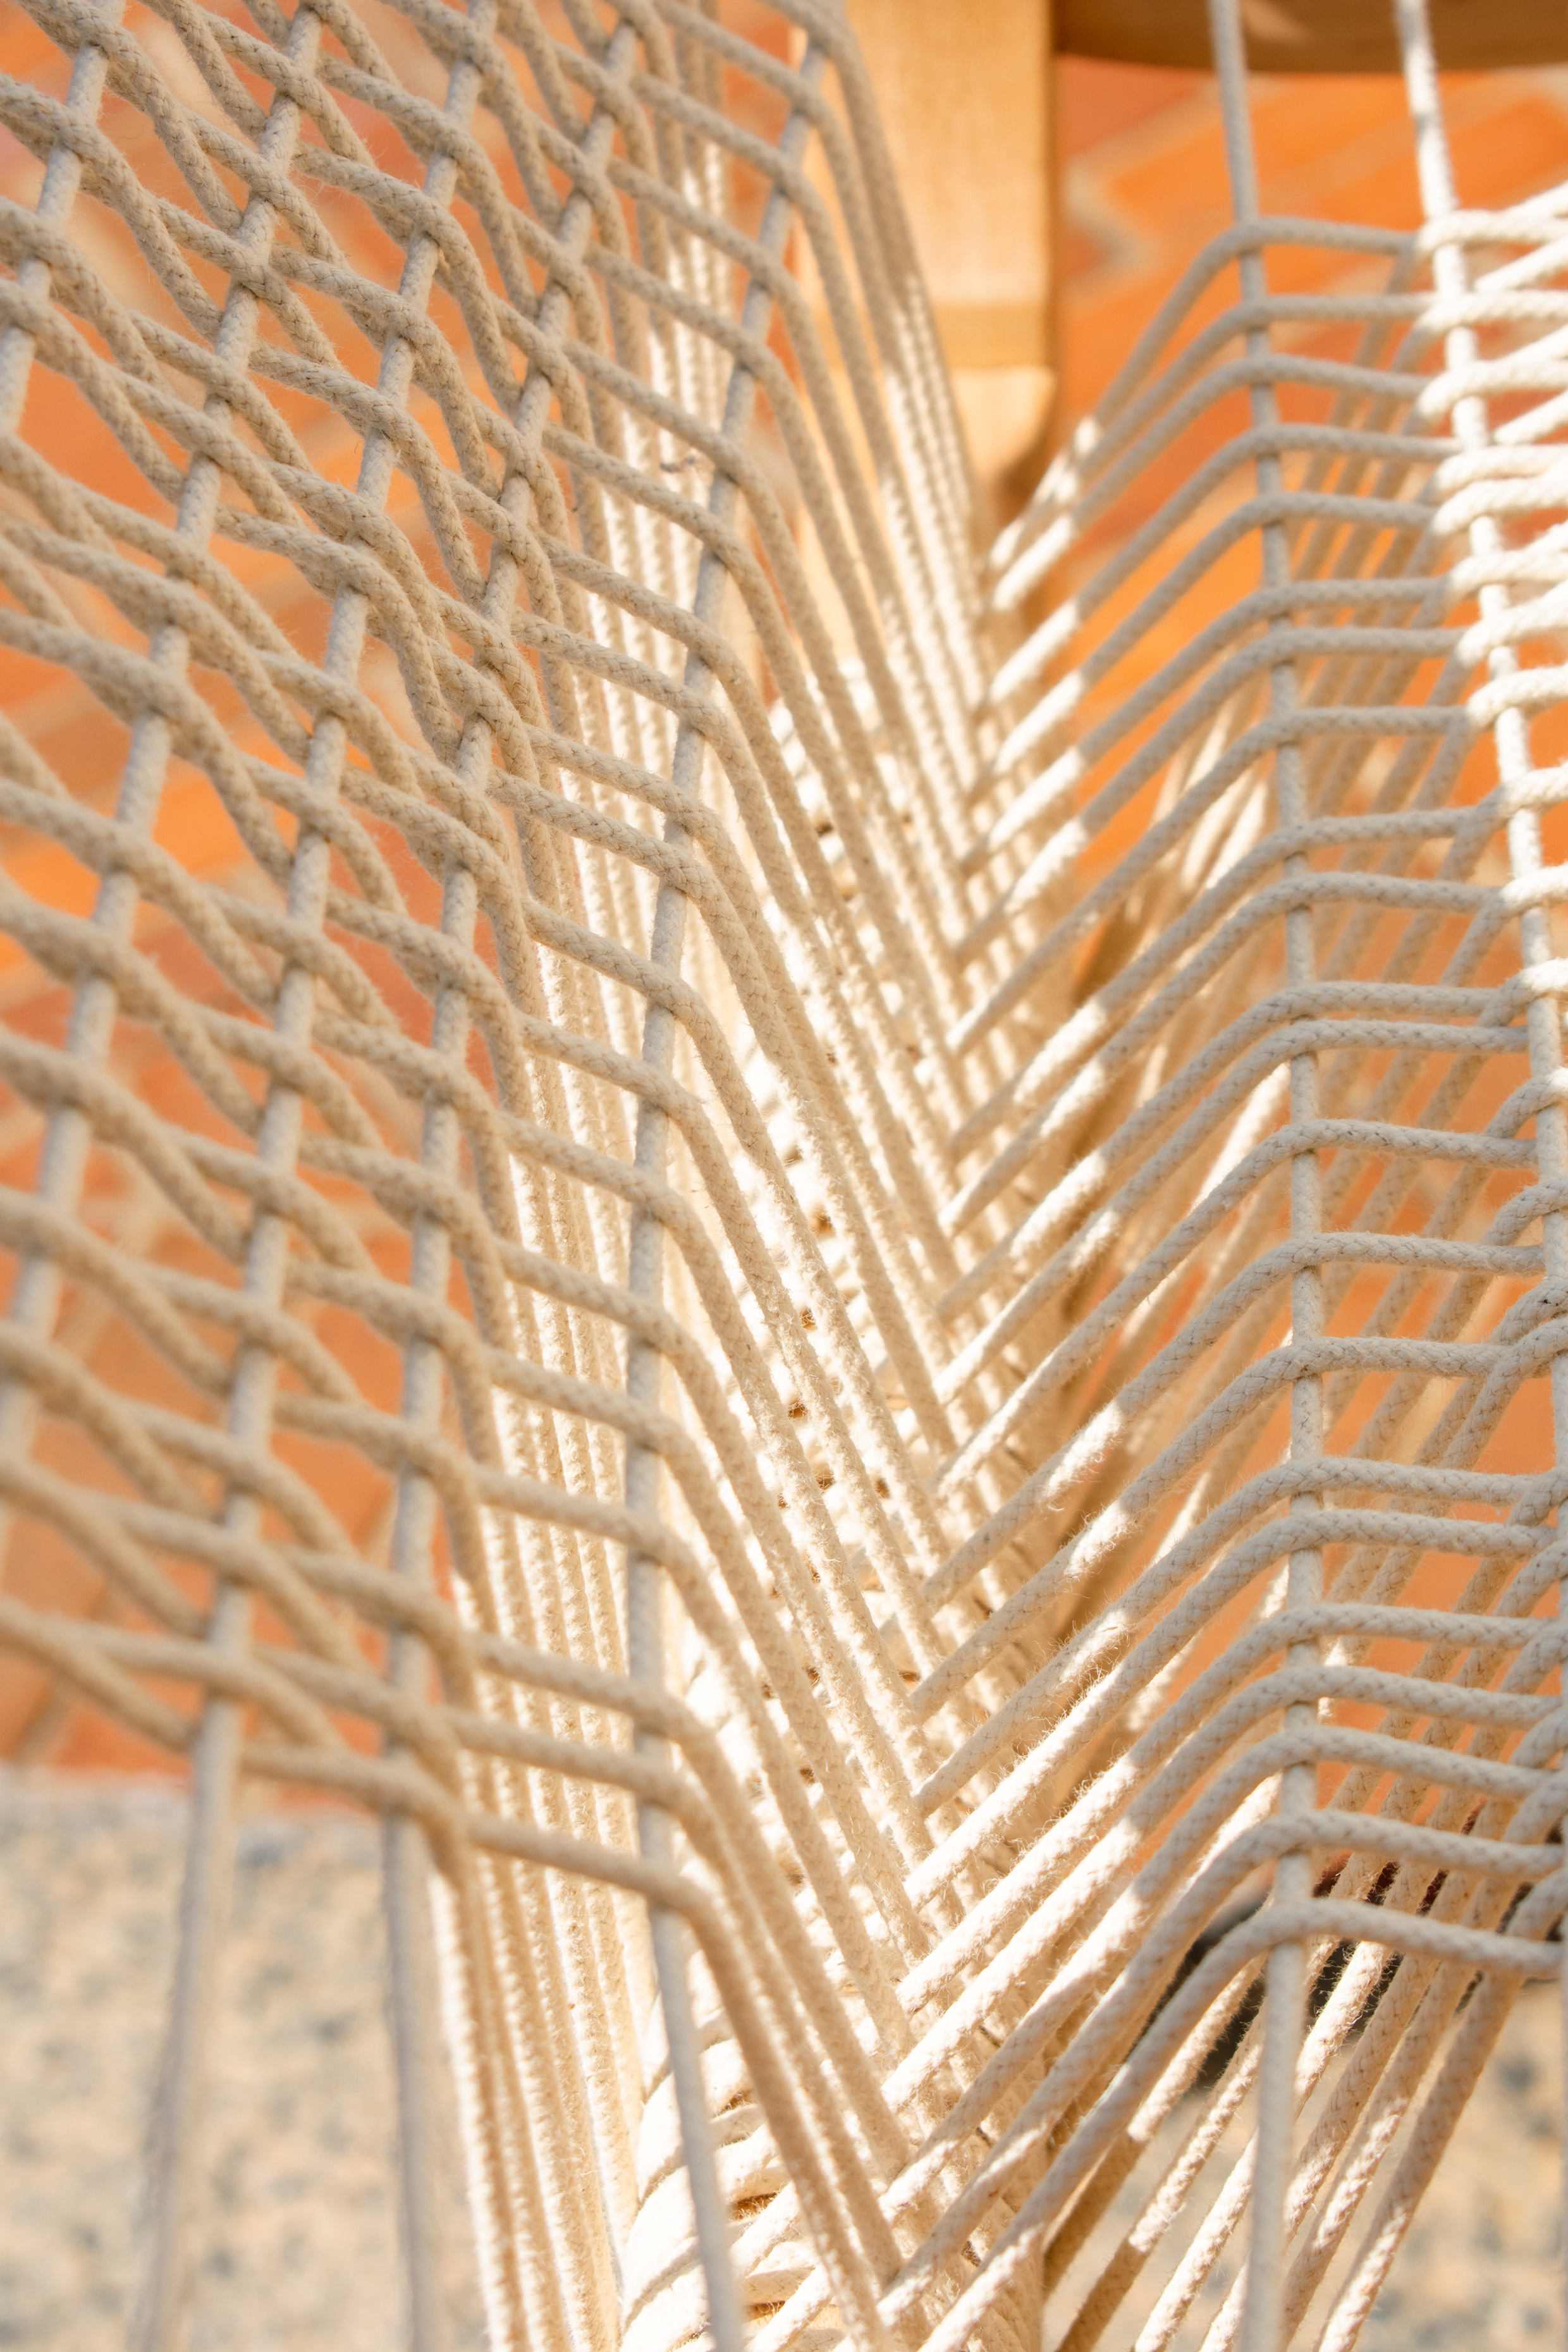
I wove the seat using a roll of sash cord that I was given by my professor. This is the same cord I planned to use on my final chair. For this model I reduced the number cords in the seat to account for the model being scaled down. The scale and spacing of the cord was my biggest concern at this point moving forward towards my final design.
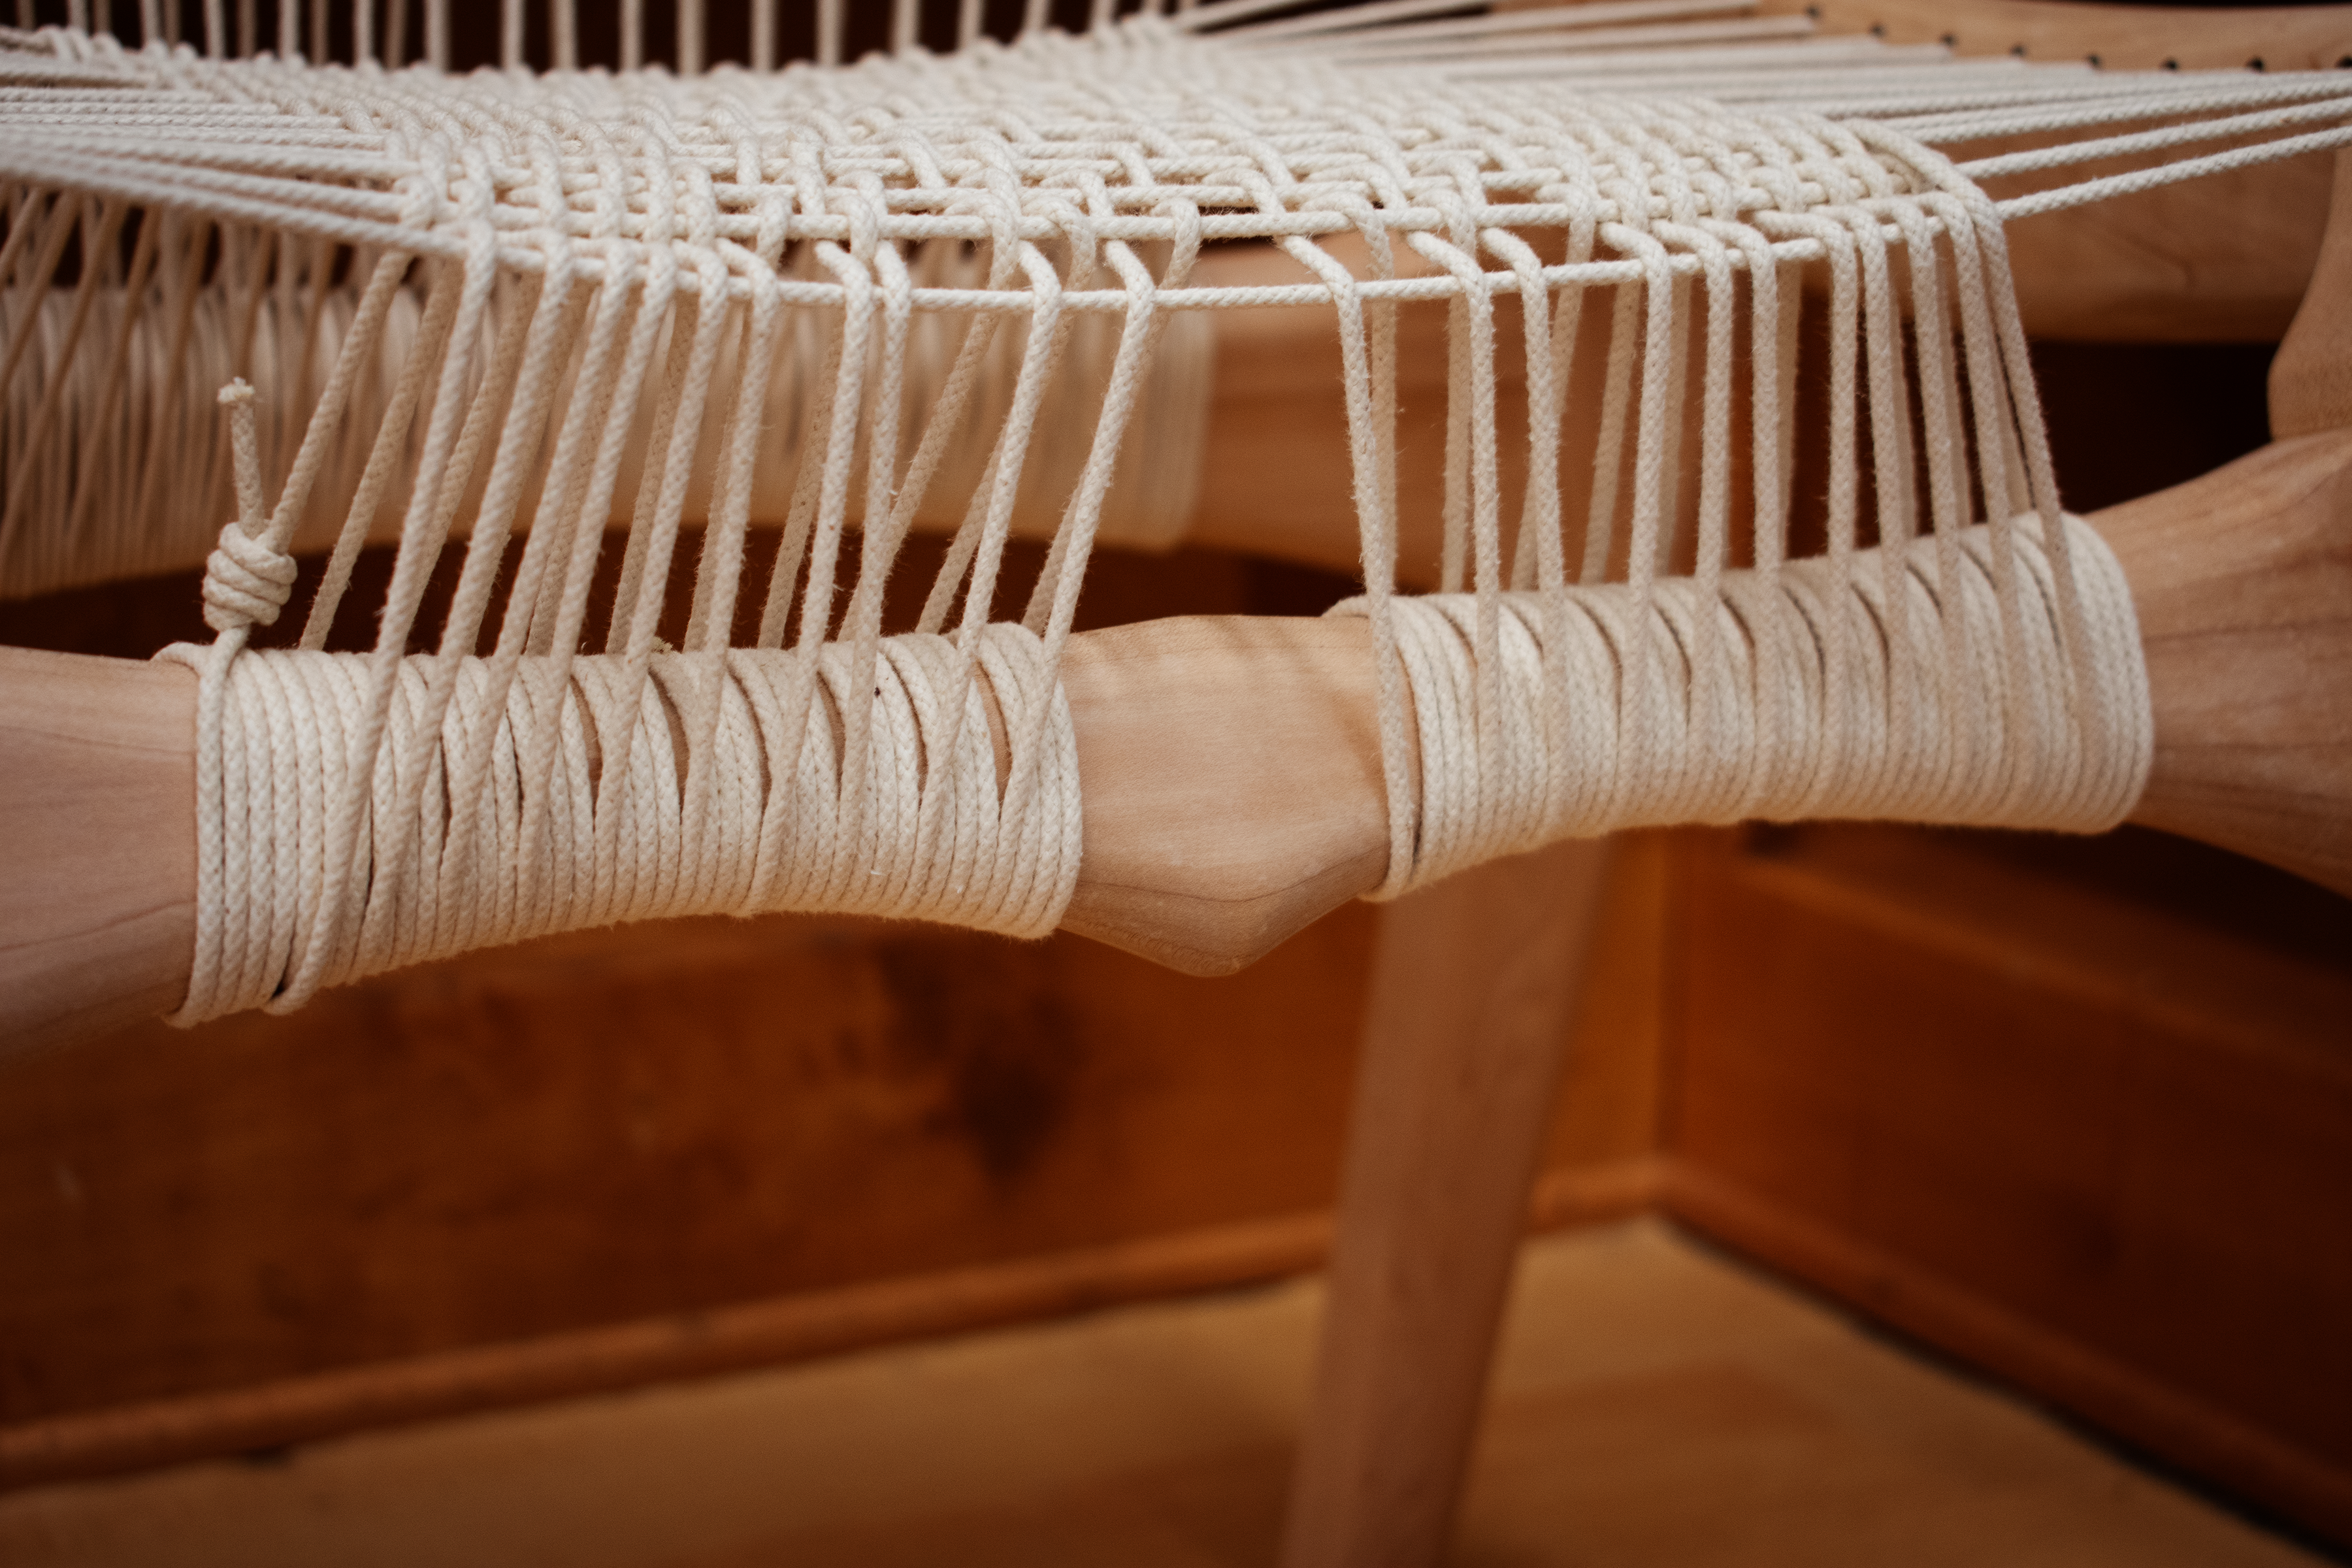
I felt like the cord bunched in the middle because of the shape of the front support. Here I make a note to myself to add a notch in the middle of this beam to create a natural split in the seat and keep the two sides apart.
After preparing the lumber, I ran the CNC with an altered version of the design including a few changes.
Fabrication
After making some minor changes to my design, I prepared my wood and ran the boards through the CNC operation.
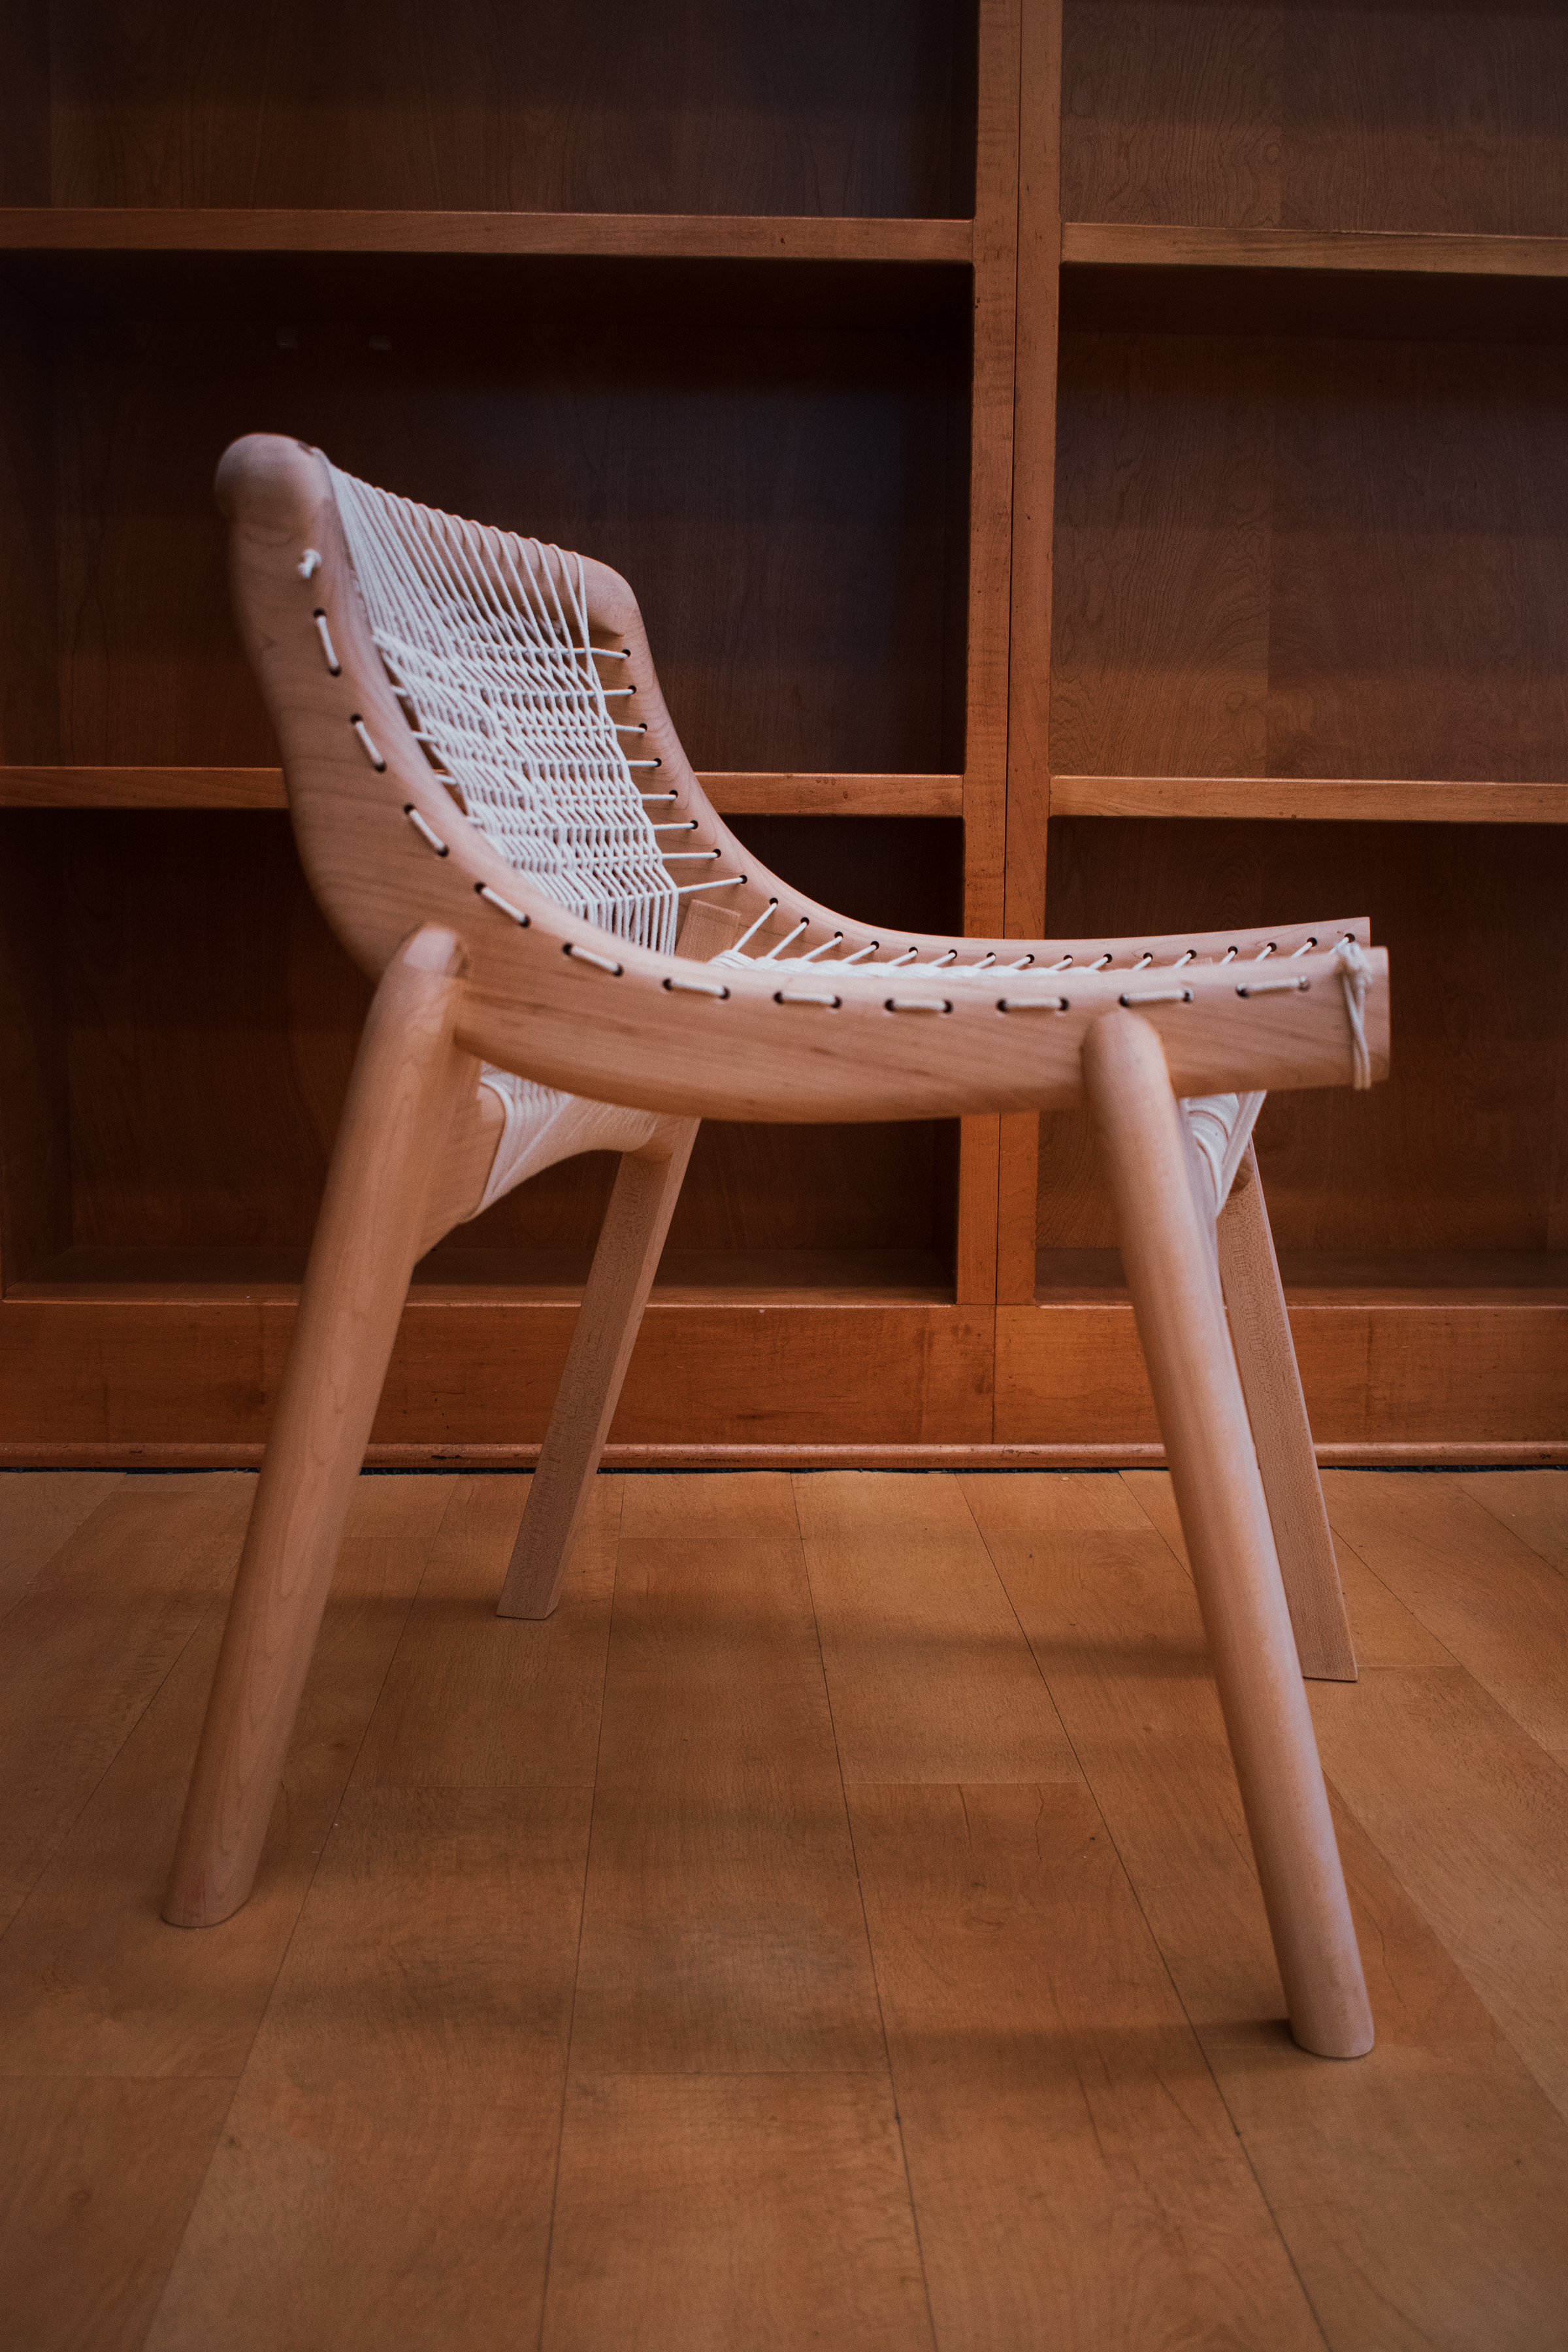
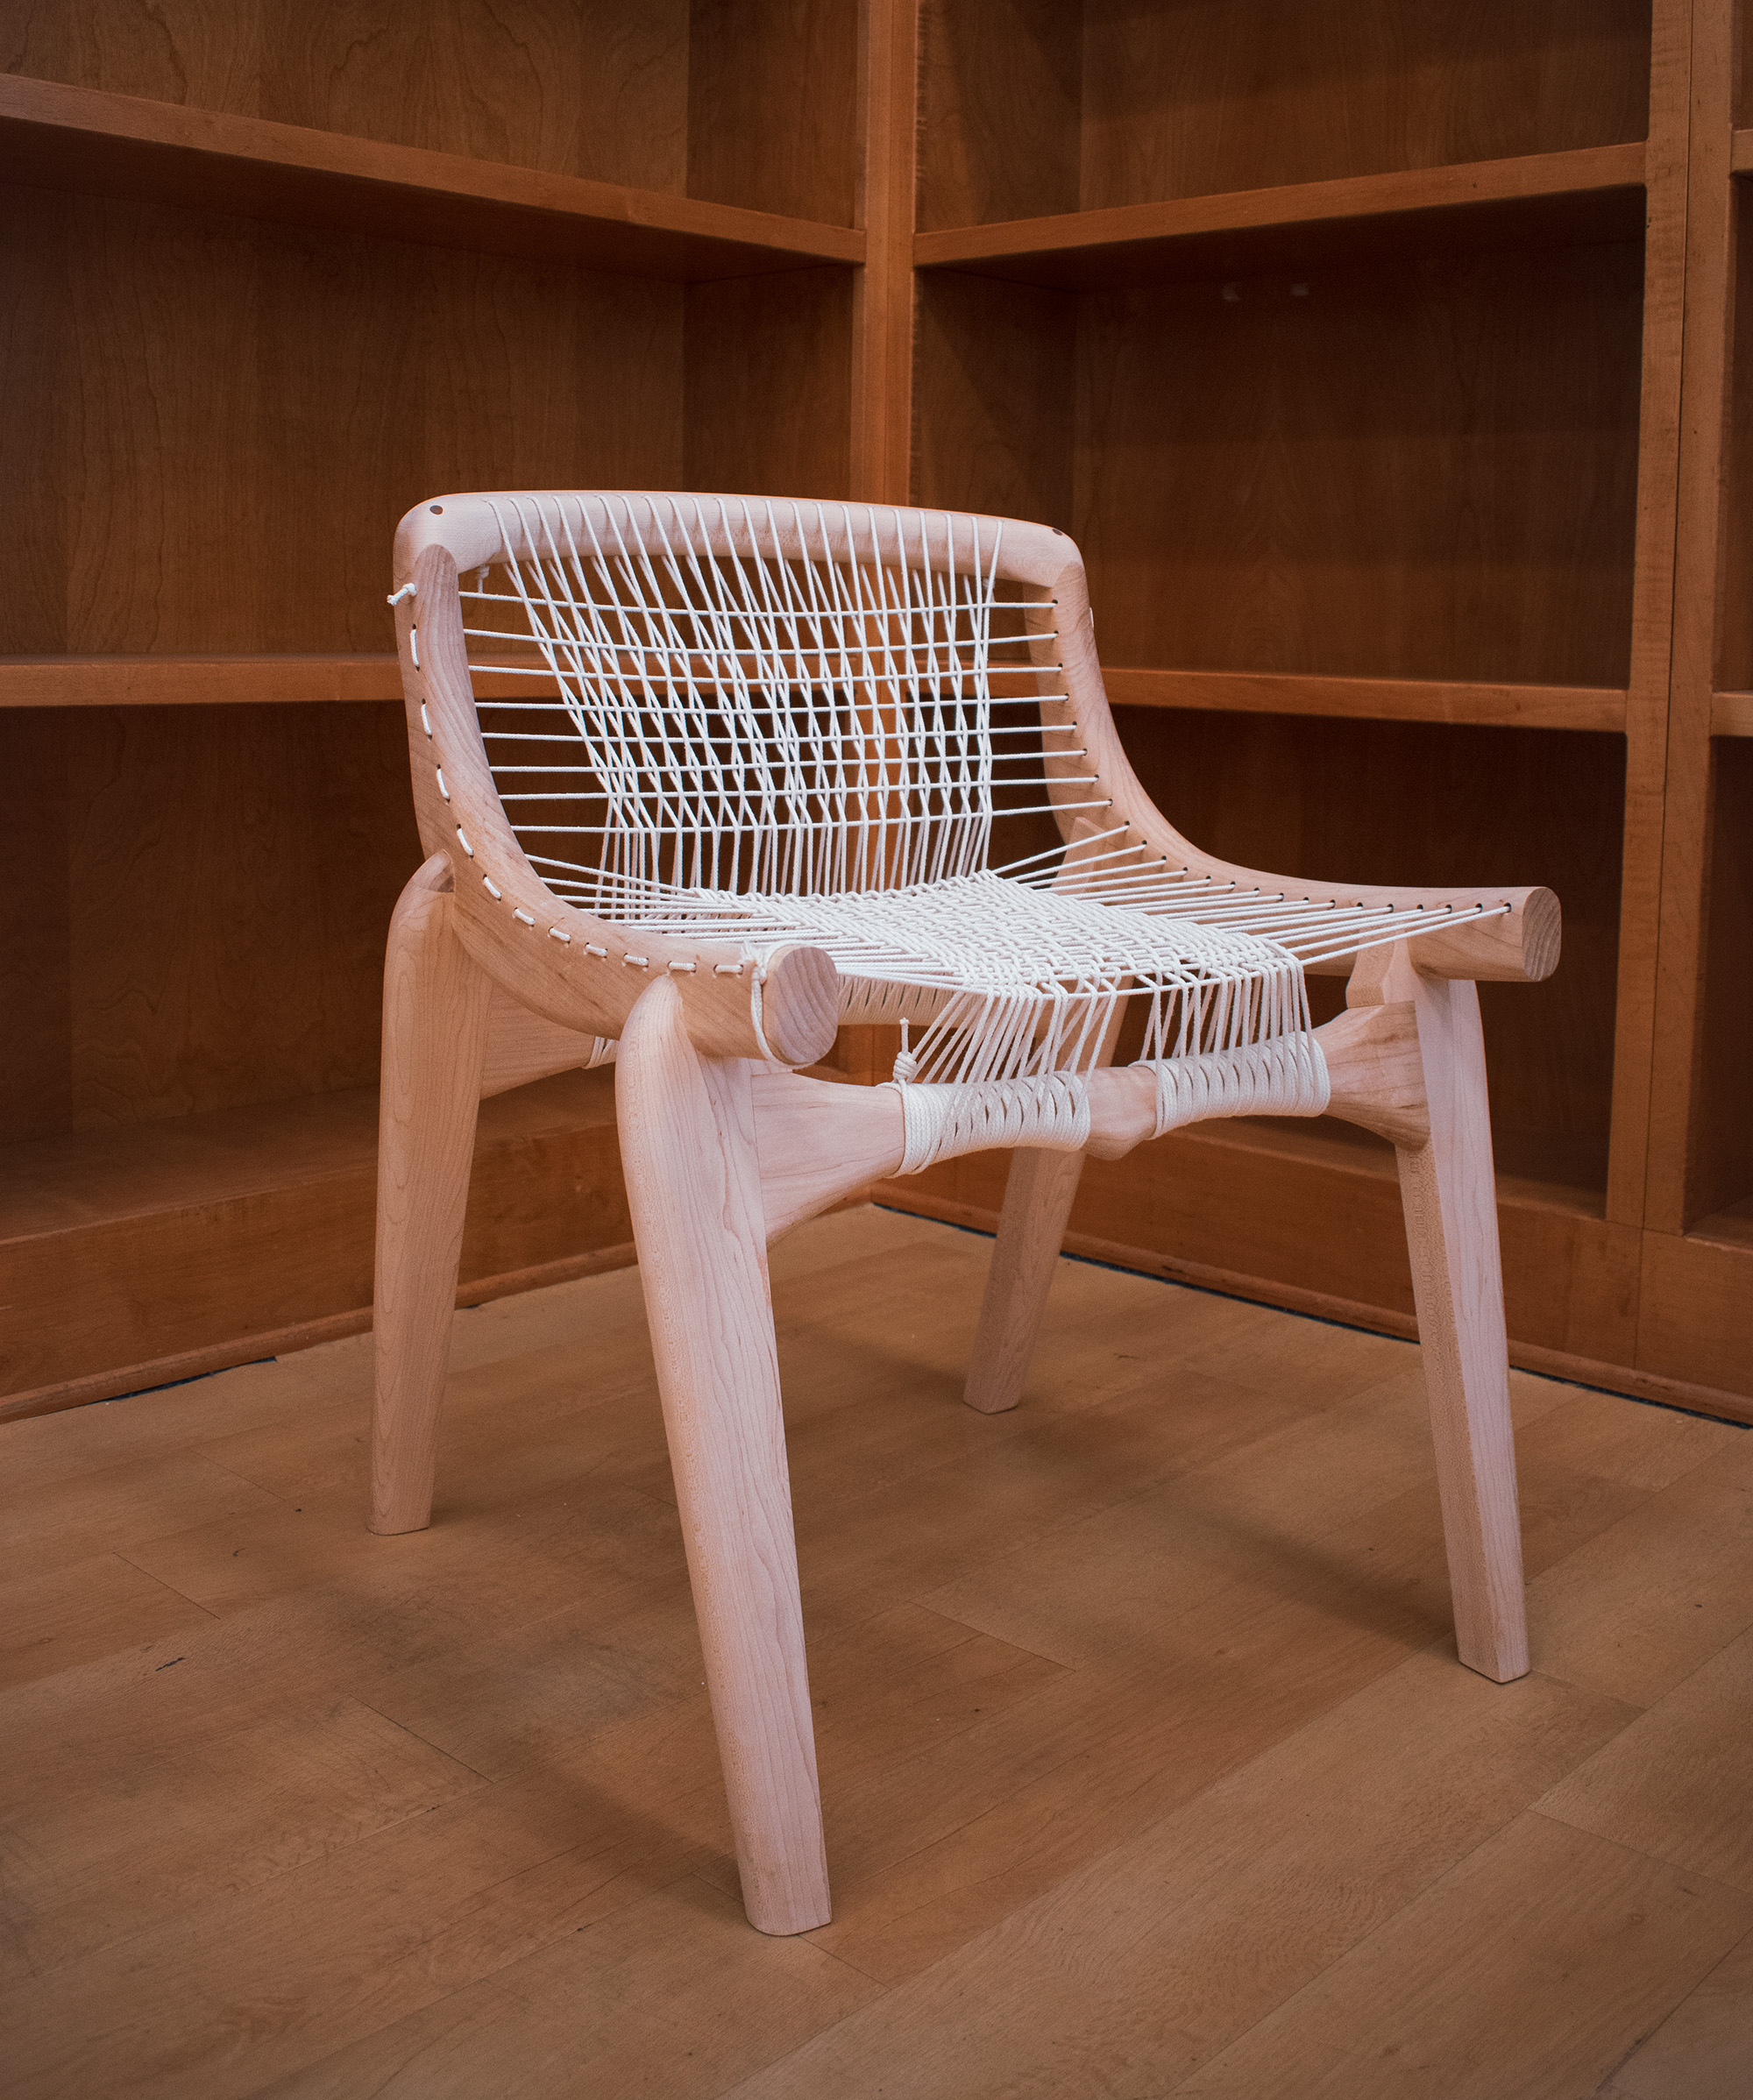
After seeing the pieces of the chair the board thickness I chose felt like a mistake. With the cord seat I wanted the chair to feel light. After running a test on scrap, I decided to add a large fillet to most of the outer edges. This was a change I had not anticipated making before I started. With the added fillet the chair will have a much more organic look and softer silhouette.
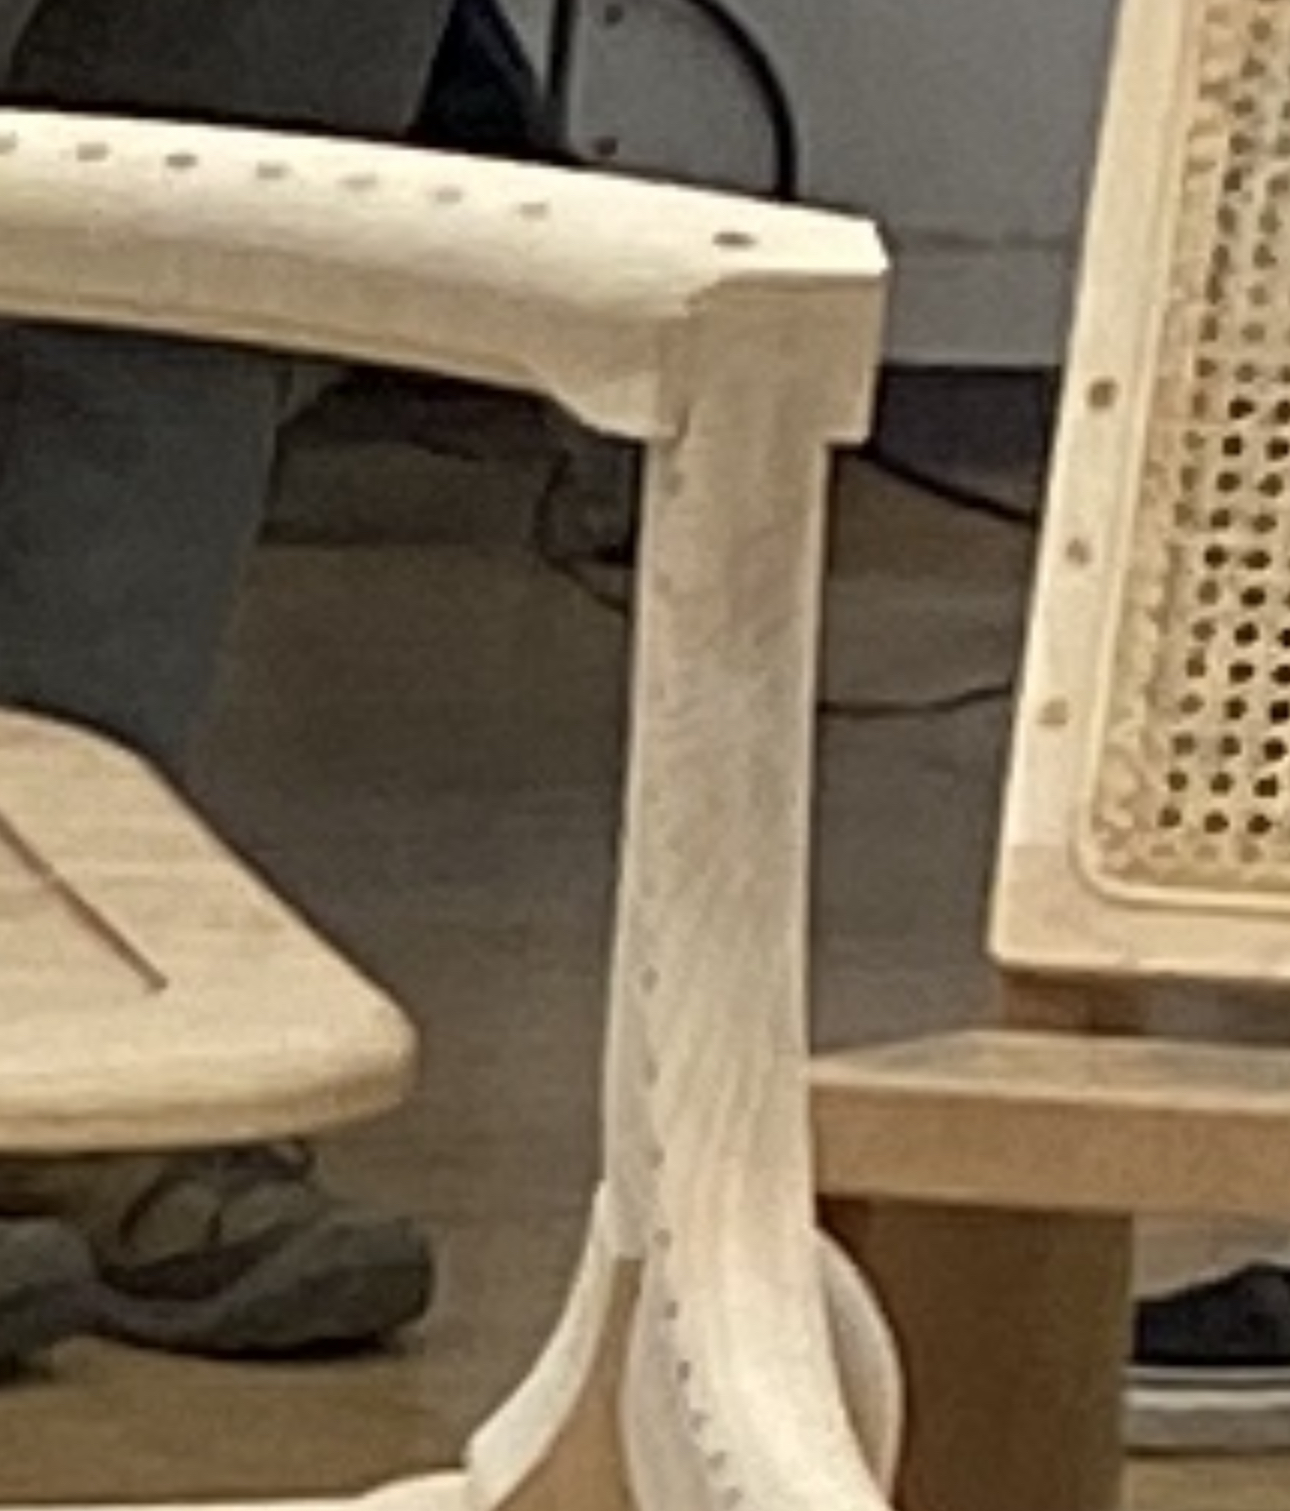
I began to assemble the chair after sanding down each pieces and chiseling the notches square. With some help, I was able to get sides to notch into the legs. I made a major mistake when I added a fillet to bottom edge of the backrest. The filleted edge no longer fit into the notches I chiseled square on the arms. I would have to carve this connection into a smooth transition.
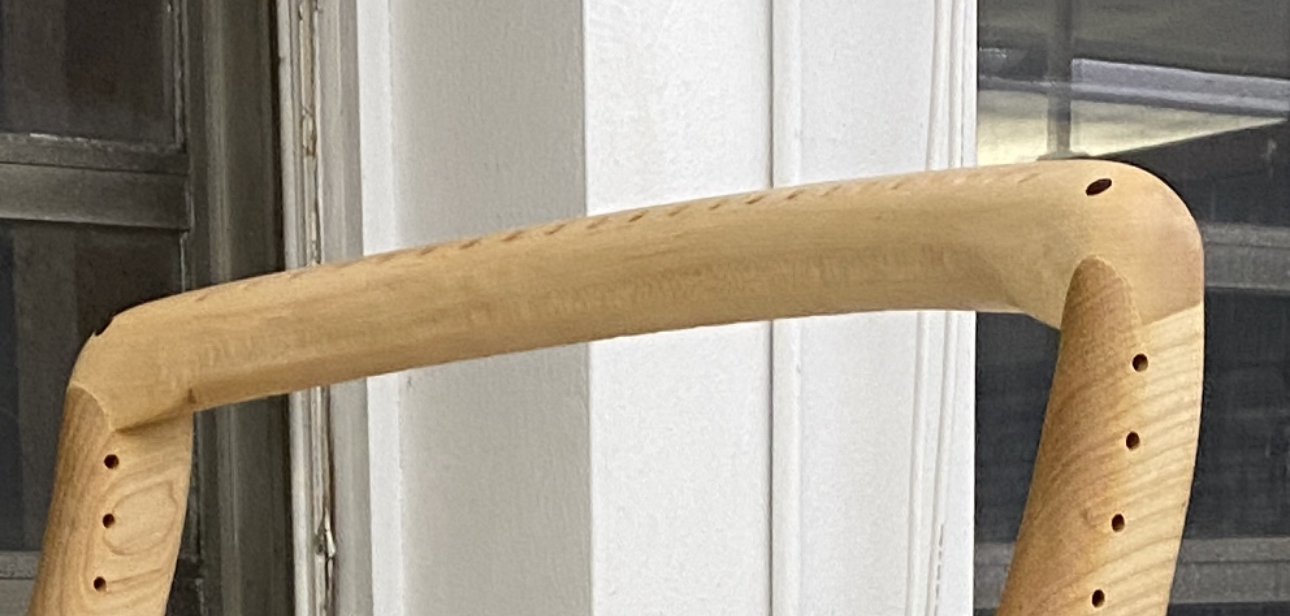
After cleaning up the transition area between the side and backrest, I added multiple coats of beeswax oil to the frame.
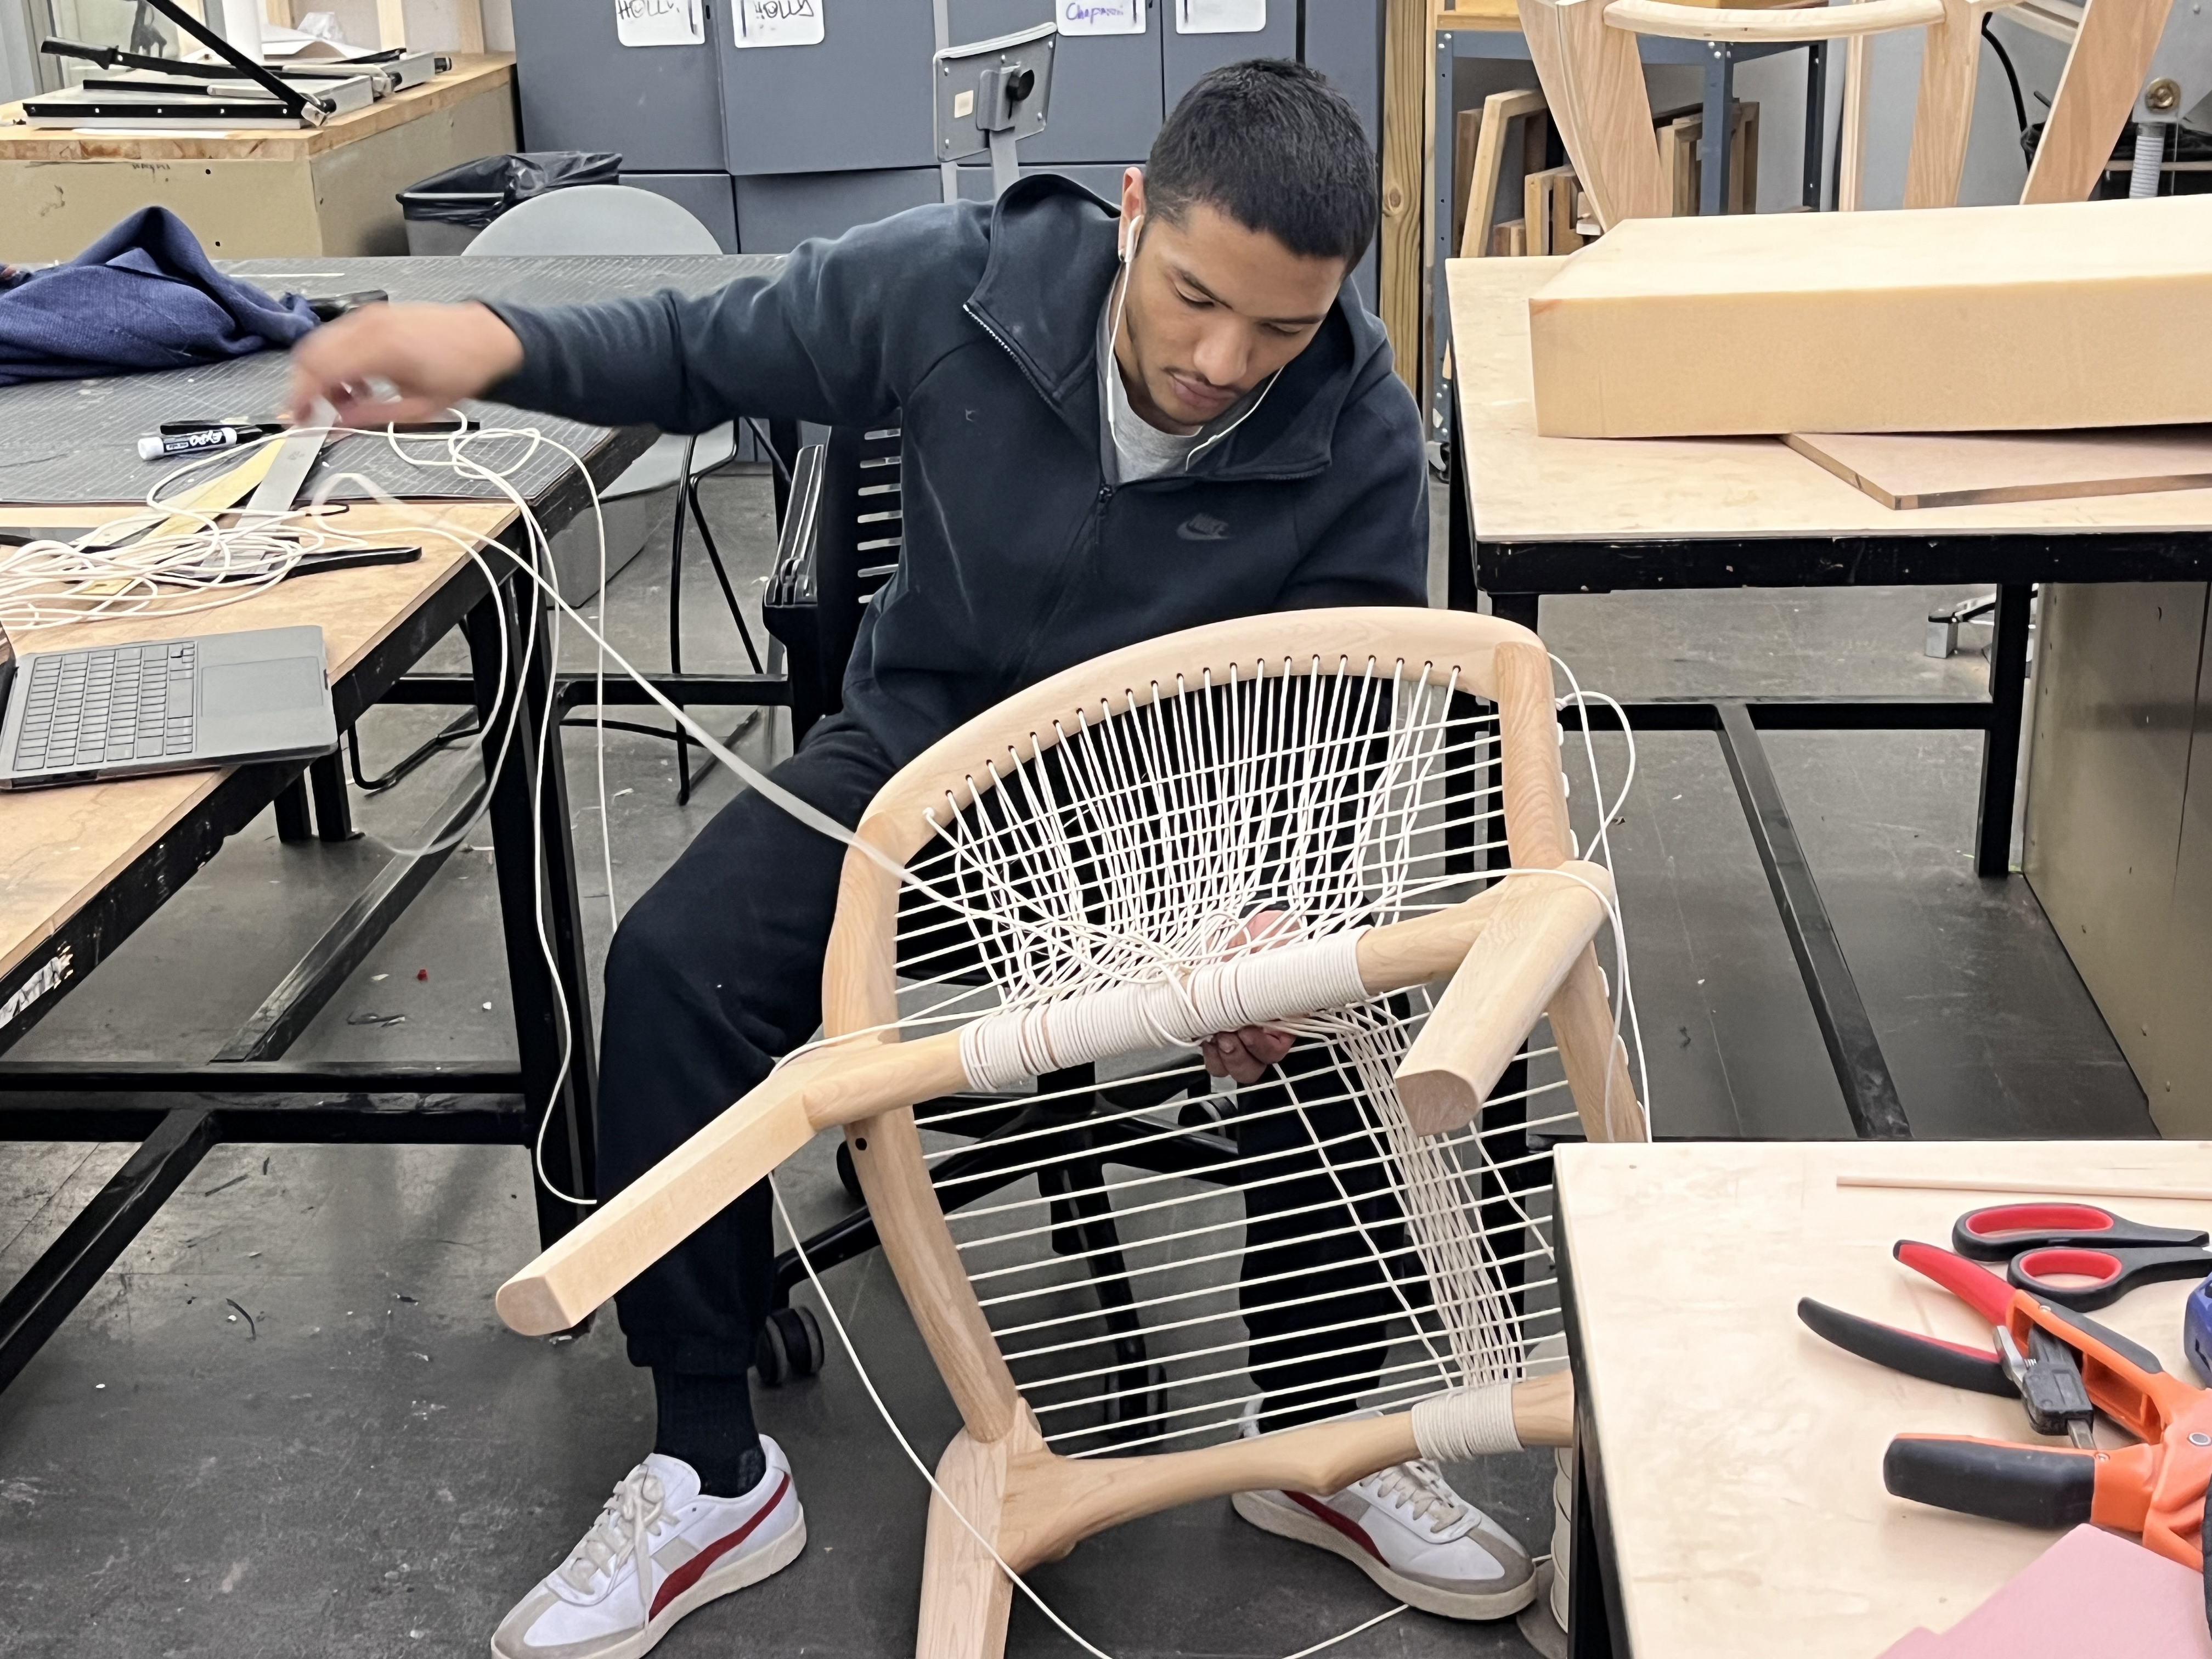
At this point the last step was weaving the sash cord seat.
I did a very similar pattern to the one I did on the half scale chair with the biggest difference being the number of holes.
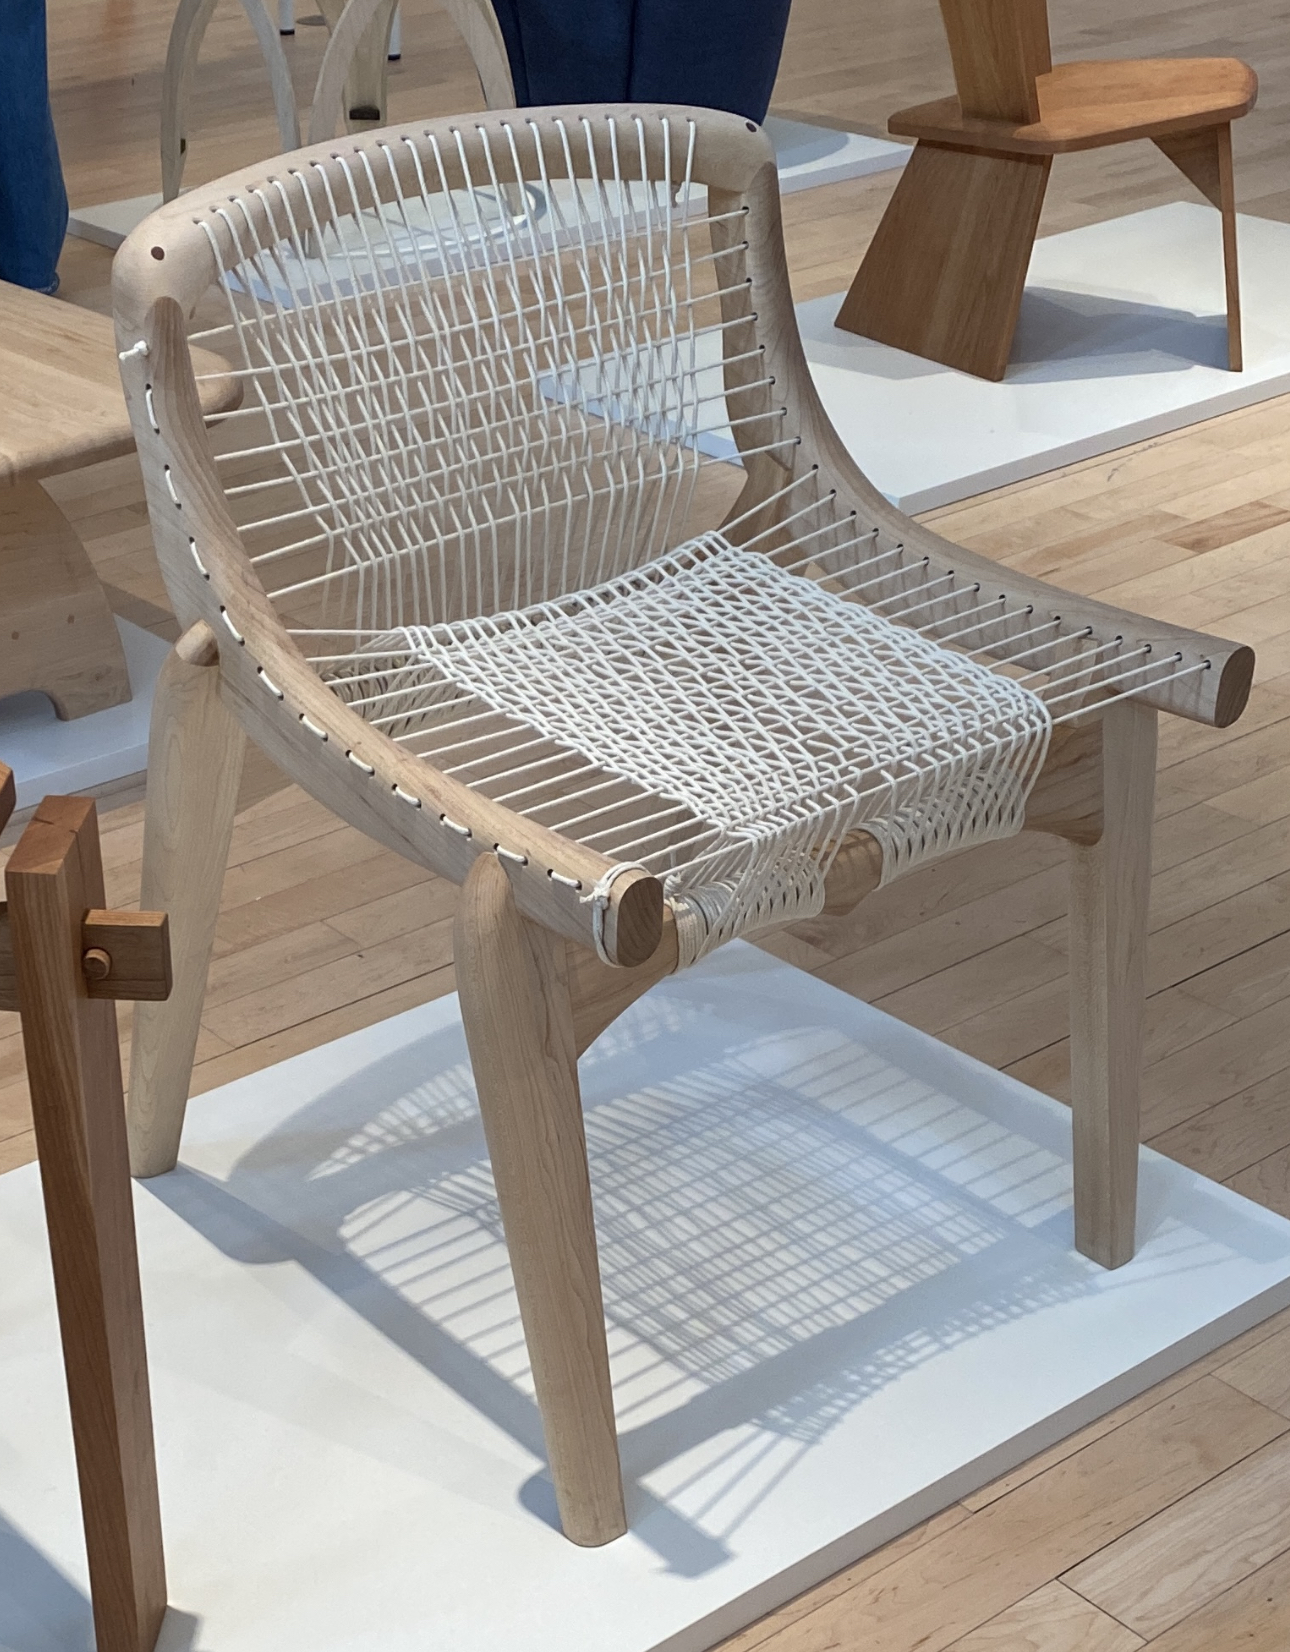

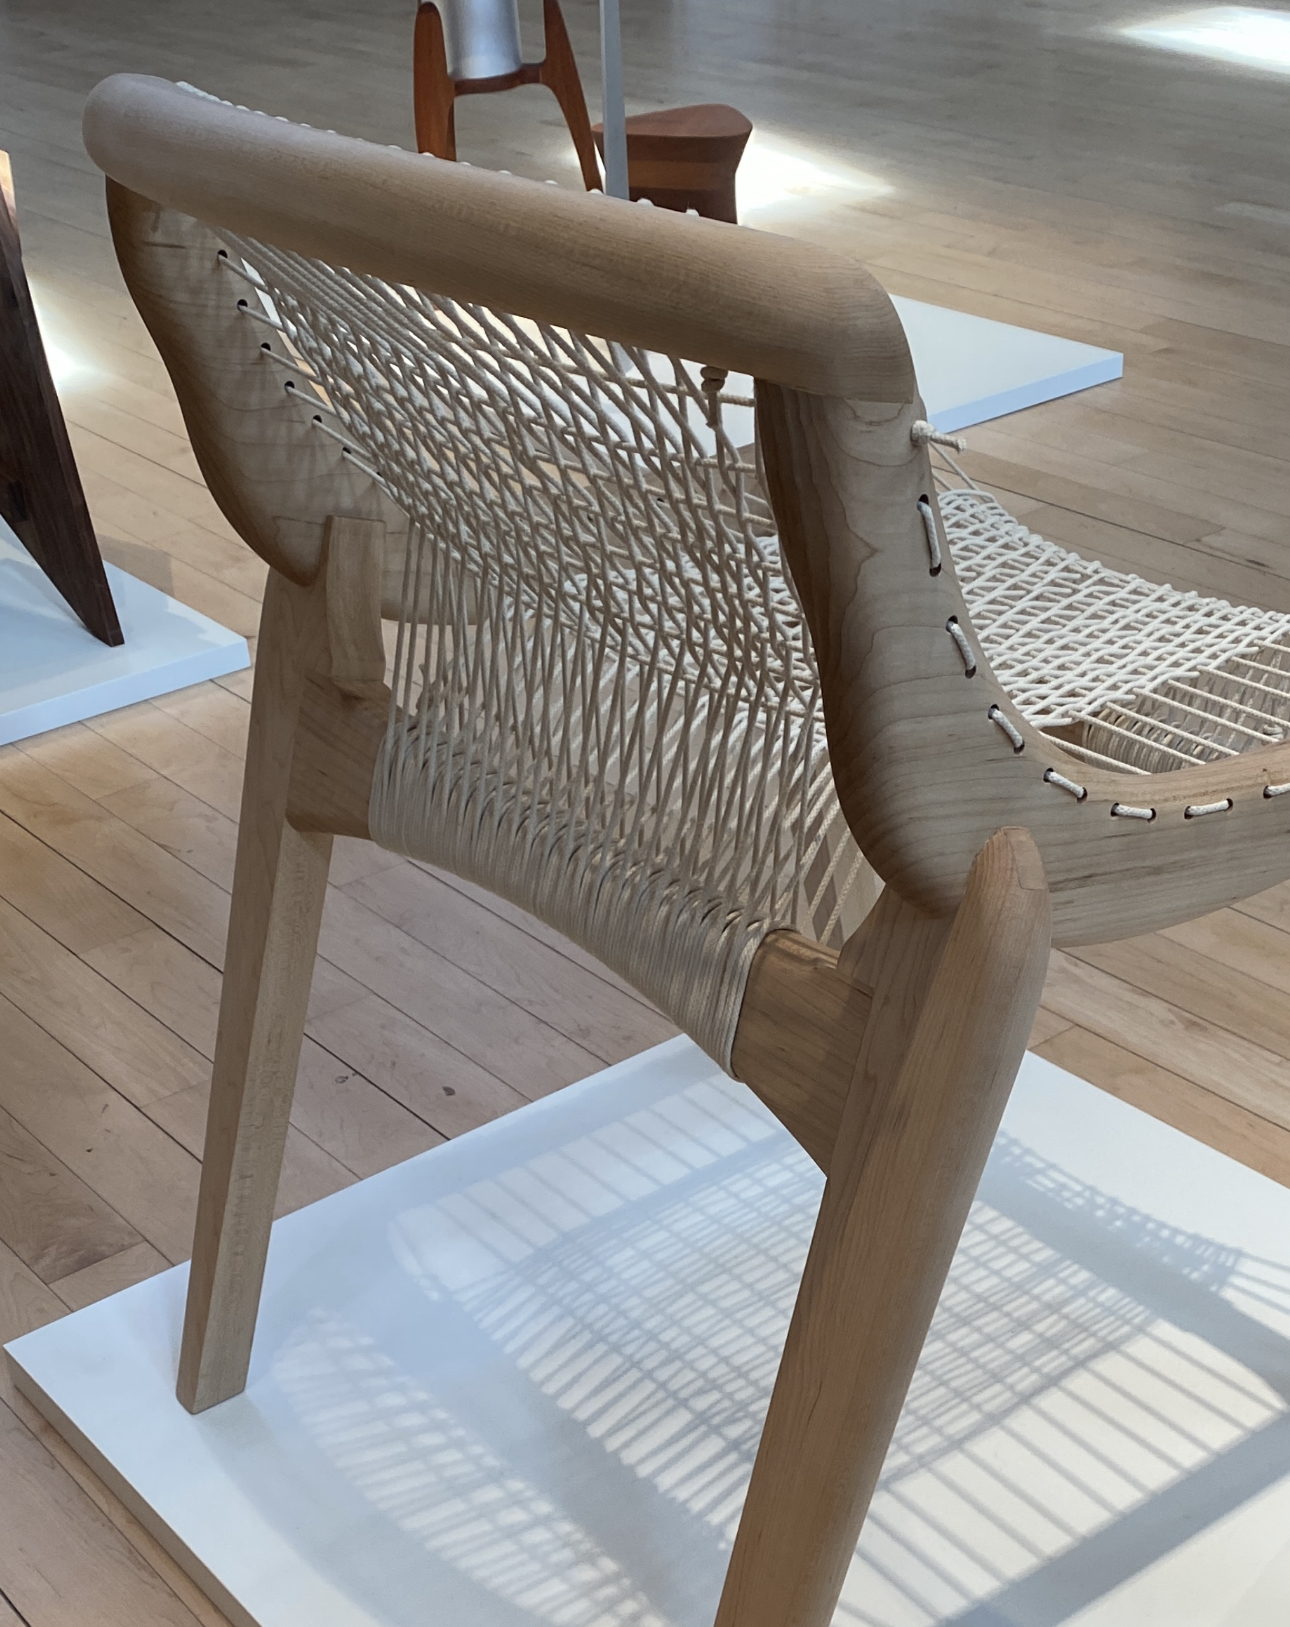
Chair on display for senior design exhibition
I am happy with the outcome of this project. However if I were to start from the beginning I would do numerous things differently. I would have liked the visual language of the chair to feel more consistant throughout - there are a few moments that feel unresolved to me. I would have also found another way to weave the seat as it has issues staying place and aligned correctly. Lastly the back rest could connect to the of the chair in a more logical way. With all that being said, I am proud to have created a functional piece of furniture.

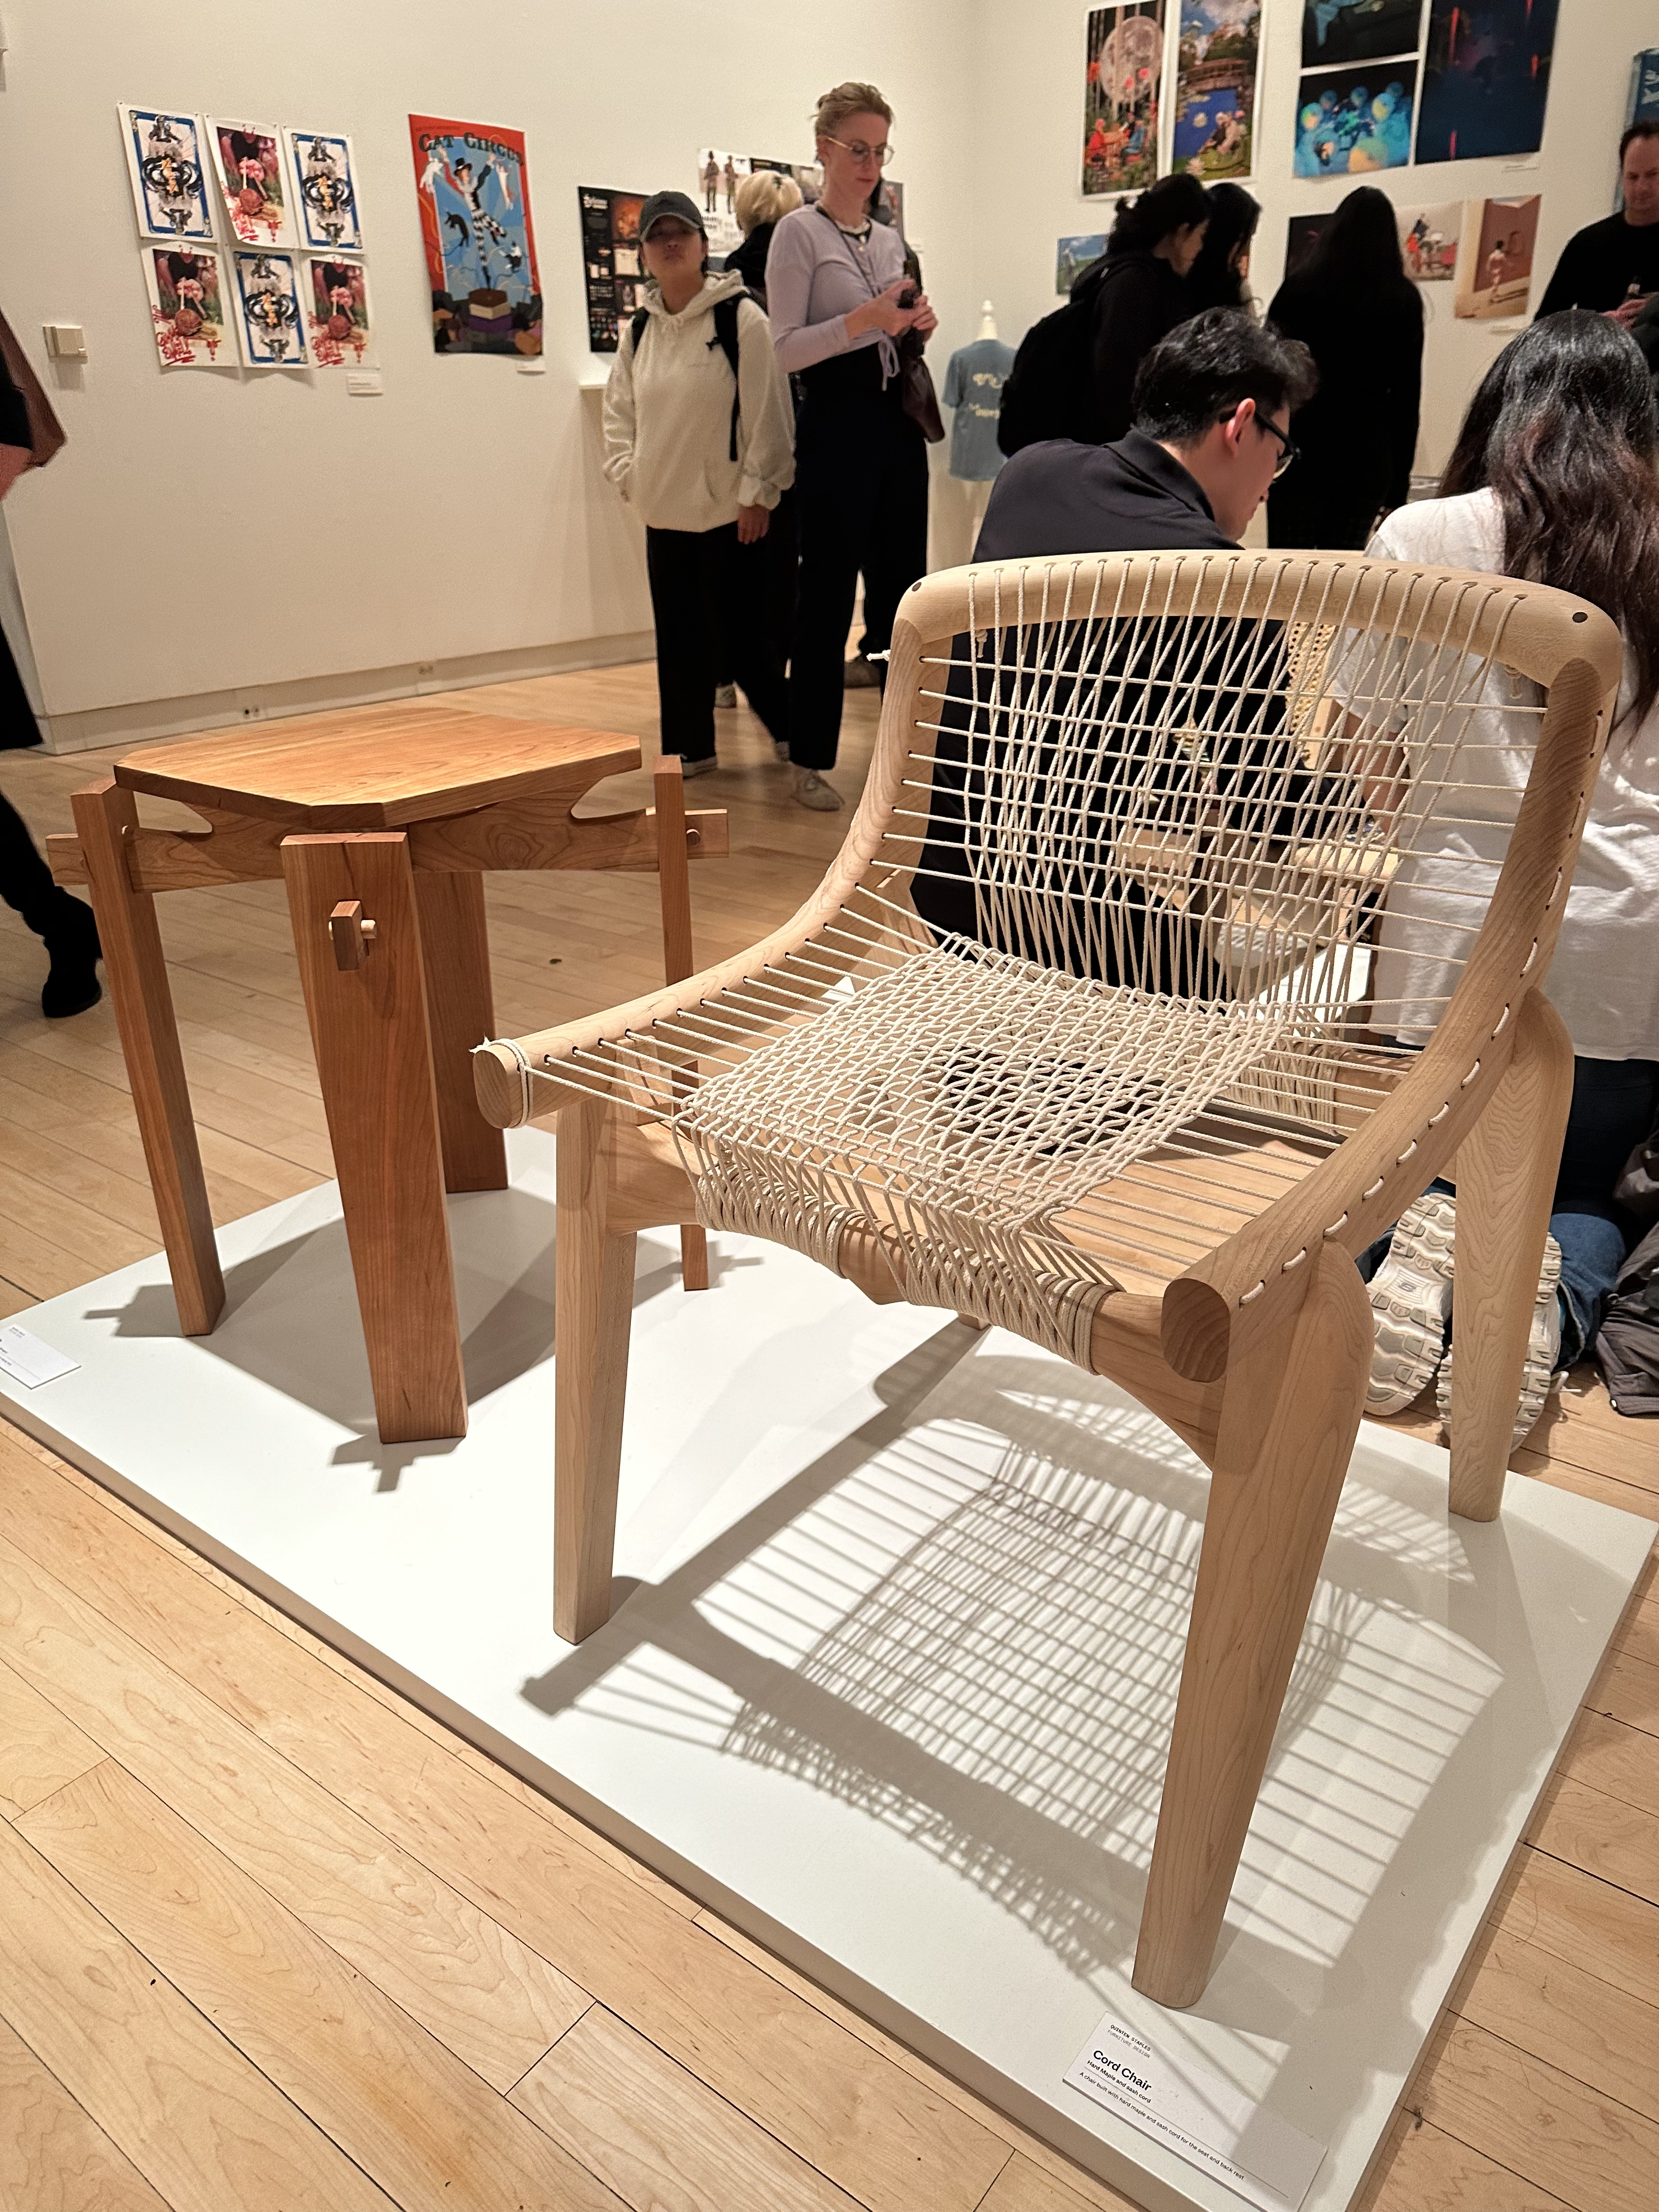
A photo of my chair and table alongside my classmates work in our senior exhibition.


