Chess Platform Table
Furniture ProjectDesigning and fabricating a hardwood table to enrich a chosen interaction.
For this project my chosen interaction was playing chess.
8 Weeks
Tools
CNC Router
Table Saw
Drill Press
Band Saw
Chop Saw
Origin Shaper
Chisels
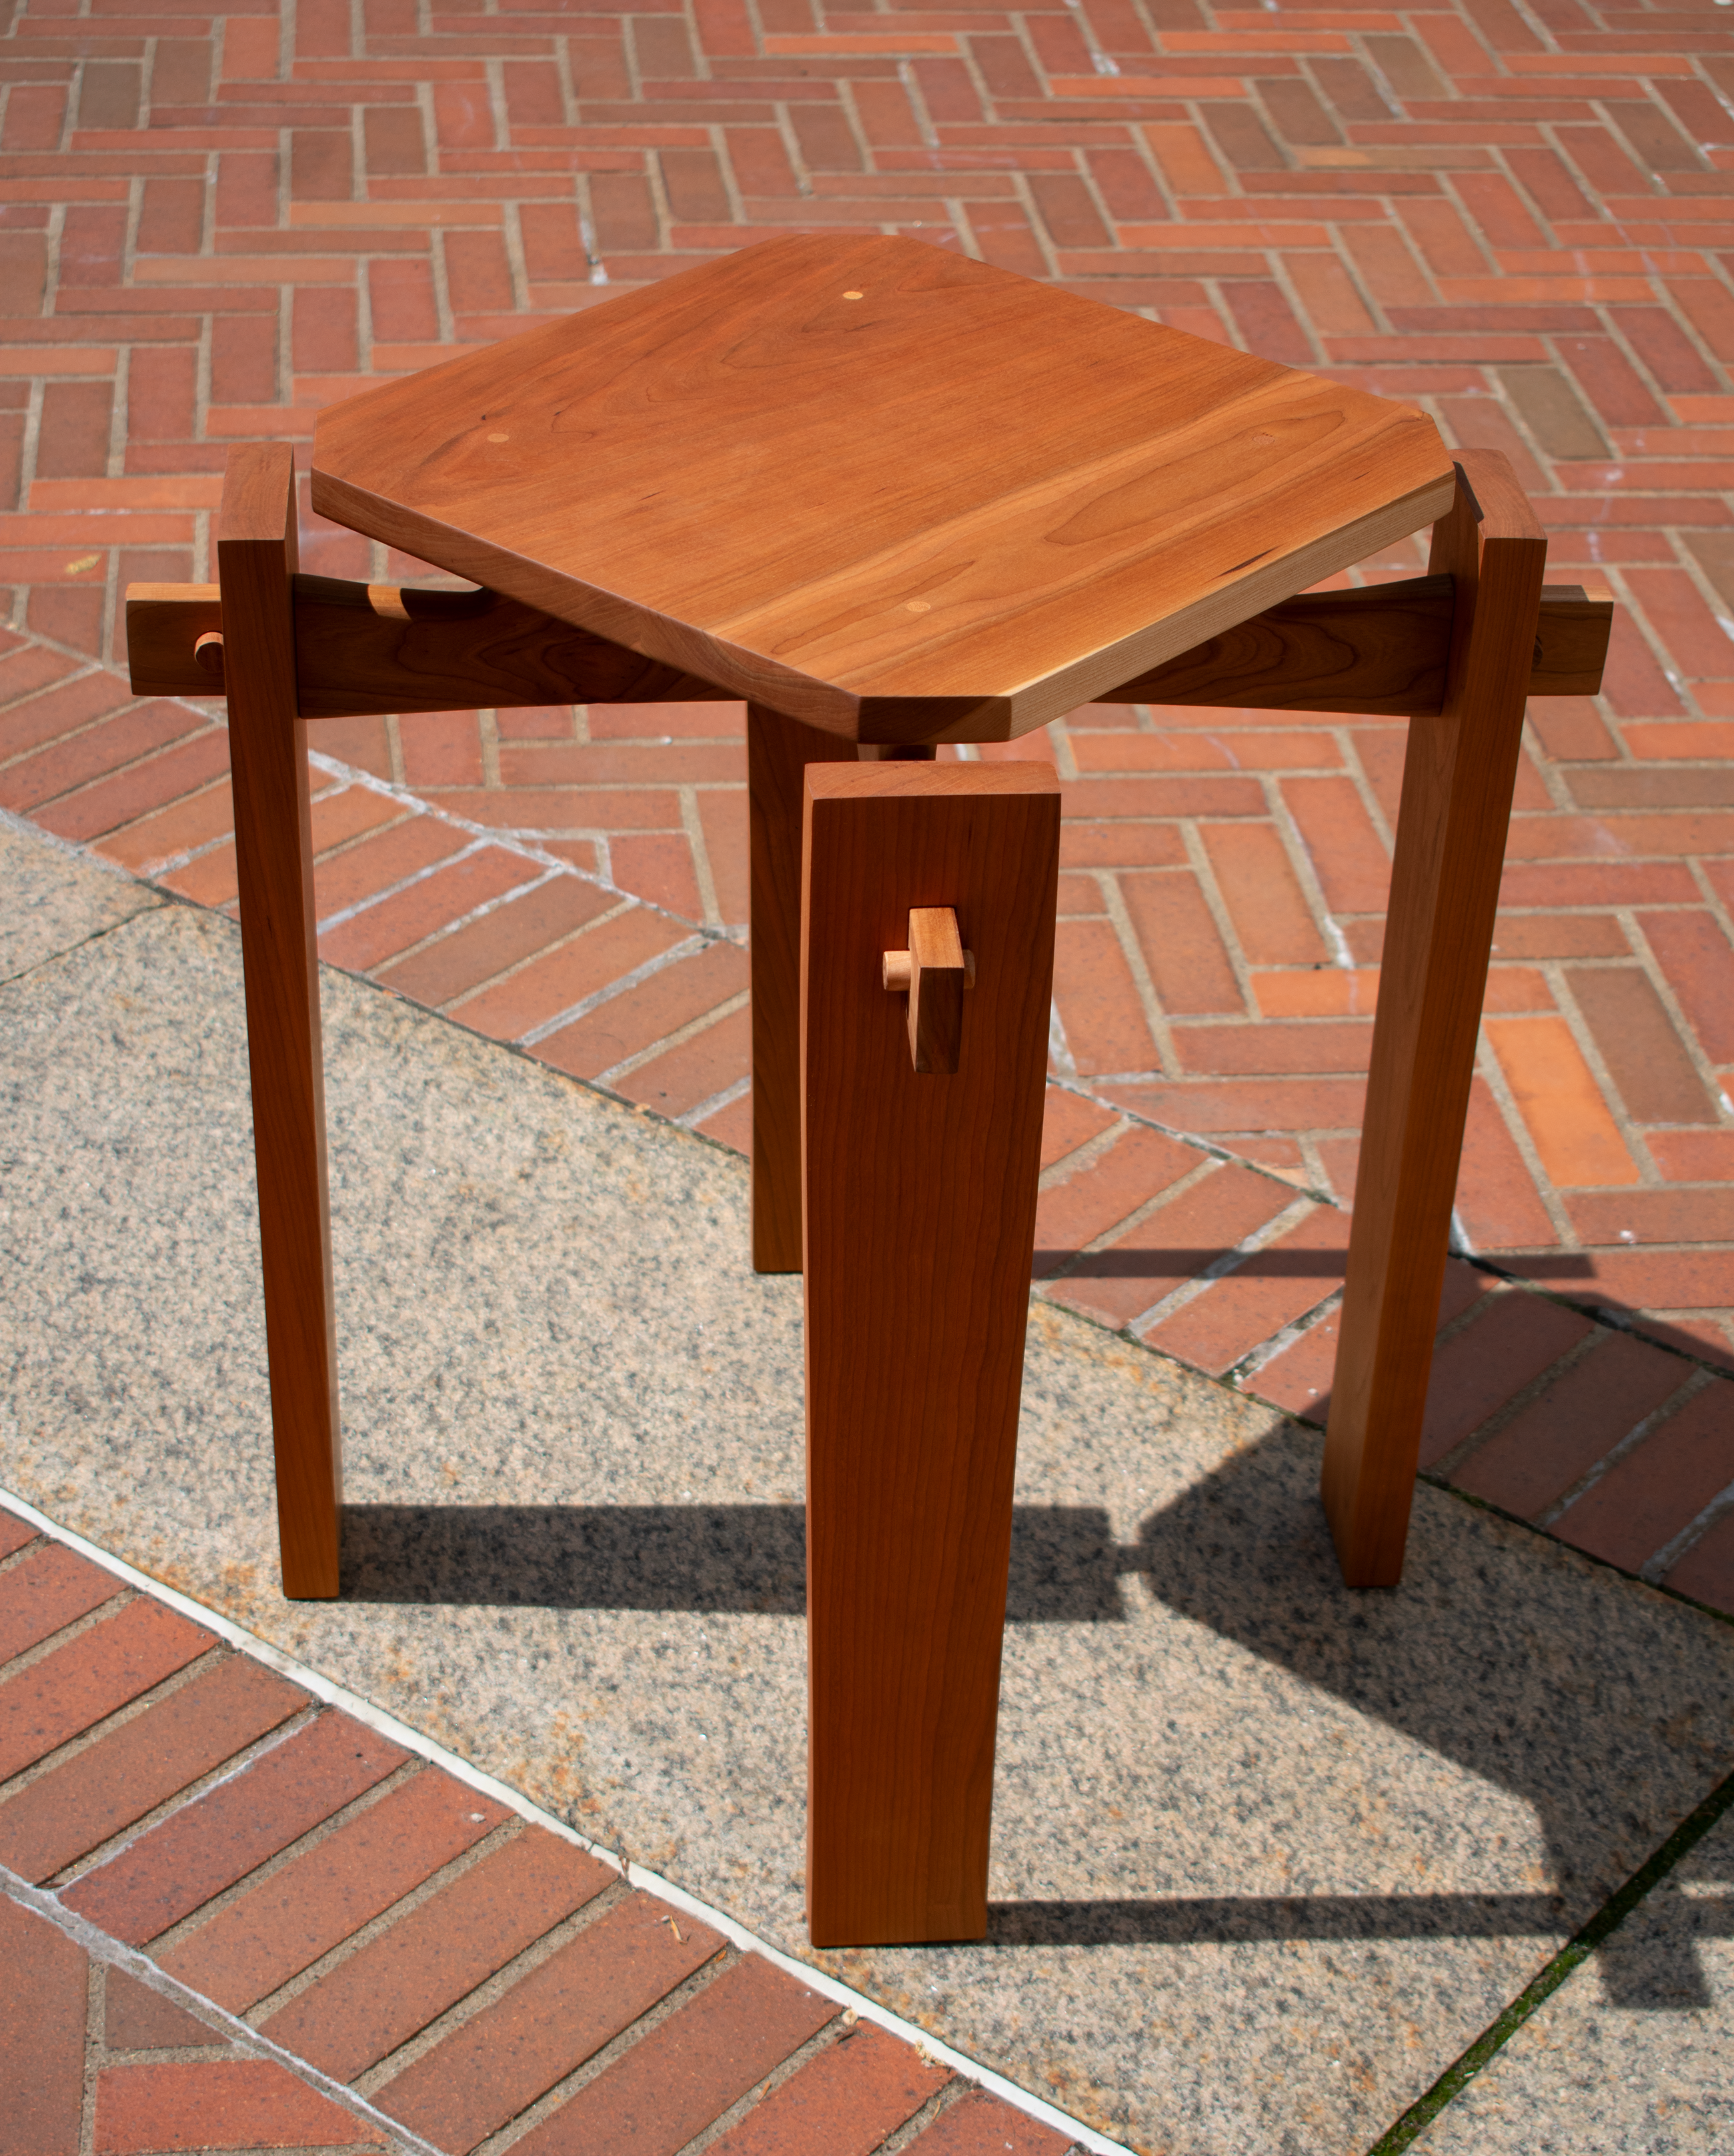
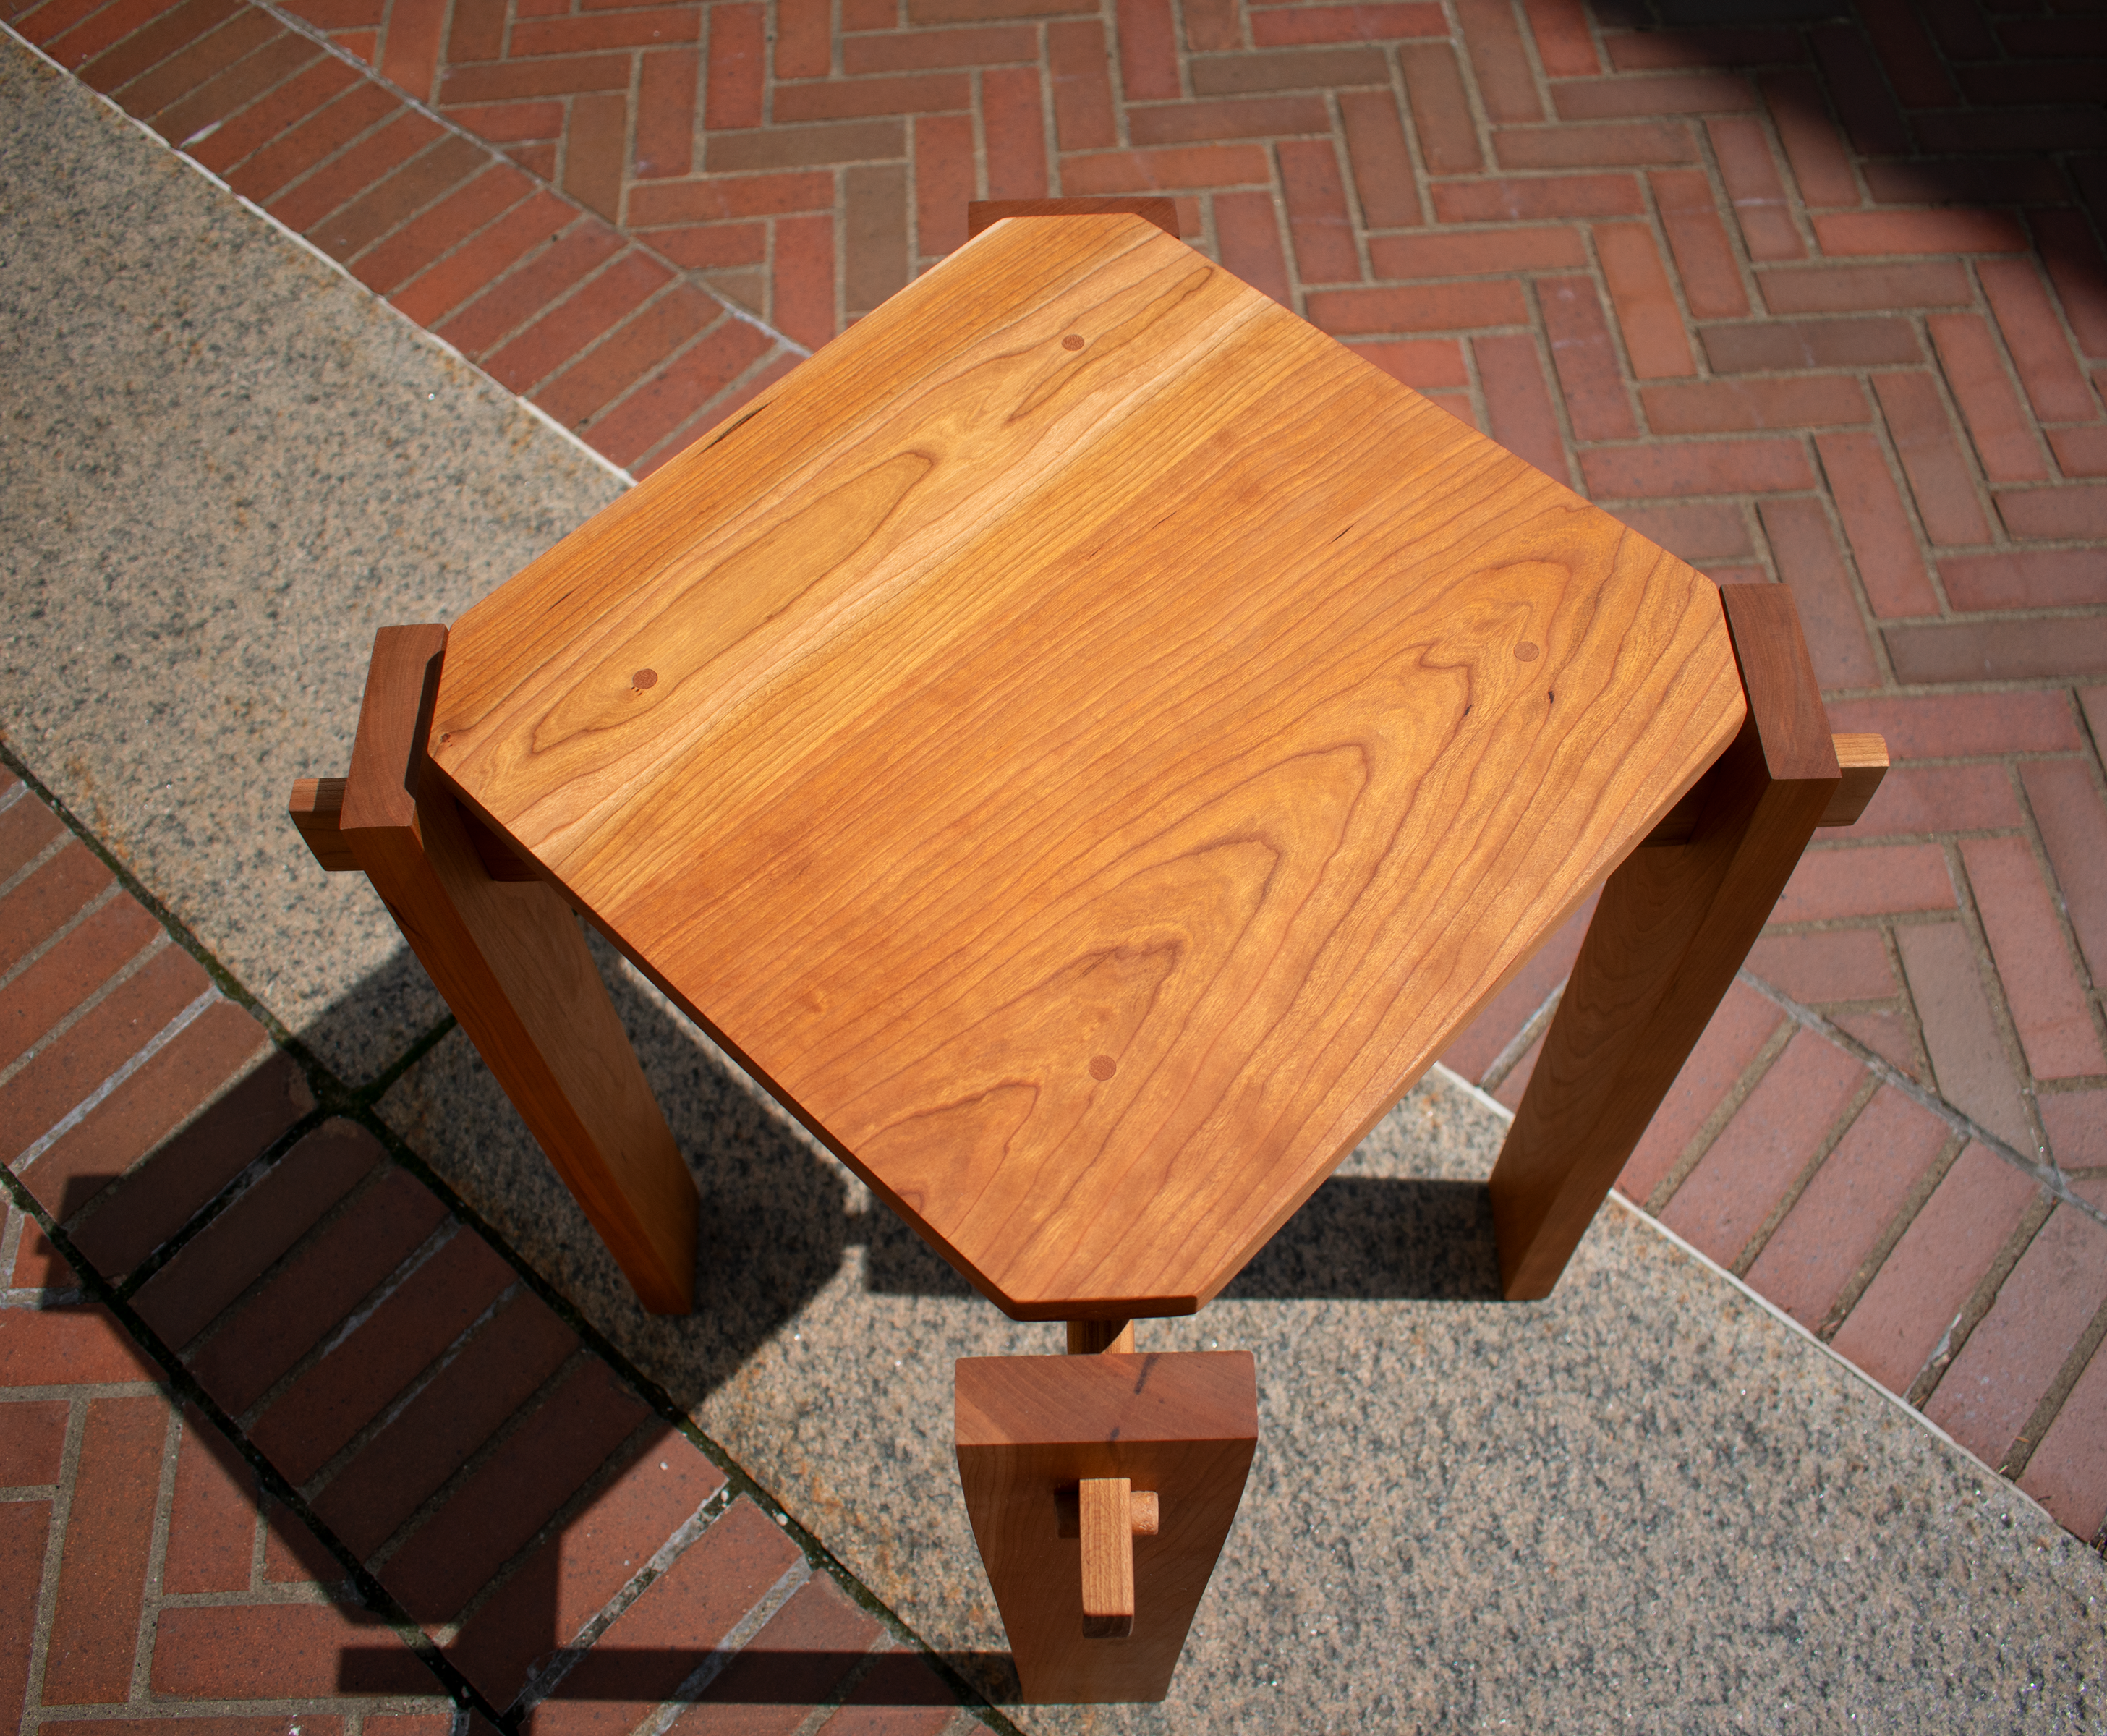
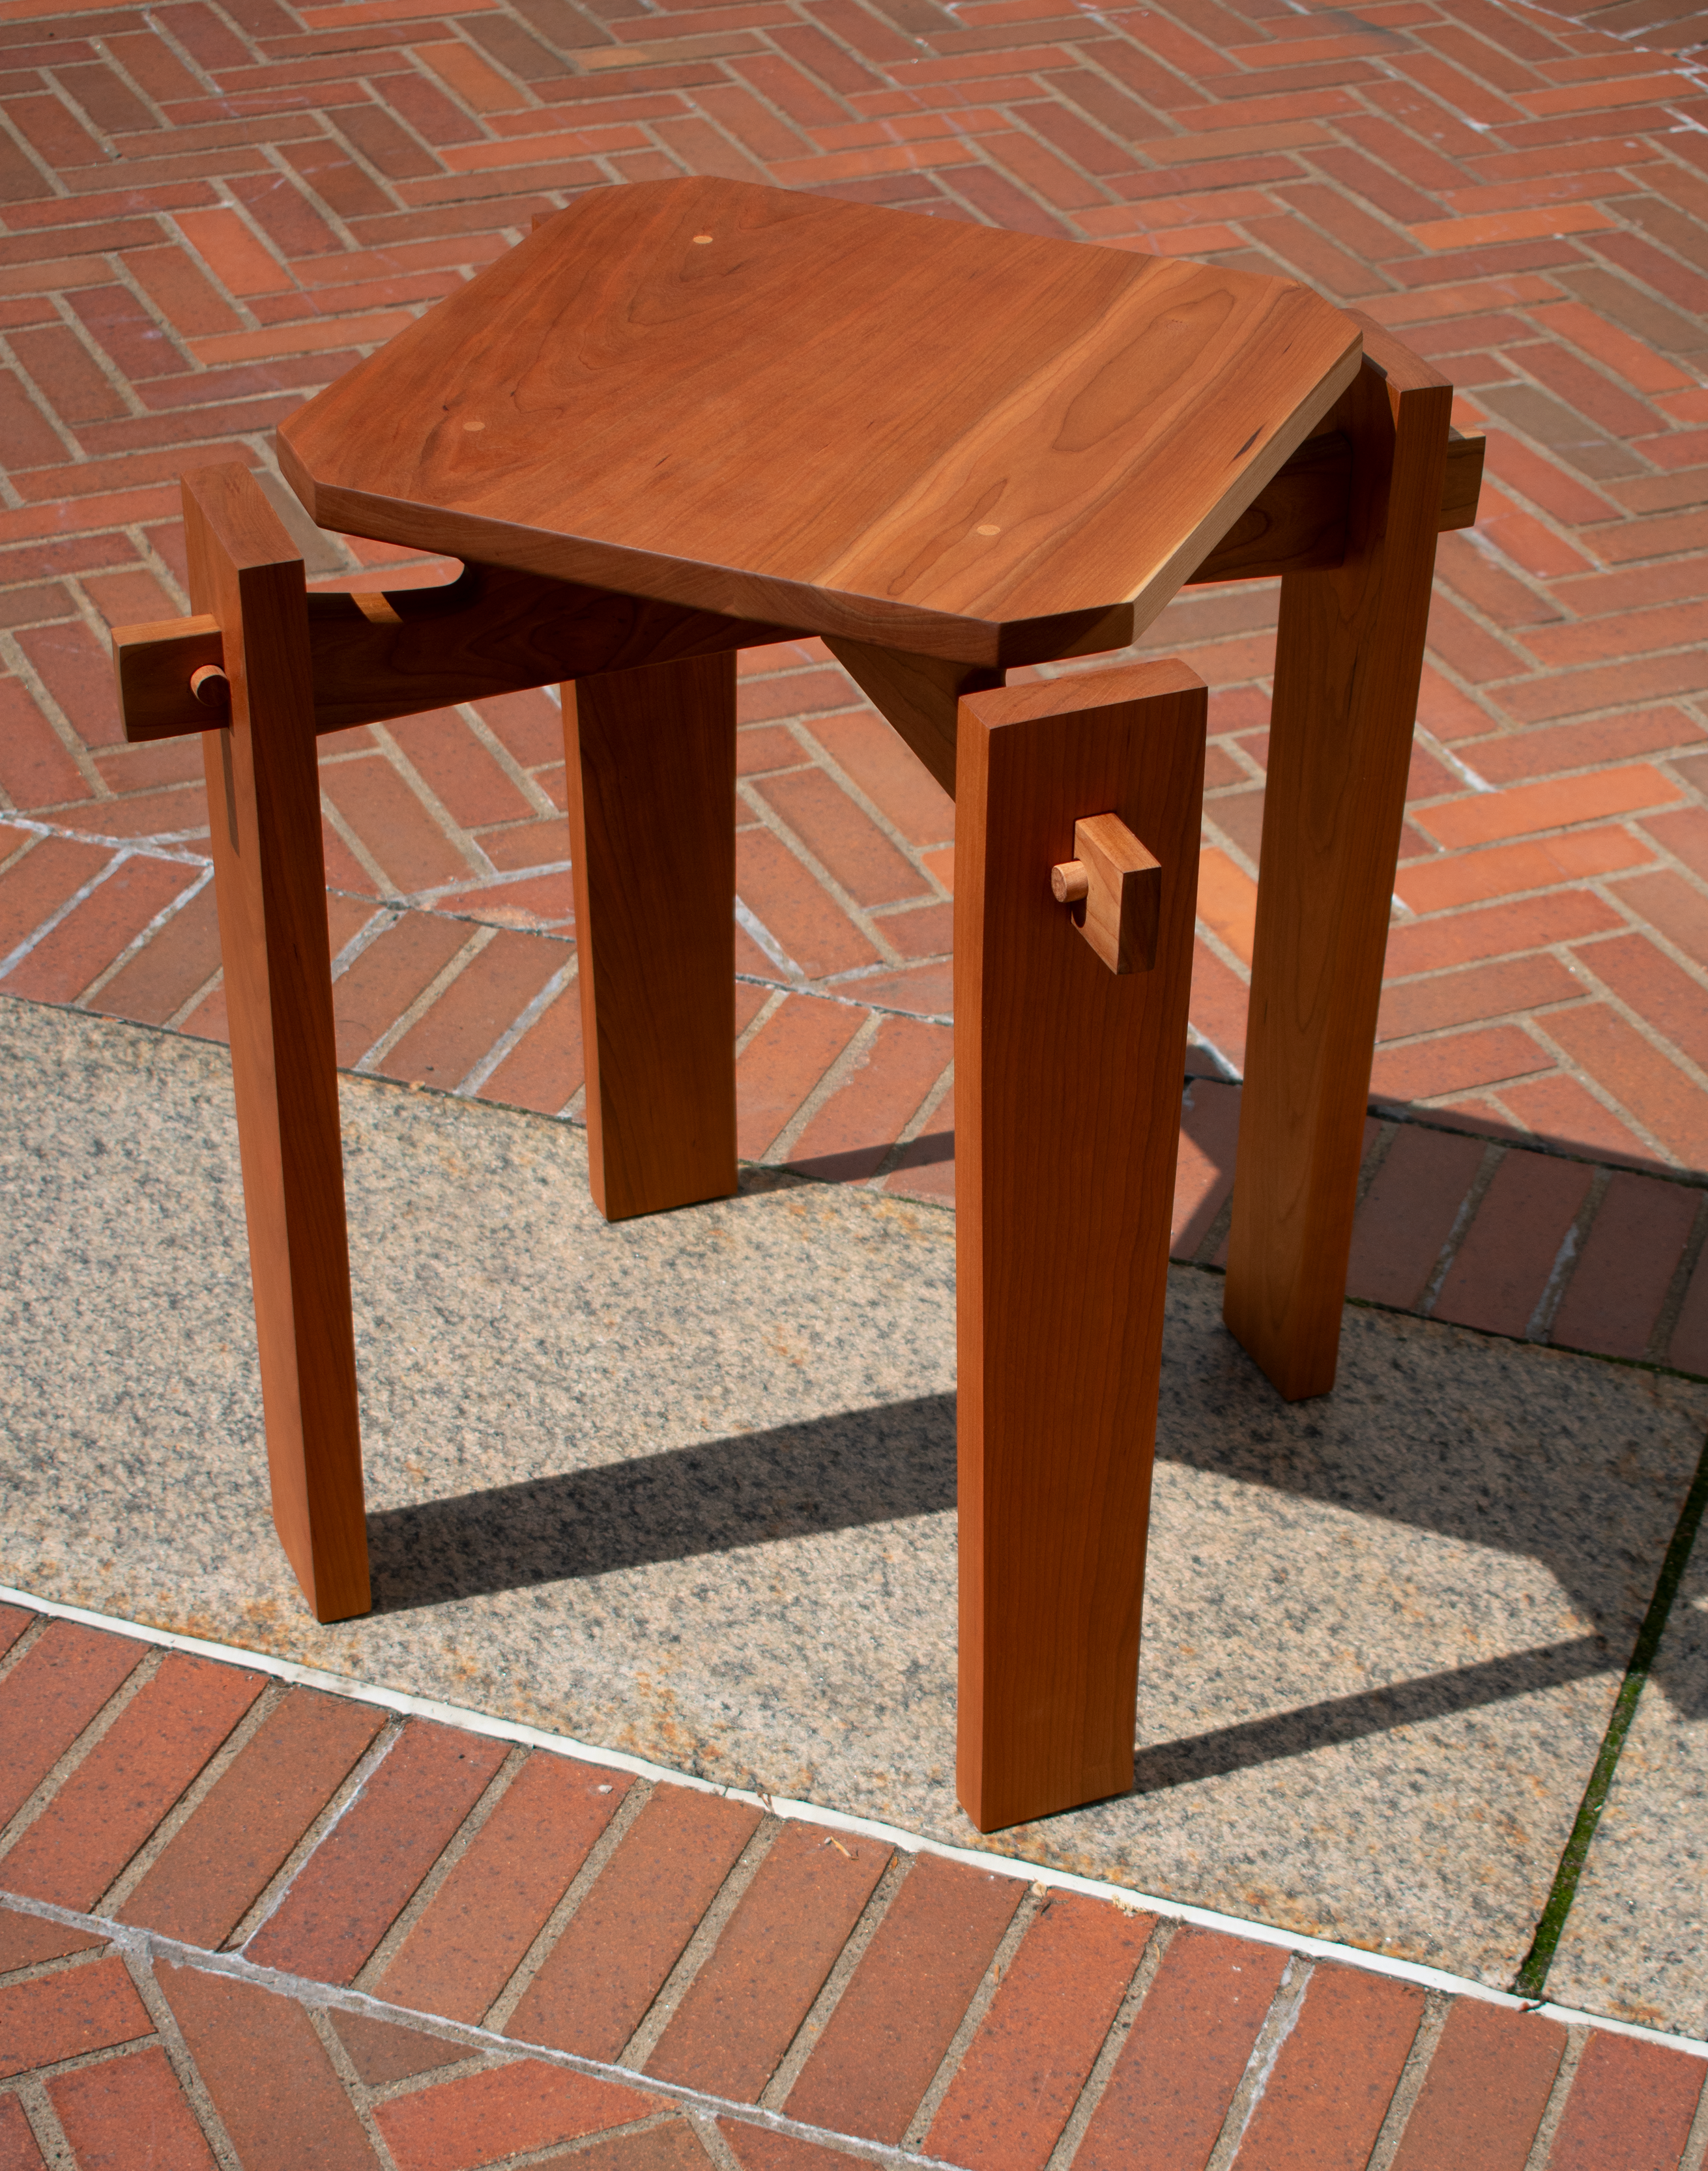


Process
Exploration
Our assignment was to create a table to enrich a chosen interaction. The interaction I choose was a game of chess.
This interaction gave me several things to consider in my design. The game board’s dimensions, storage of the pieces, and a timer were all considered in my early exploration process.
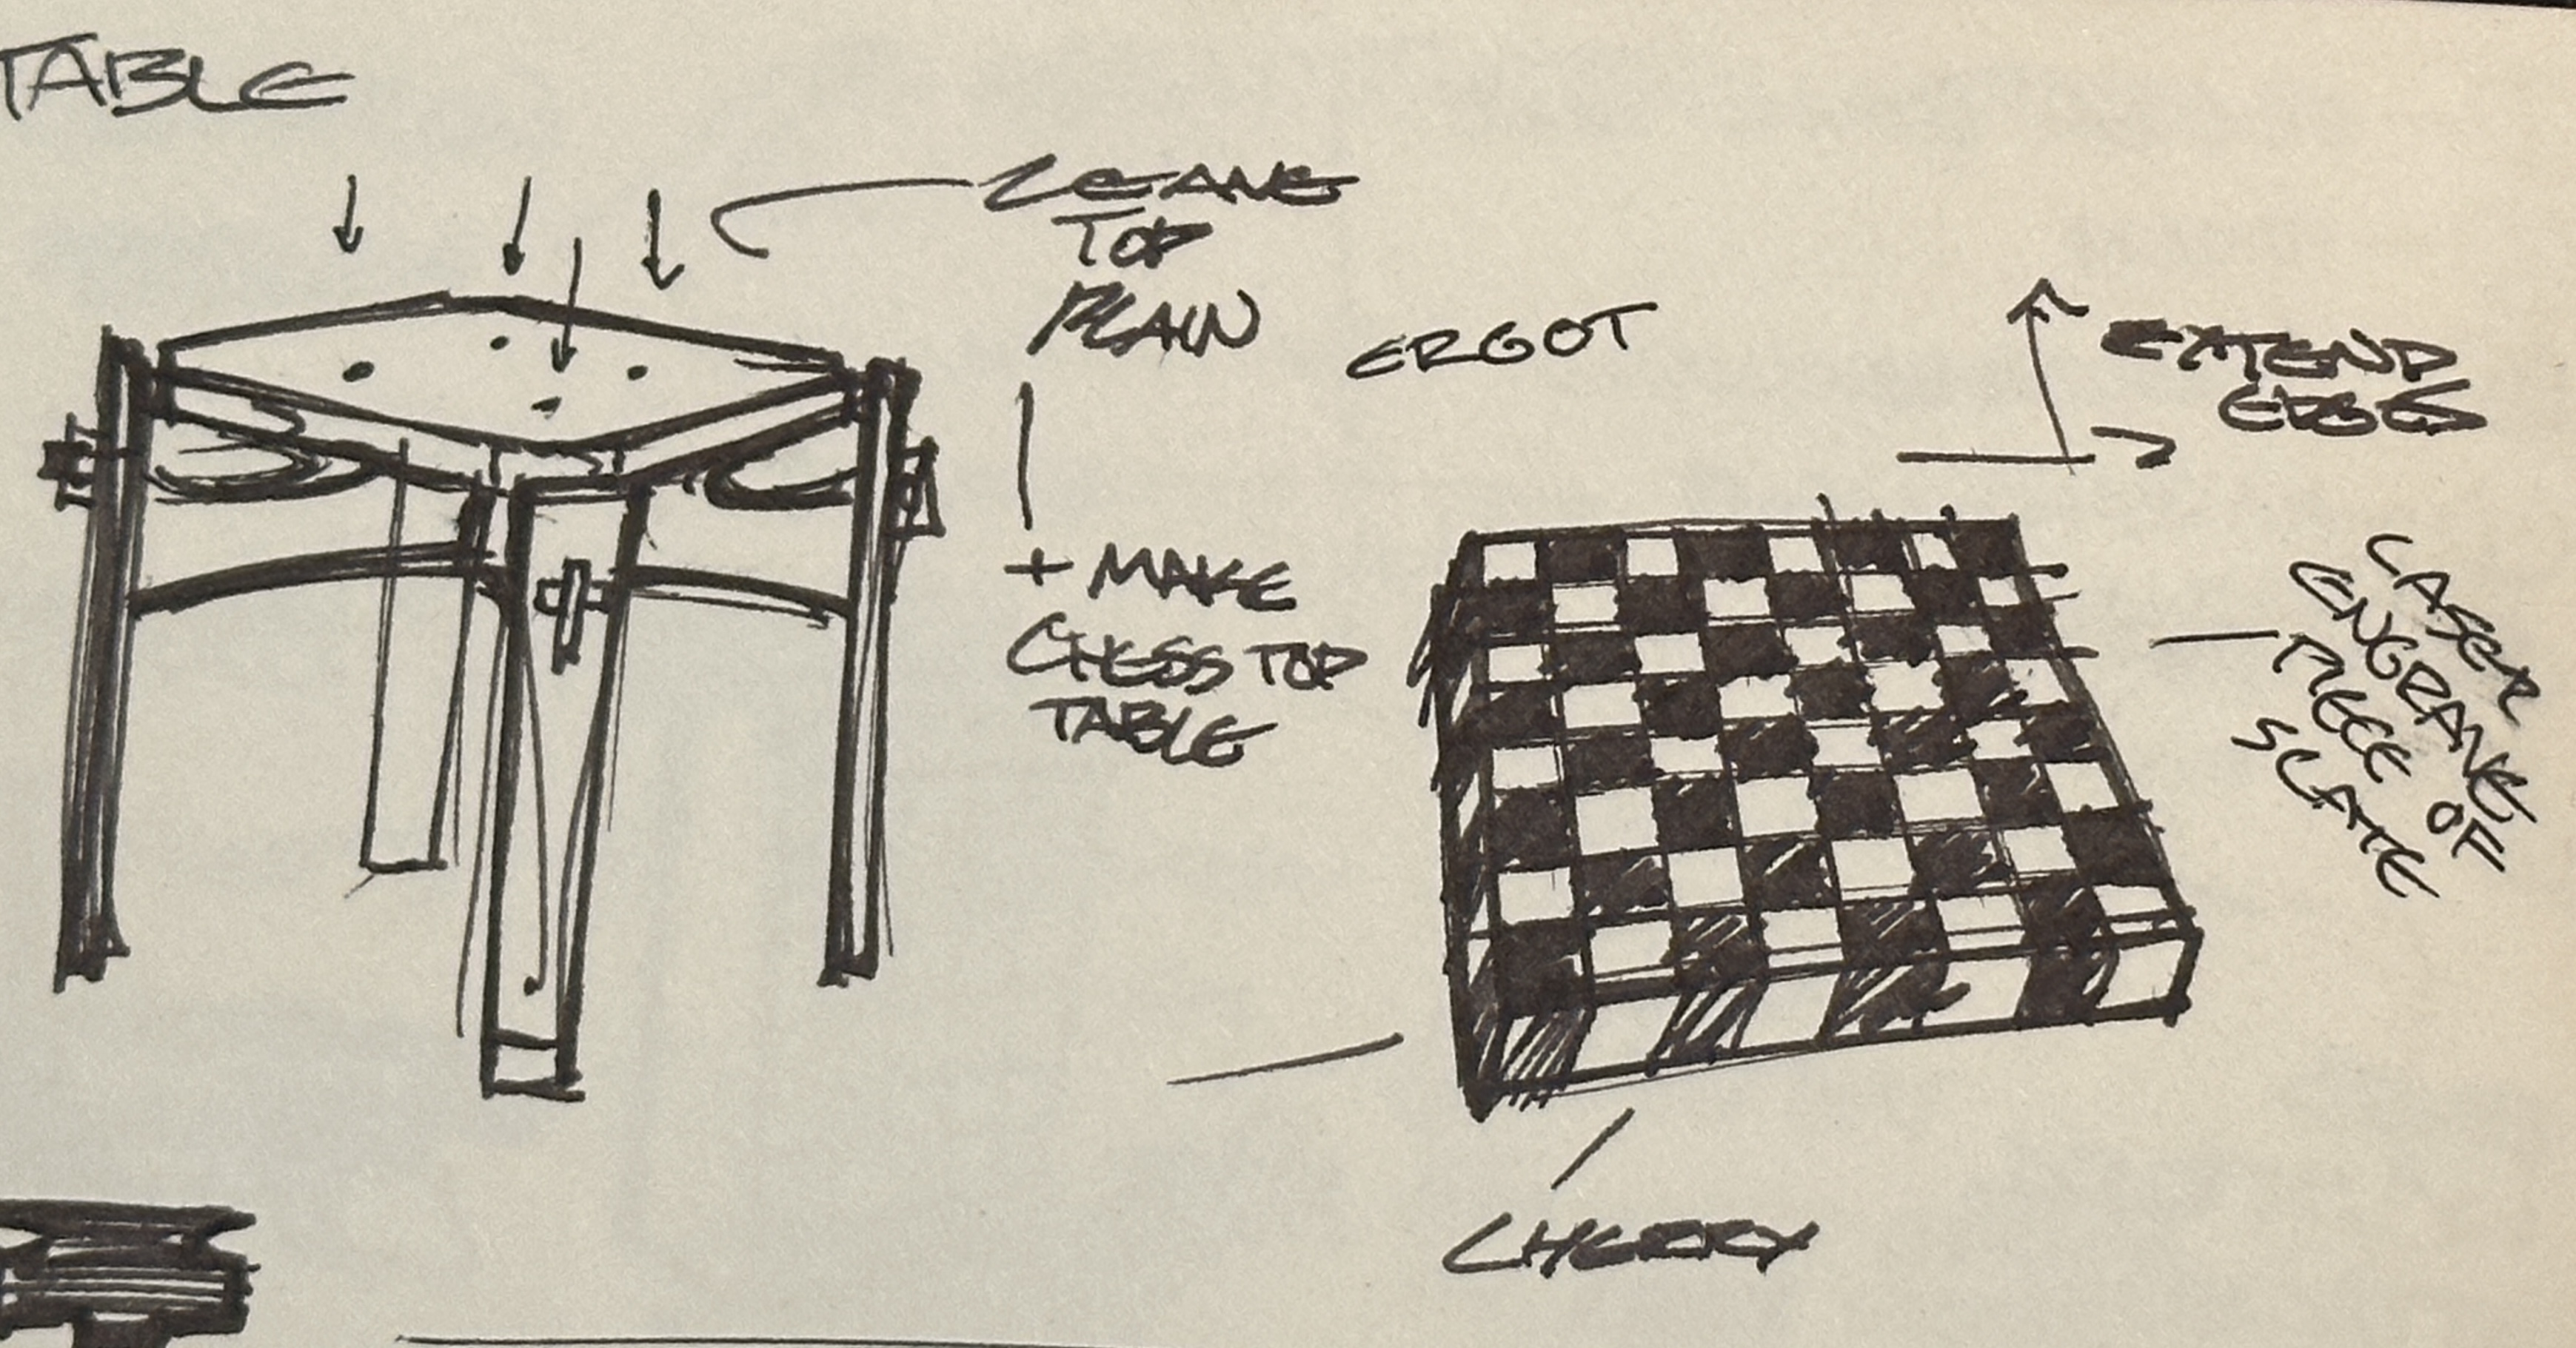
Through sketching, I began to gravitate towards the idea of creating a floating board effect. I wanted the board to be elevated above the legs of the table to emphasize the game on the top surface.
My professor Matt introduced me to Japanese joinery techniques. I was already somewhat familiar with some of the methodology behind Japanese woodworking from an Art History class I took in high school. The principle of not using fasteners in the joints was one I wanted to adopt.
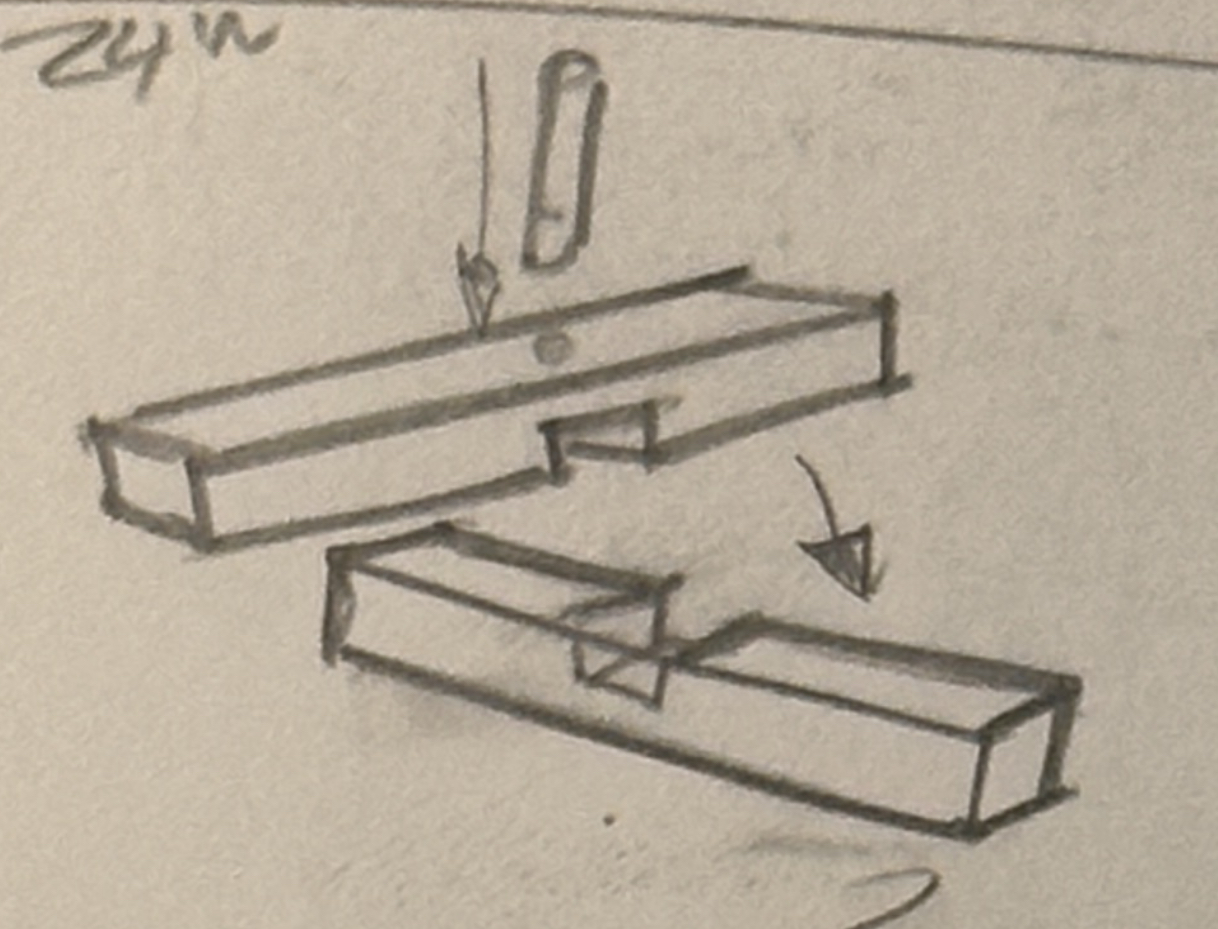
I really liked the draw-pin joint from the joinery book and decided I would try to implement it into my table design. Given the extra effort creating this joint would take I thought it would make sense to be made a focal point of the design.
I really liked the draw-pin joint from the joinery book and decided I would try to implement it into my table design. Given the extra effort creating this joint would take I thought it would make sense to be made a focal point of the design.
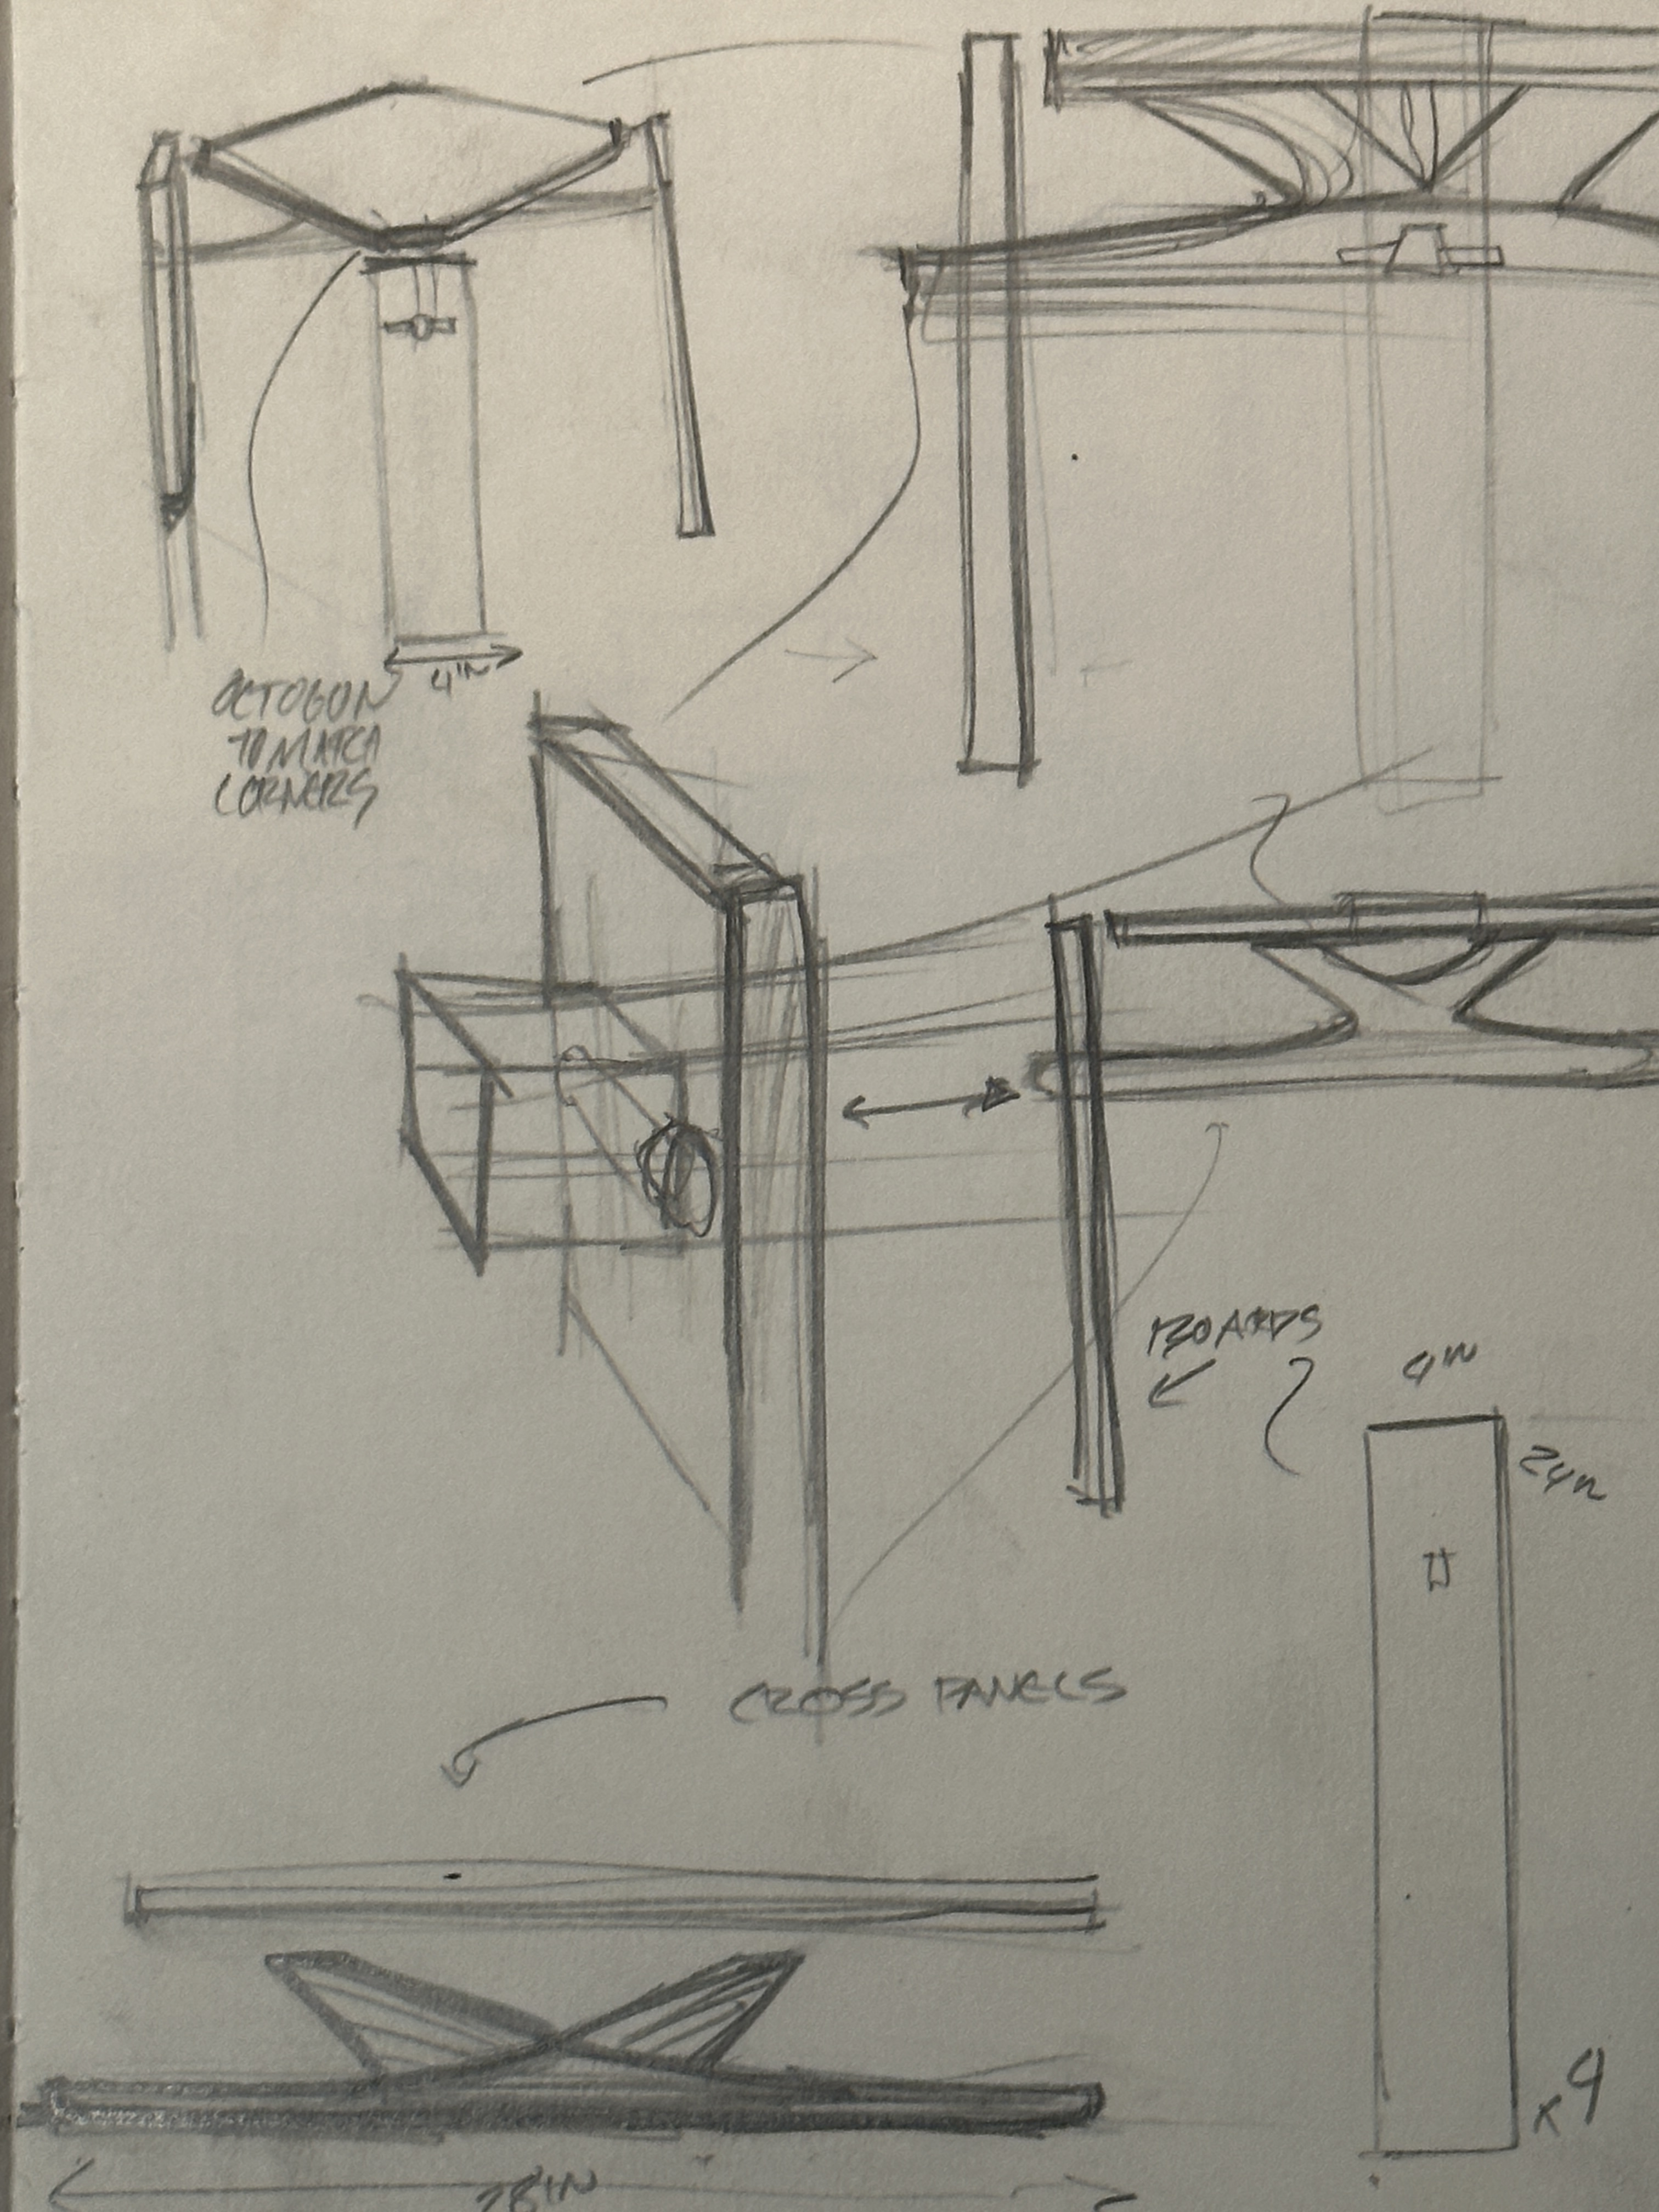
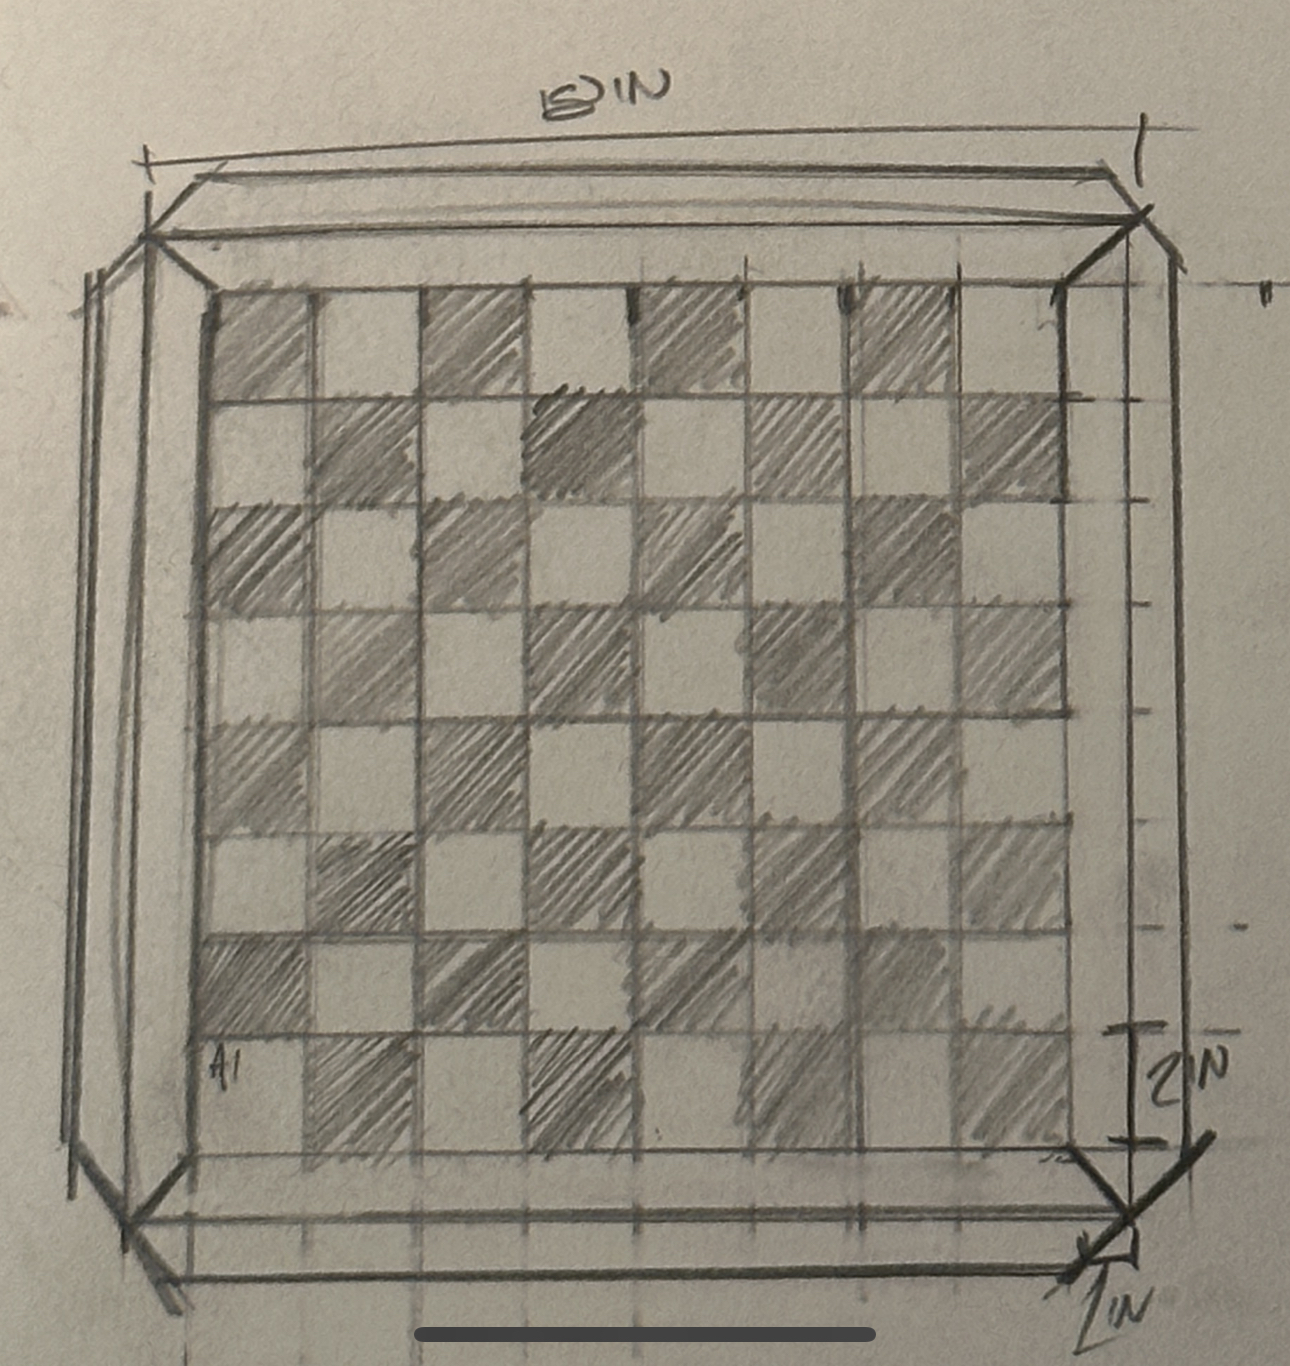
After making this decision I started moving towards my final design. I determined the dimensions from the chess board with standard 2x2 inch squares. After determining the dimensions of the board, I was able to decide on the proportions of the legs and height of the table.
At this point I was comfortable with my design and ready to purchase my lumber.
At this point I was comfortable with my design and ready to purchase my lumber.

Fabrication
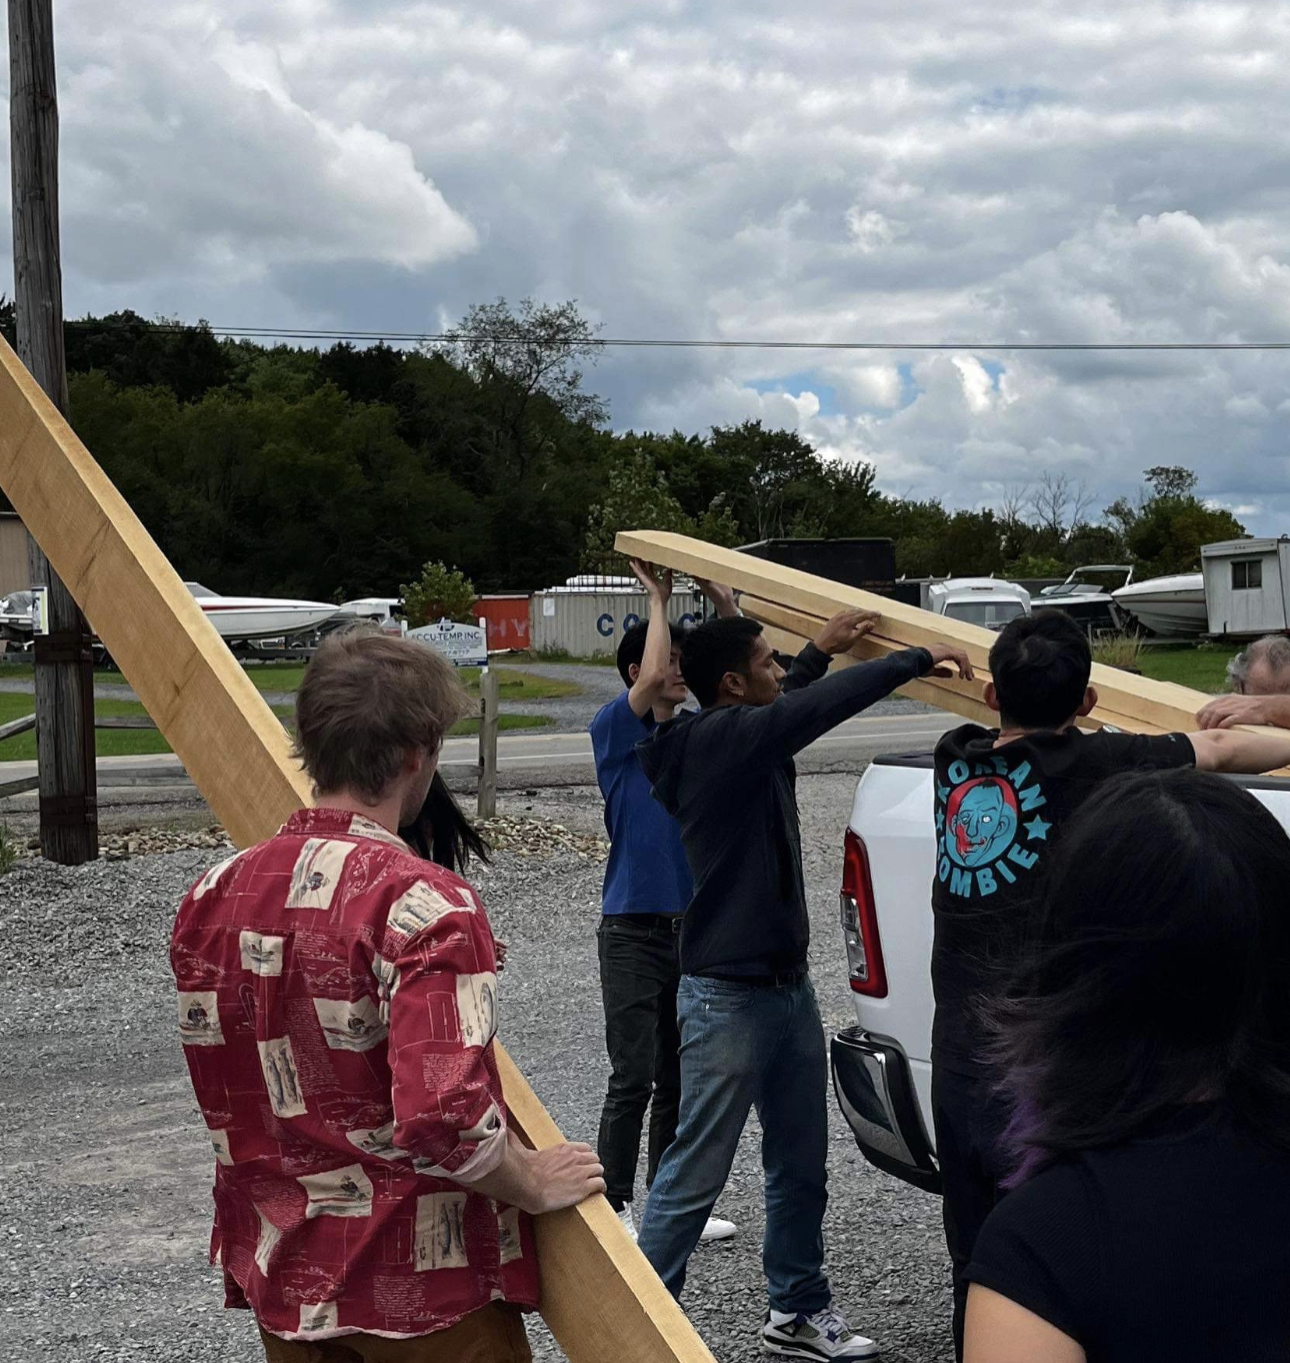
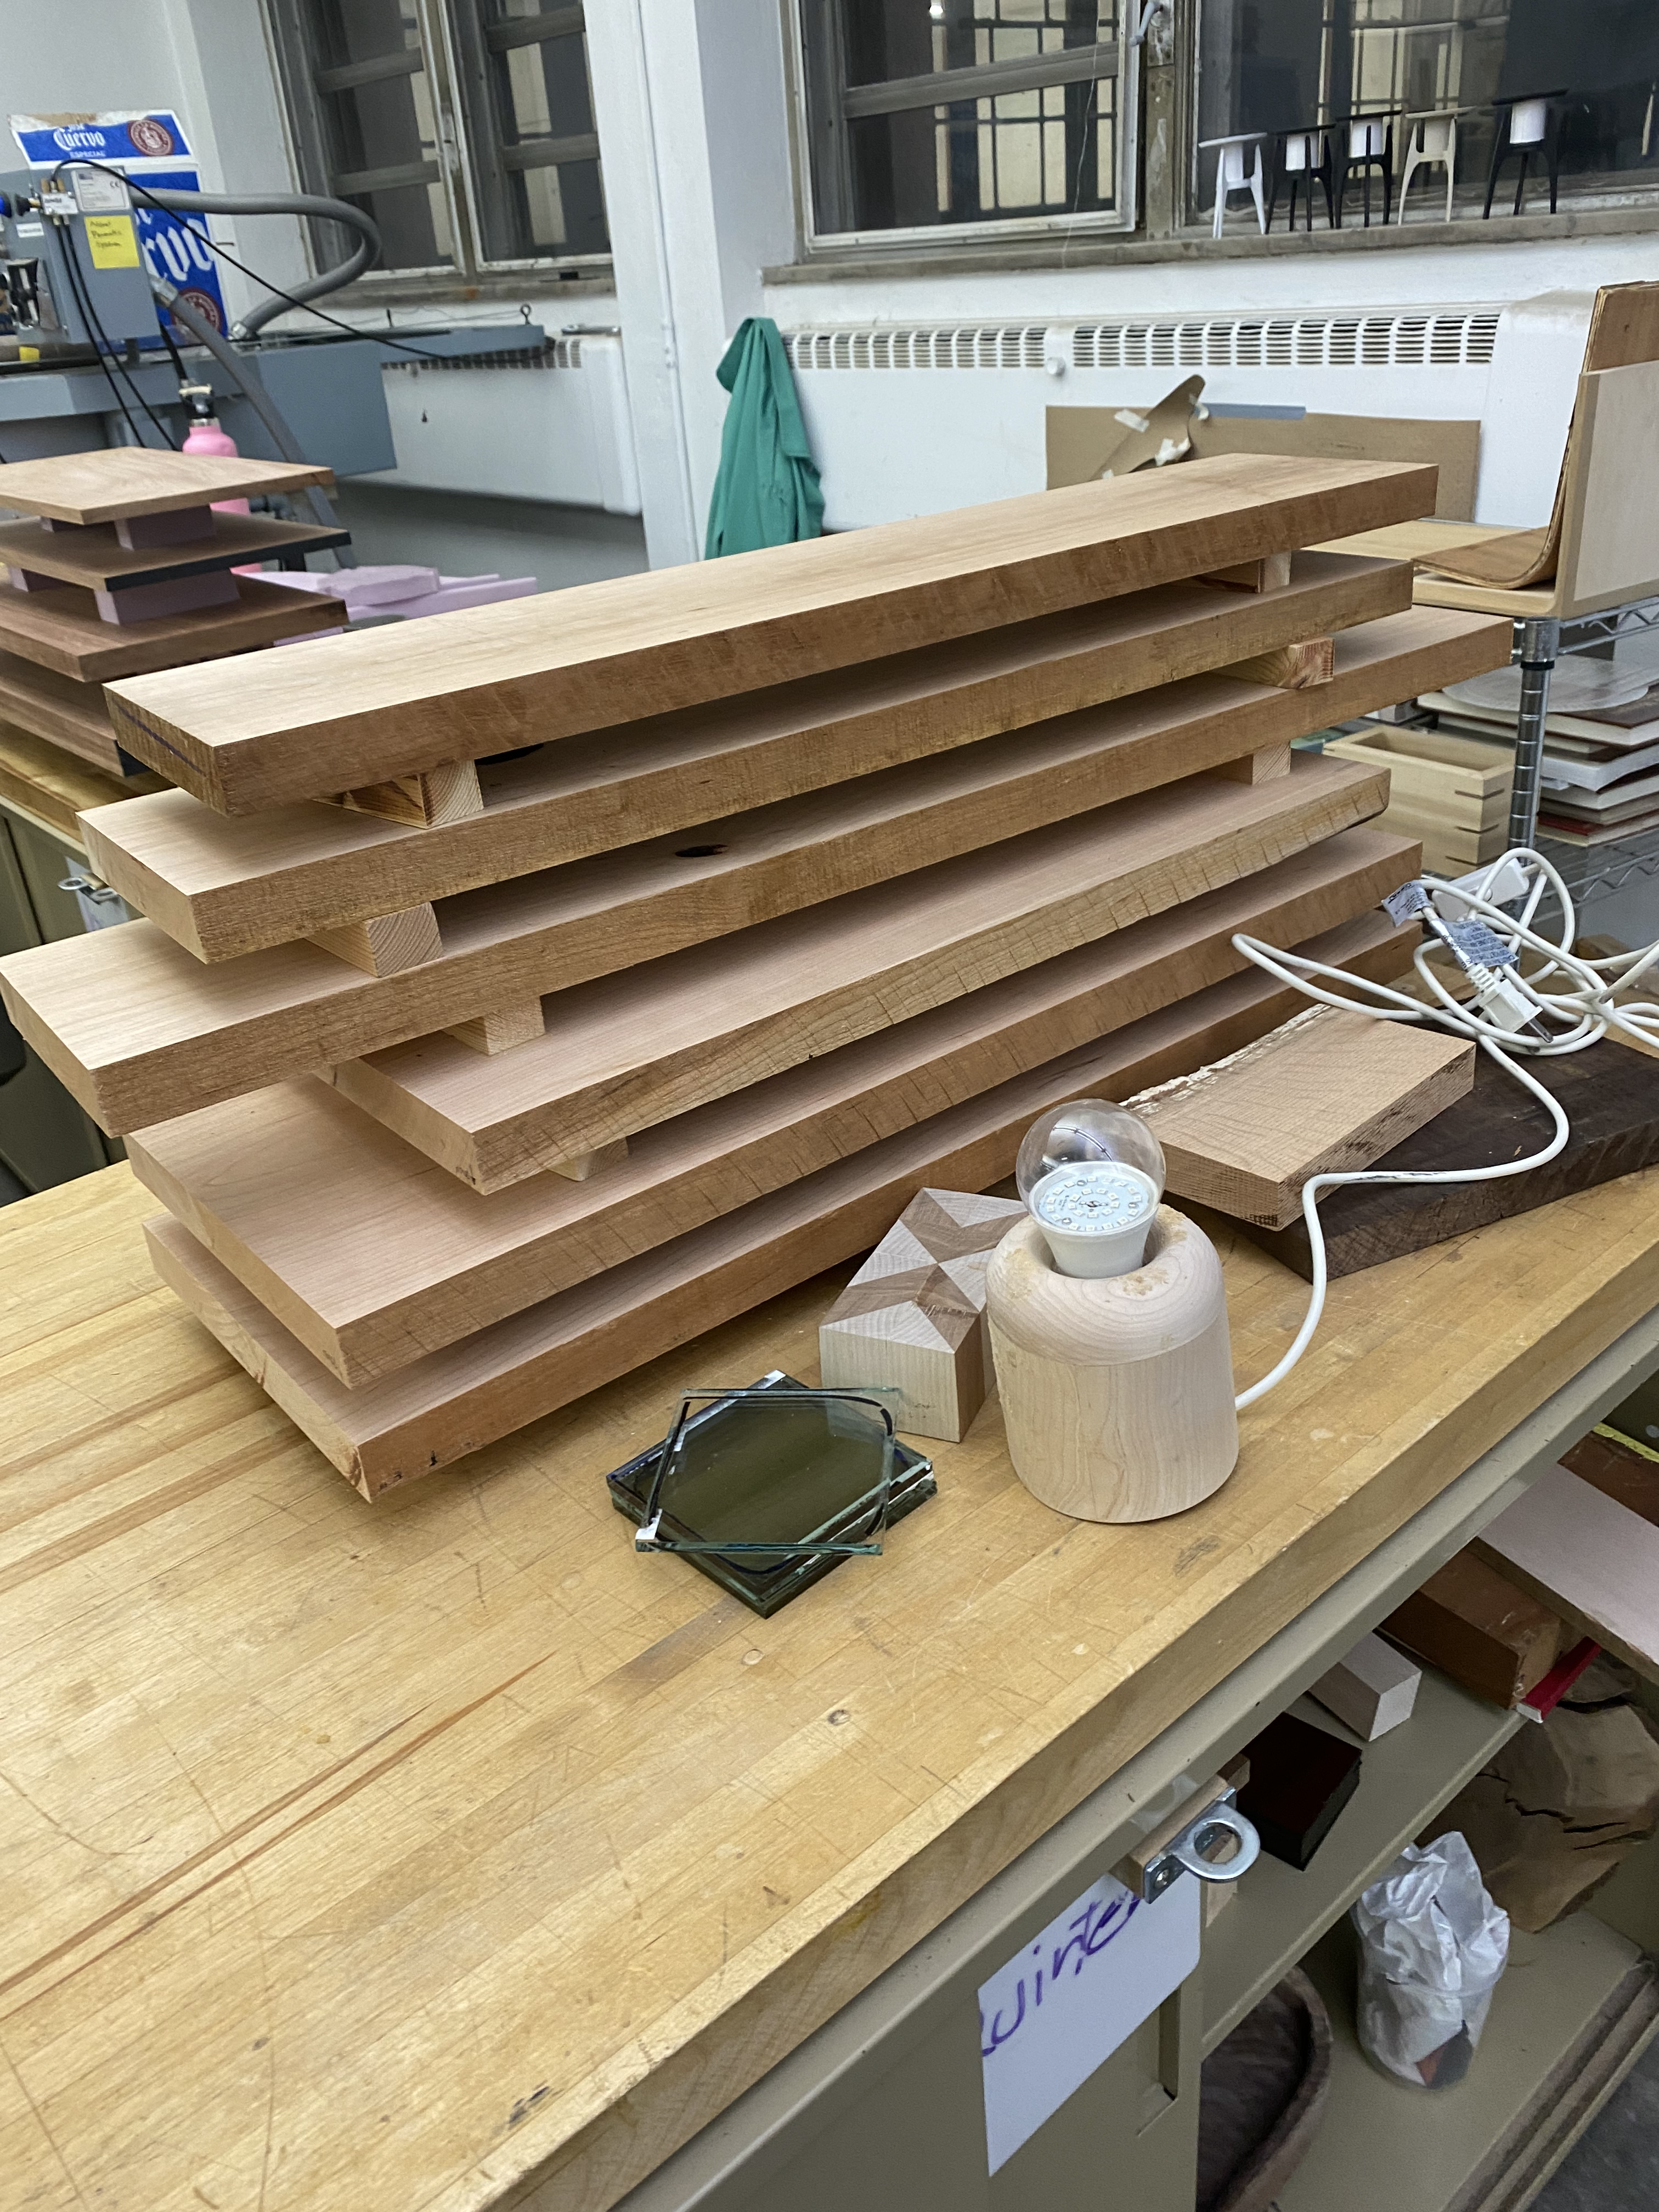
Our class took a trip to Mars Lumber in Mars, PA. I purchased to raw cut cherry boards. I purchased two different board thicknesses - one for the legs and the other for the surface and cross section underneath.
After jointing and planing the boards, I assembled the tabletop with biscuits and wood glue and the ran it through the drum sander until it was the proper thickness.
I used the CNC router to shape the legs and cross section of the table.
Using this tool allows me to use a computer program to control a router attatched to an arm to shape the wood drilled to the surface with a high level of precision.
Using this tool allows me to use a computer program to control a router attatched to an arm to shape the wood drilled to the surface with a high level of precision.
After using the CNC router, the pieces need to be cleaned up. I sanded them down and chiseled out the rounded corners so that they are squared. Throughout the process, I continuously test fitted the lap-joint to ensure I don’t over-sand and achieve a snug fit.
A classmate gave me an extra piece of African Mahogany wood. I used this wood on the lathe to make dowels for my draw-pin joint. To get the right diameter I used calipers to get an exact measurement on the bit I was using for the hole and went back and forth until I was within a few hundreths of an inch.
I used a new tool in the shop called the Shaper Origin. This tool is a handheld cnc router that allowed me to digitally create a chess board on Adobe Illustrator and transfer the design into the wood. I first routed out slots with the Origin Shaper and then created pieces to fit inside them with African Mahogany. I glued and hammered the pieces into the slots with their grain running perpendicularly to the board. I then used a large vacuum seal bag to apply pressure to pieces as the glue set.
Unfortunately, after the final critique I noticed issues with chess squares. There seemed to be air pockets under some of the squares. Luckily, I hadn’t attached the board yet so I was able to sand down the surface and attach it to the table without the chess board. I also decided to remake the pins for the pin joint. I felt that the shorter pins would look better.
Unfortunately, after the final critique I noticed issues with chess squares. There seemed to be air pockets under some of the squares. Luckily, I hadn’t attached the board yet so I was able to sand down the surface and attach it to the table without the chess board. I also decided to remake the pins for the pin joint. I felt that the shorter pins would look better.

The table on display during our Senior Exhibition at the Miller Institute


