Cargo Box Chair
Furniture ProjectTools
CNC Router
Bandsaw
Tablesaw
Chopsaw
Joiner
Planer
Belt Sander
Adobe Illustrator






Process
I began my process for this chair by revisiting the work I did on the last chair I made. My favorite thing about my previous design was the cord seat and it’s interaction with the frame. I wanted to explore that interaction between materials further with this design.
During the process I became interested in the work of Jacques Moeschal after seeing a sculpture of his on 1stDibs. This led me down a brutalism rabbithole. At this point I feel excited about translating a brutalist aesthetic from architecture to furniture. I expect the hard edges of the brutalist form to contrast nicely with the organic shape of a cord seat.
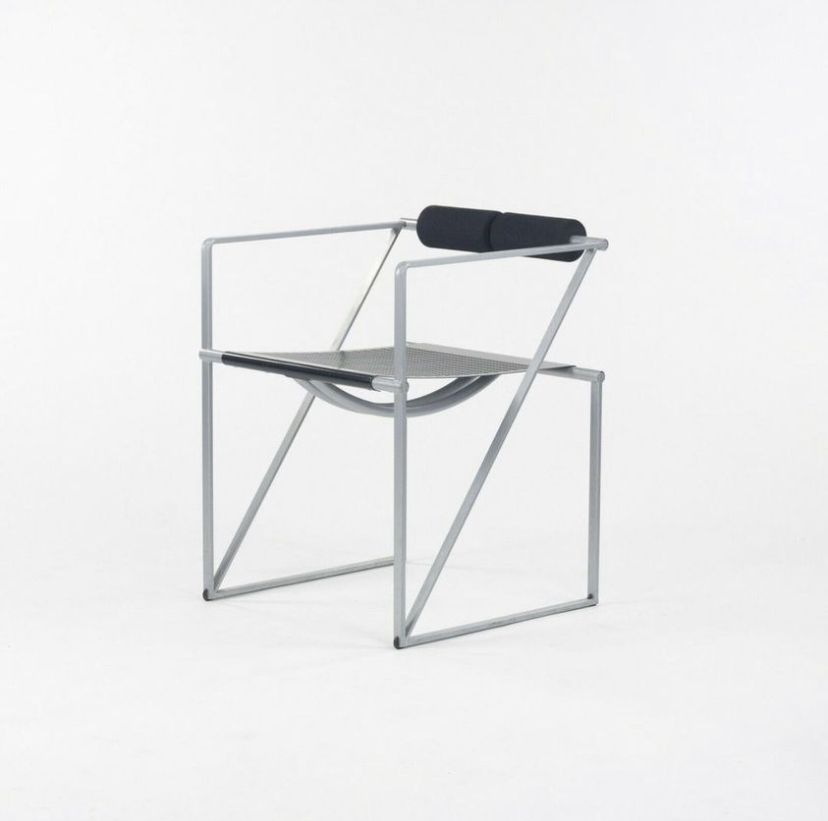

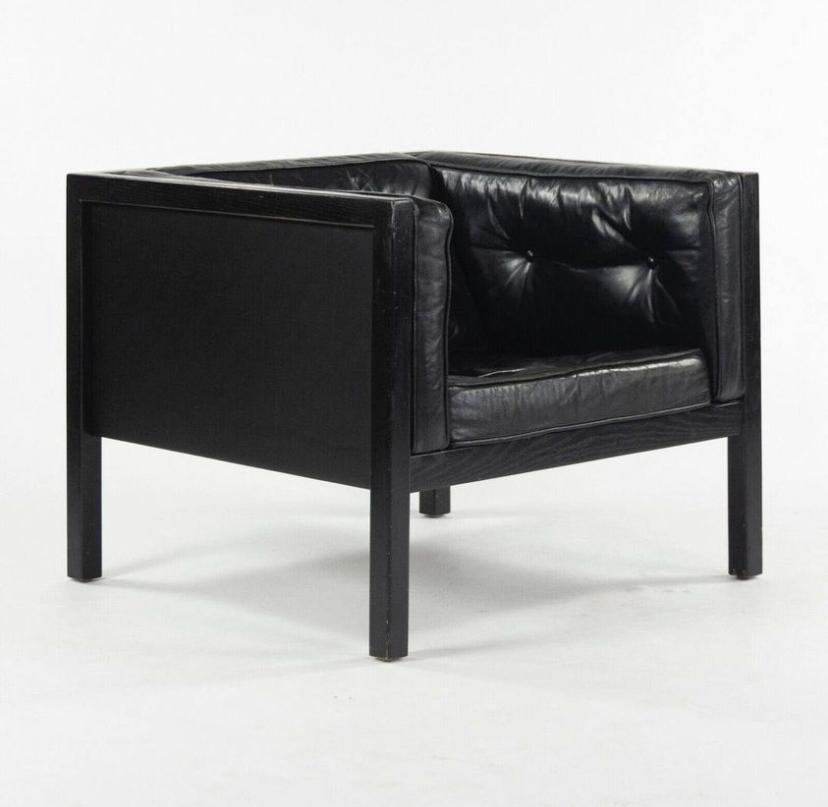
I became very interested in using a cube form after noticing what I thought were Le Corbusier LC-2 chairs in the university center front lobby.

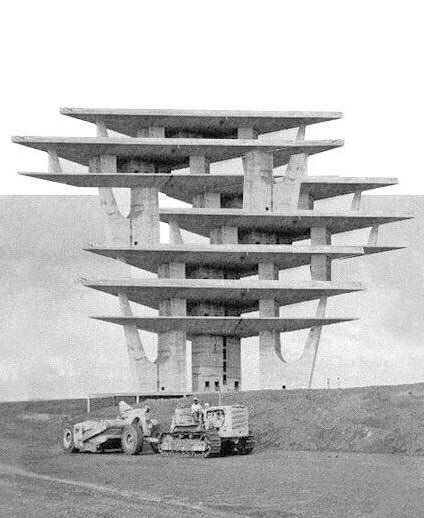
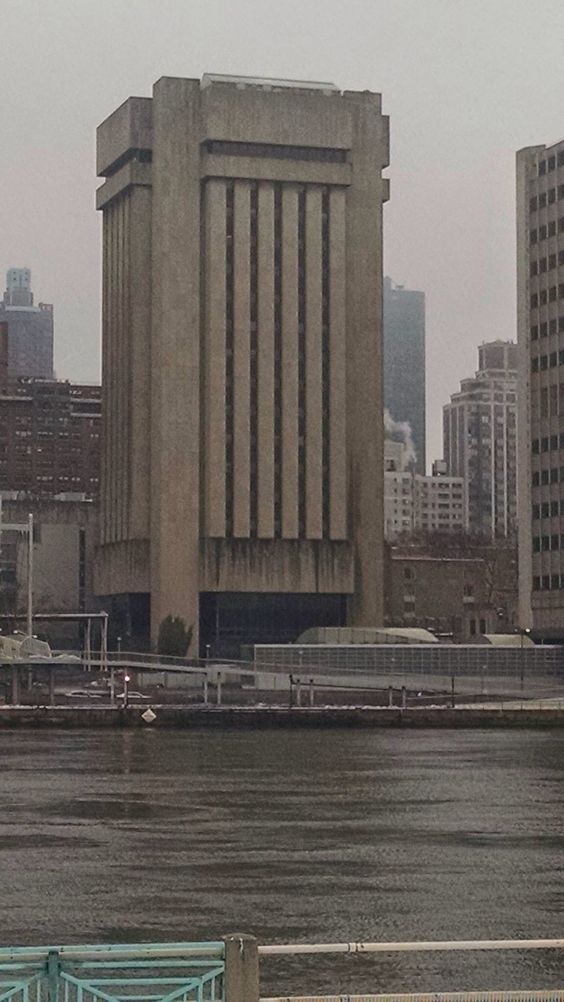
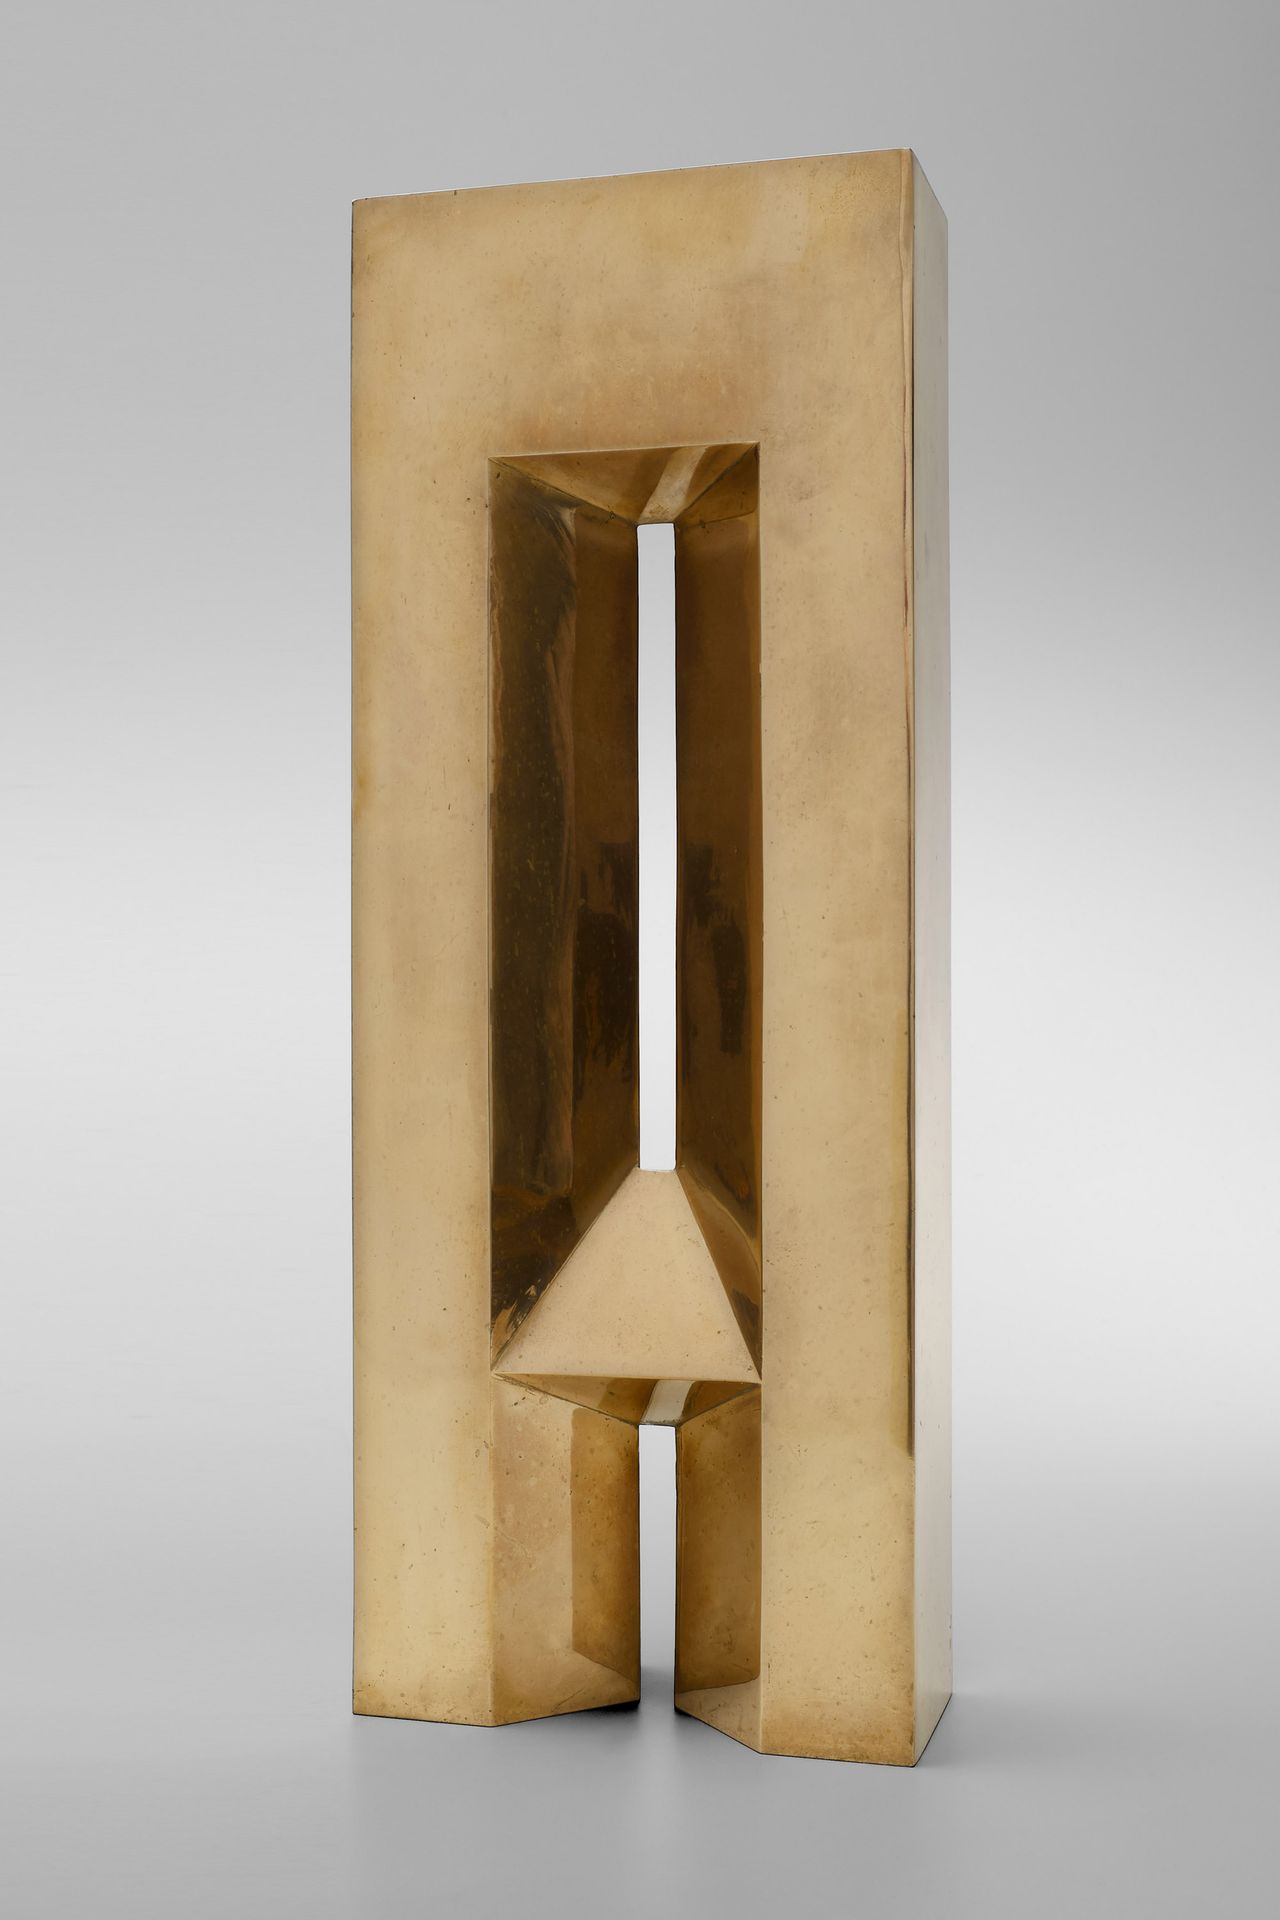
Looking at architecture was helpful during my idea generation process.
I liked a three legged cube shaped chair that I sketched. I decided to take this concept forward.
I took notes on issues with this design and how they could be fixed in the next iteration.

I built a low-fidelity 1:1 scale model to check the proportions I had been working in and get a feel for how interaction with the chair feels at this size. I quickly assembled this model with cheap pine lumber, metal brackets and screws.
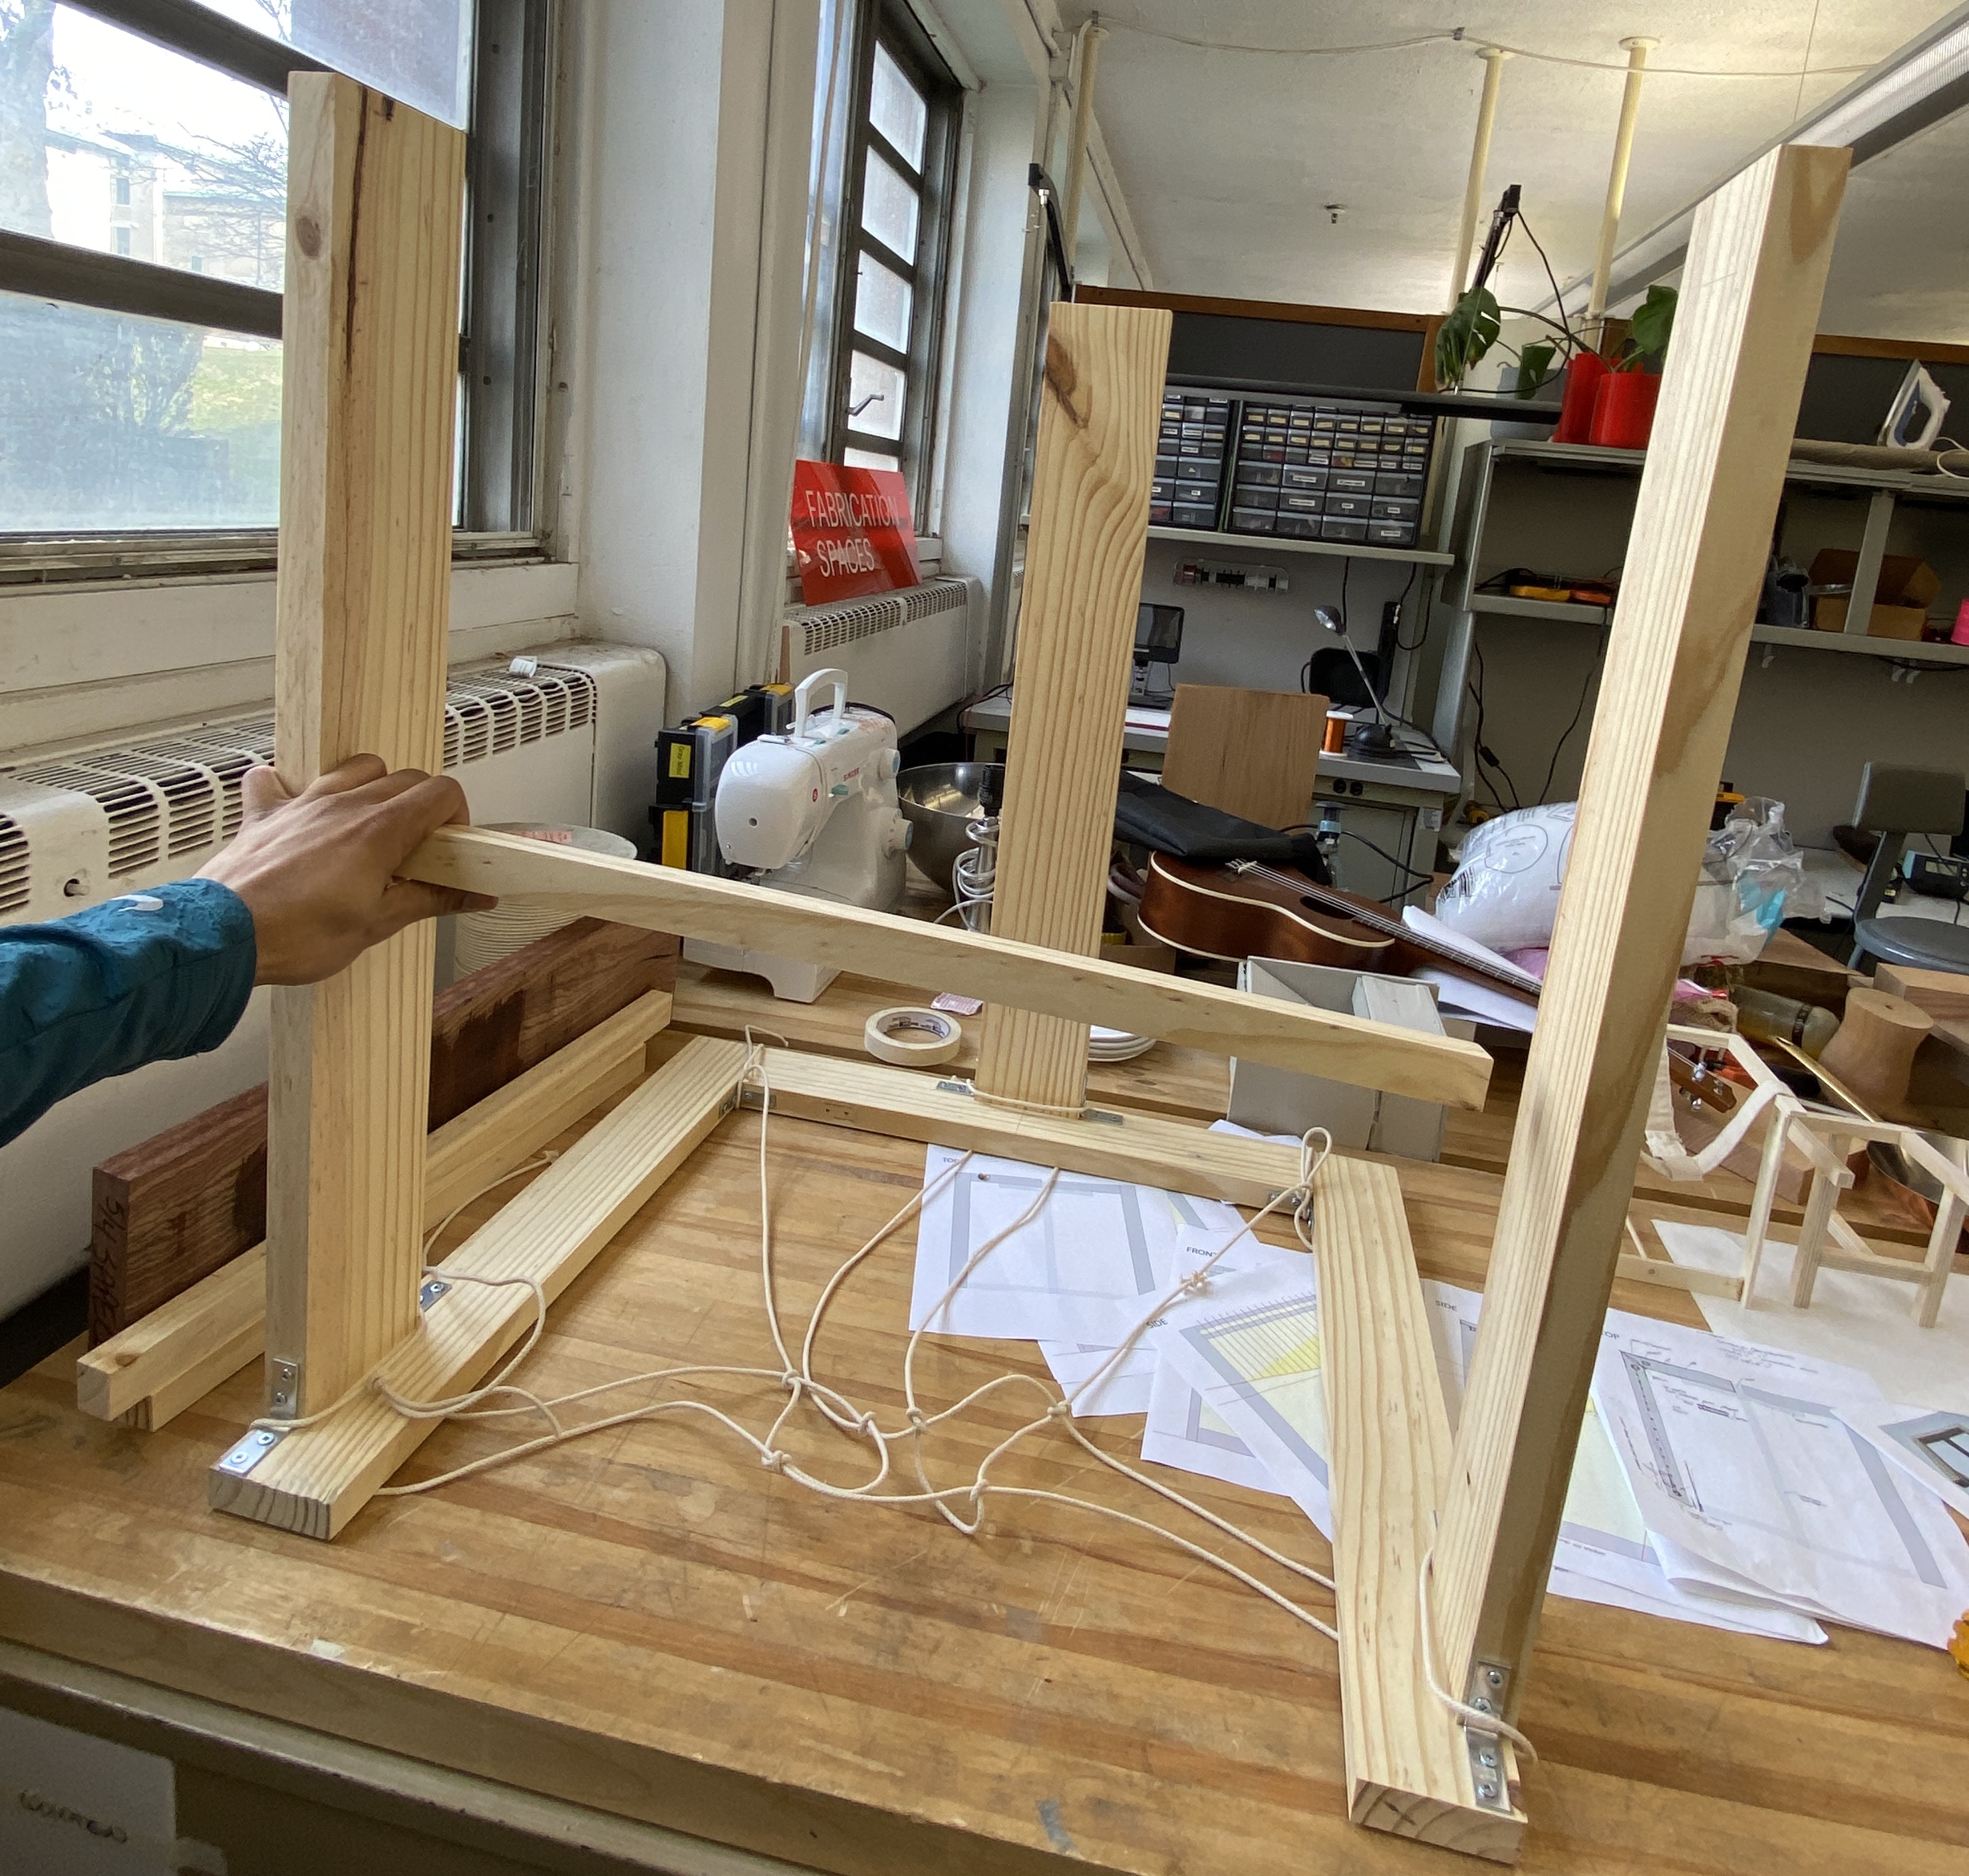
After creating this second model, there are still major issues with balance despite the cross bar attaching the stretcher to the back leg. I am considering adding some type of fin to the bottom of the back leg to give it more width so it can be a sturdier structure. The first scaled down model I made was unrealistic to actually build in those proportions. This second model I paid attention to the board thickness and tried make things more realistic with the lumber available.
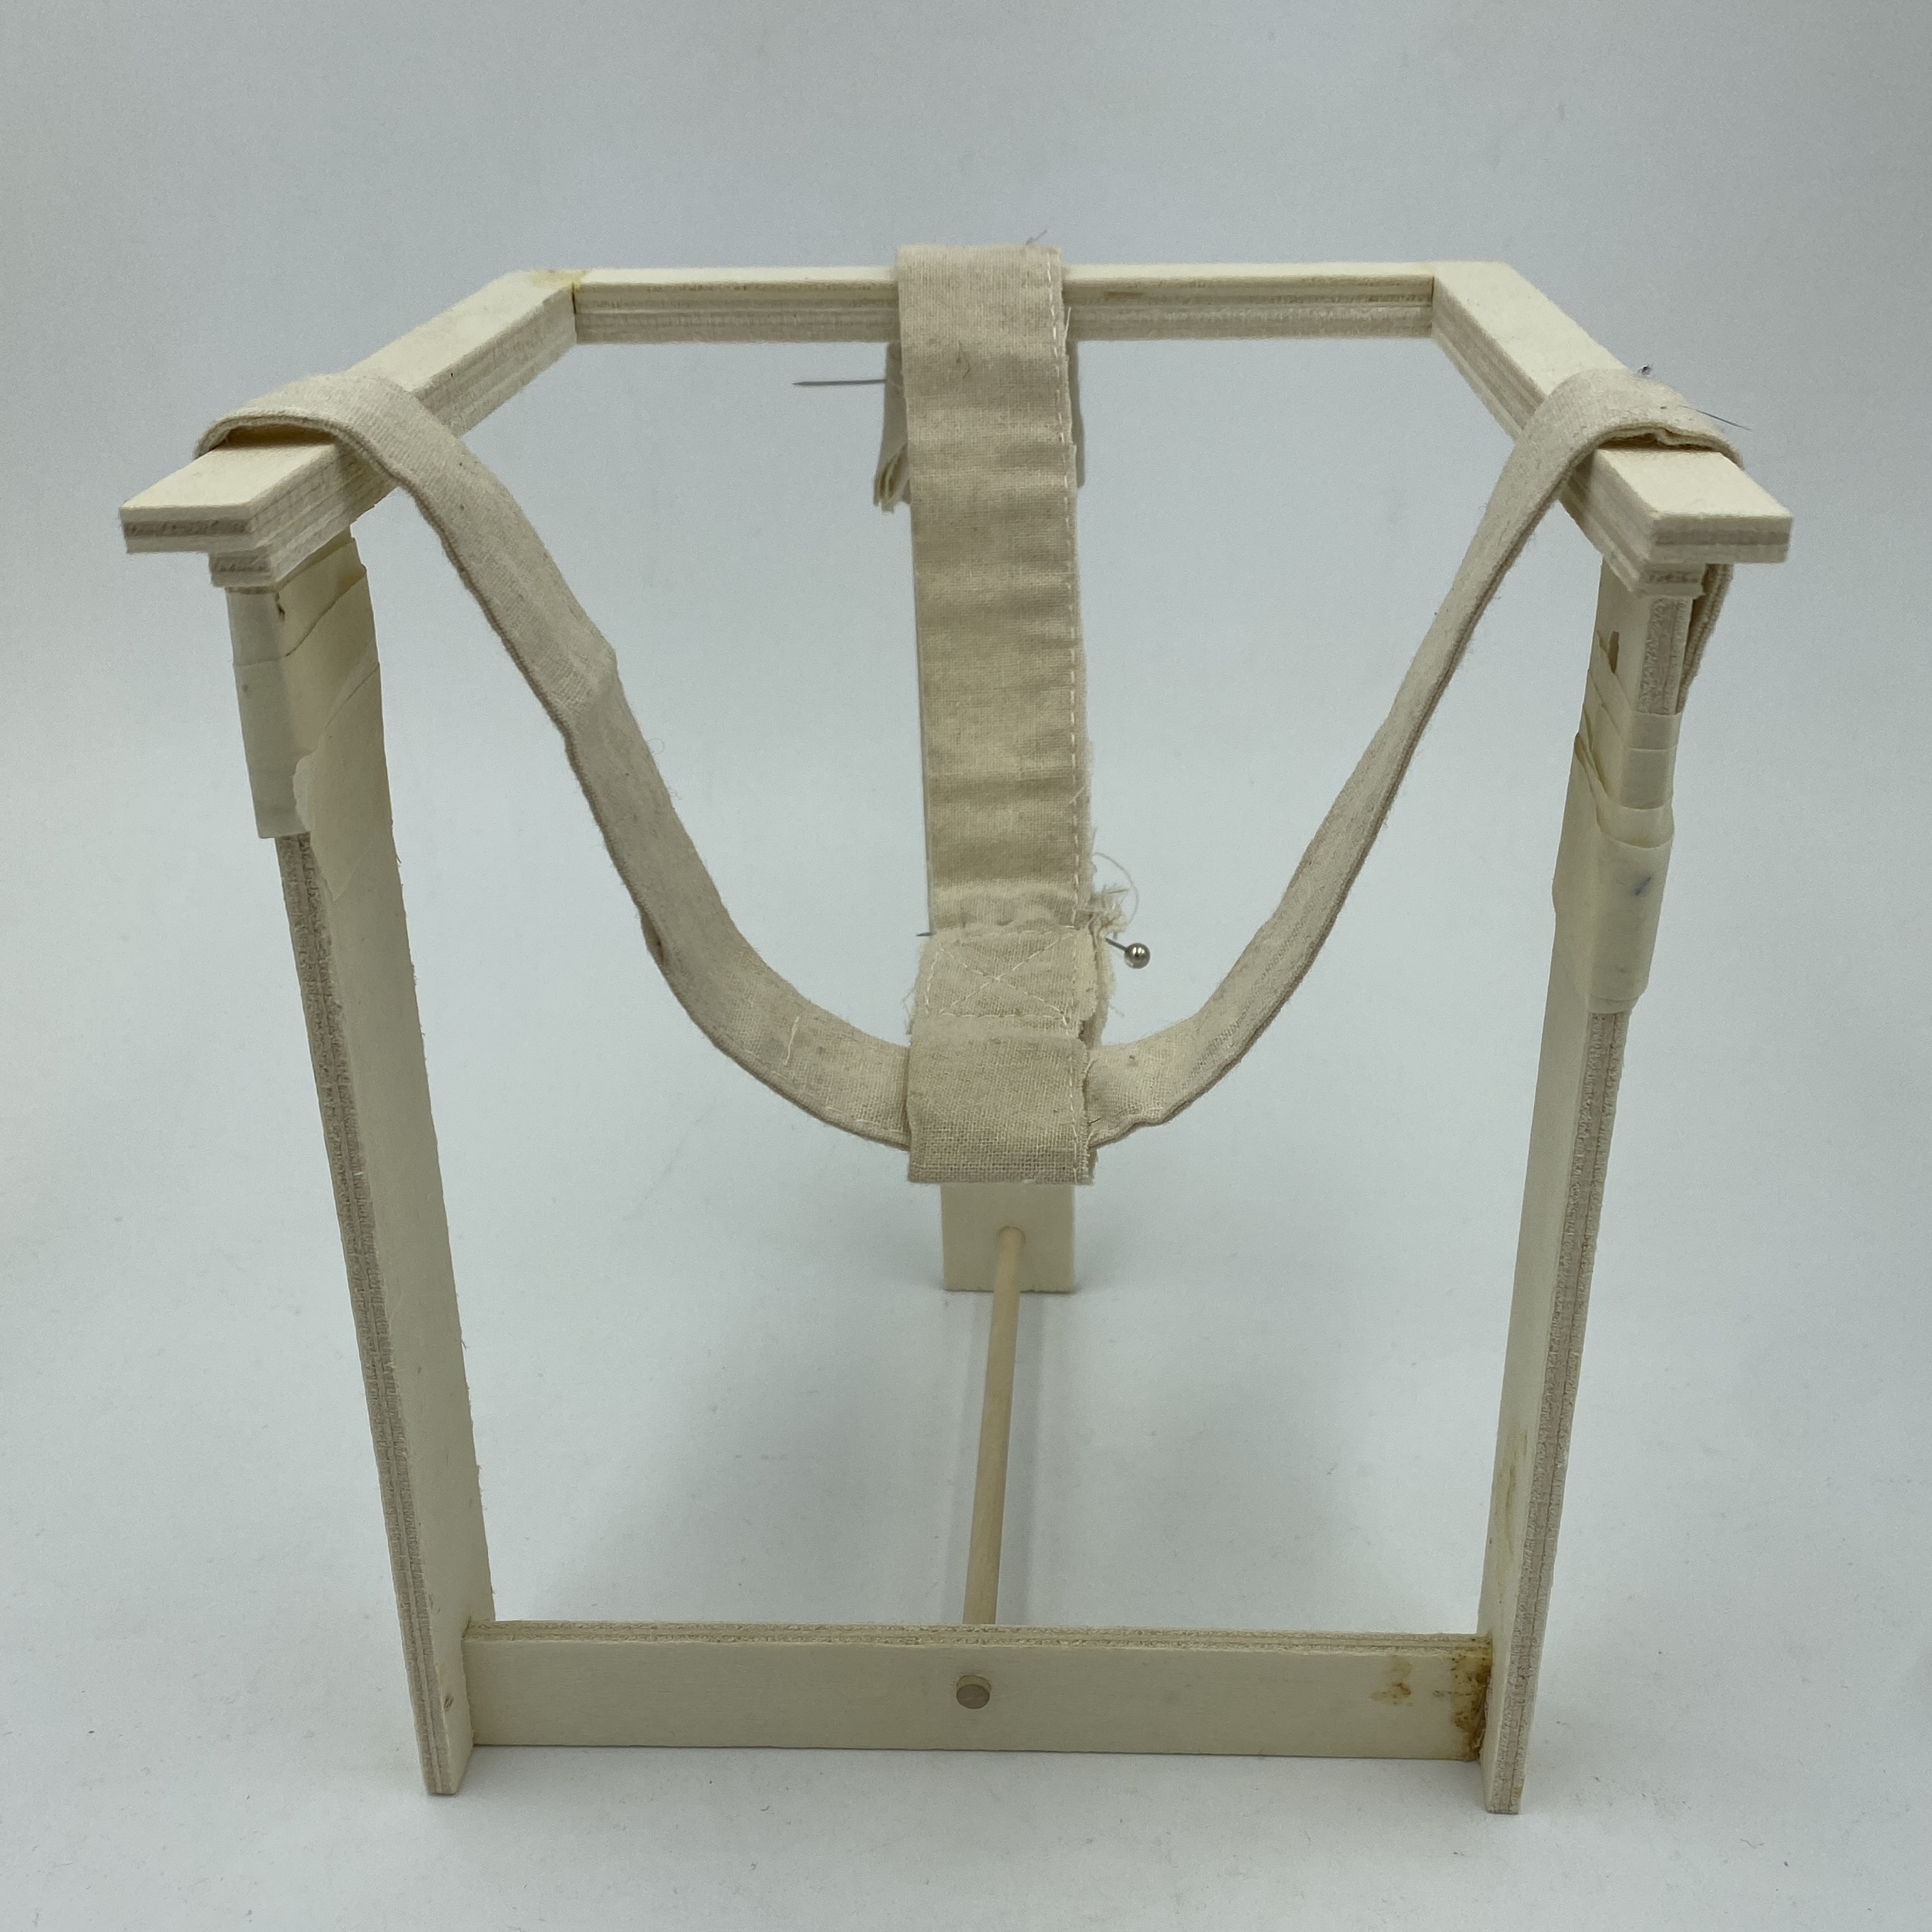
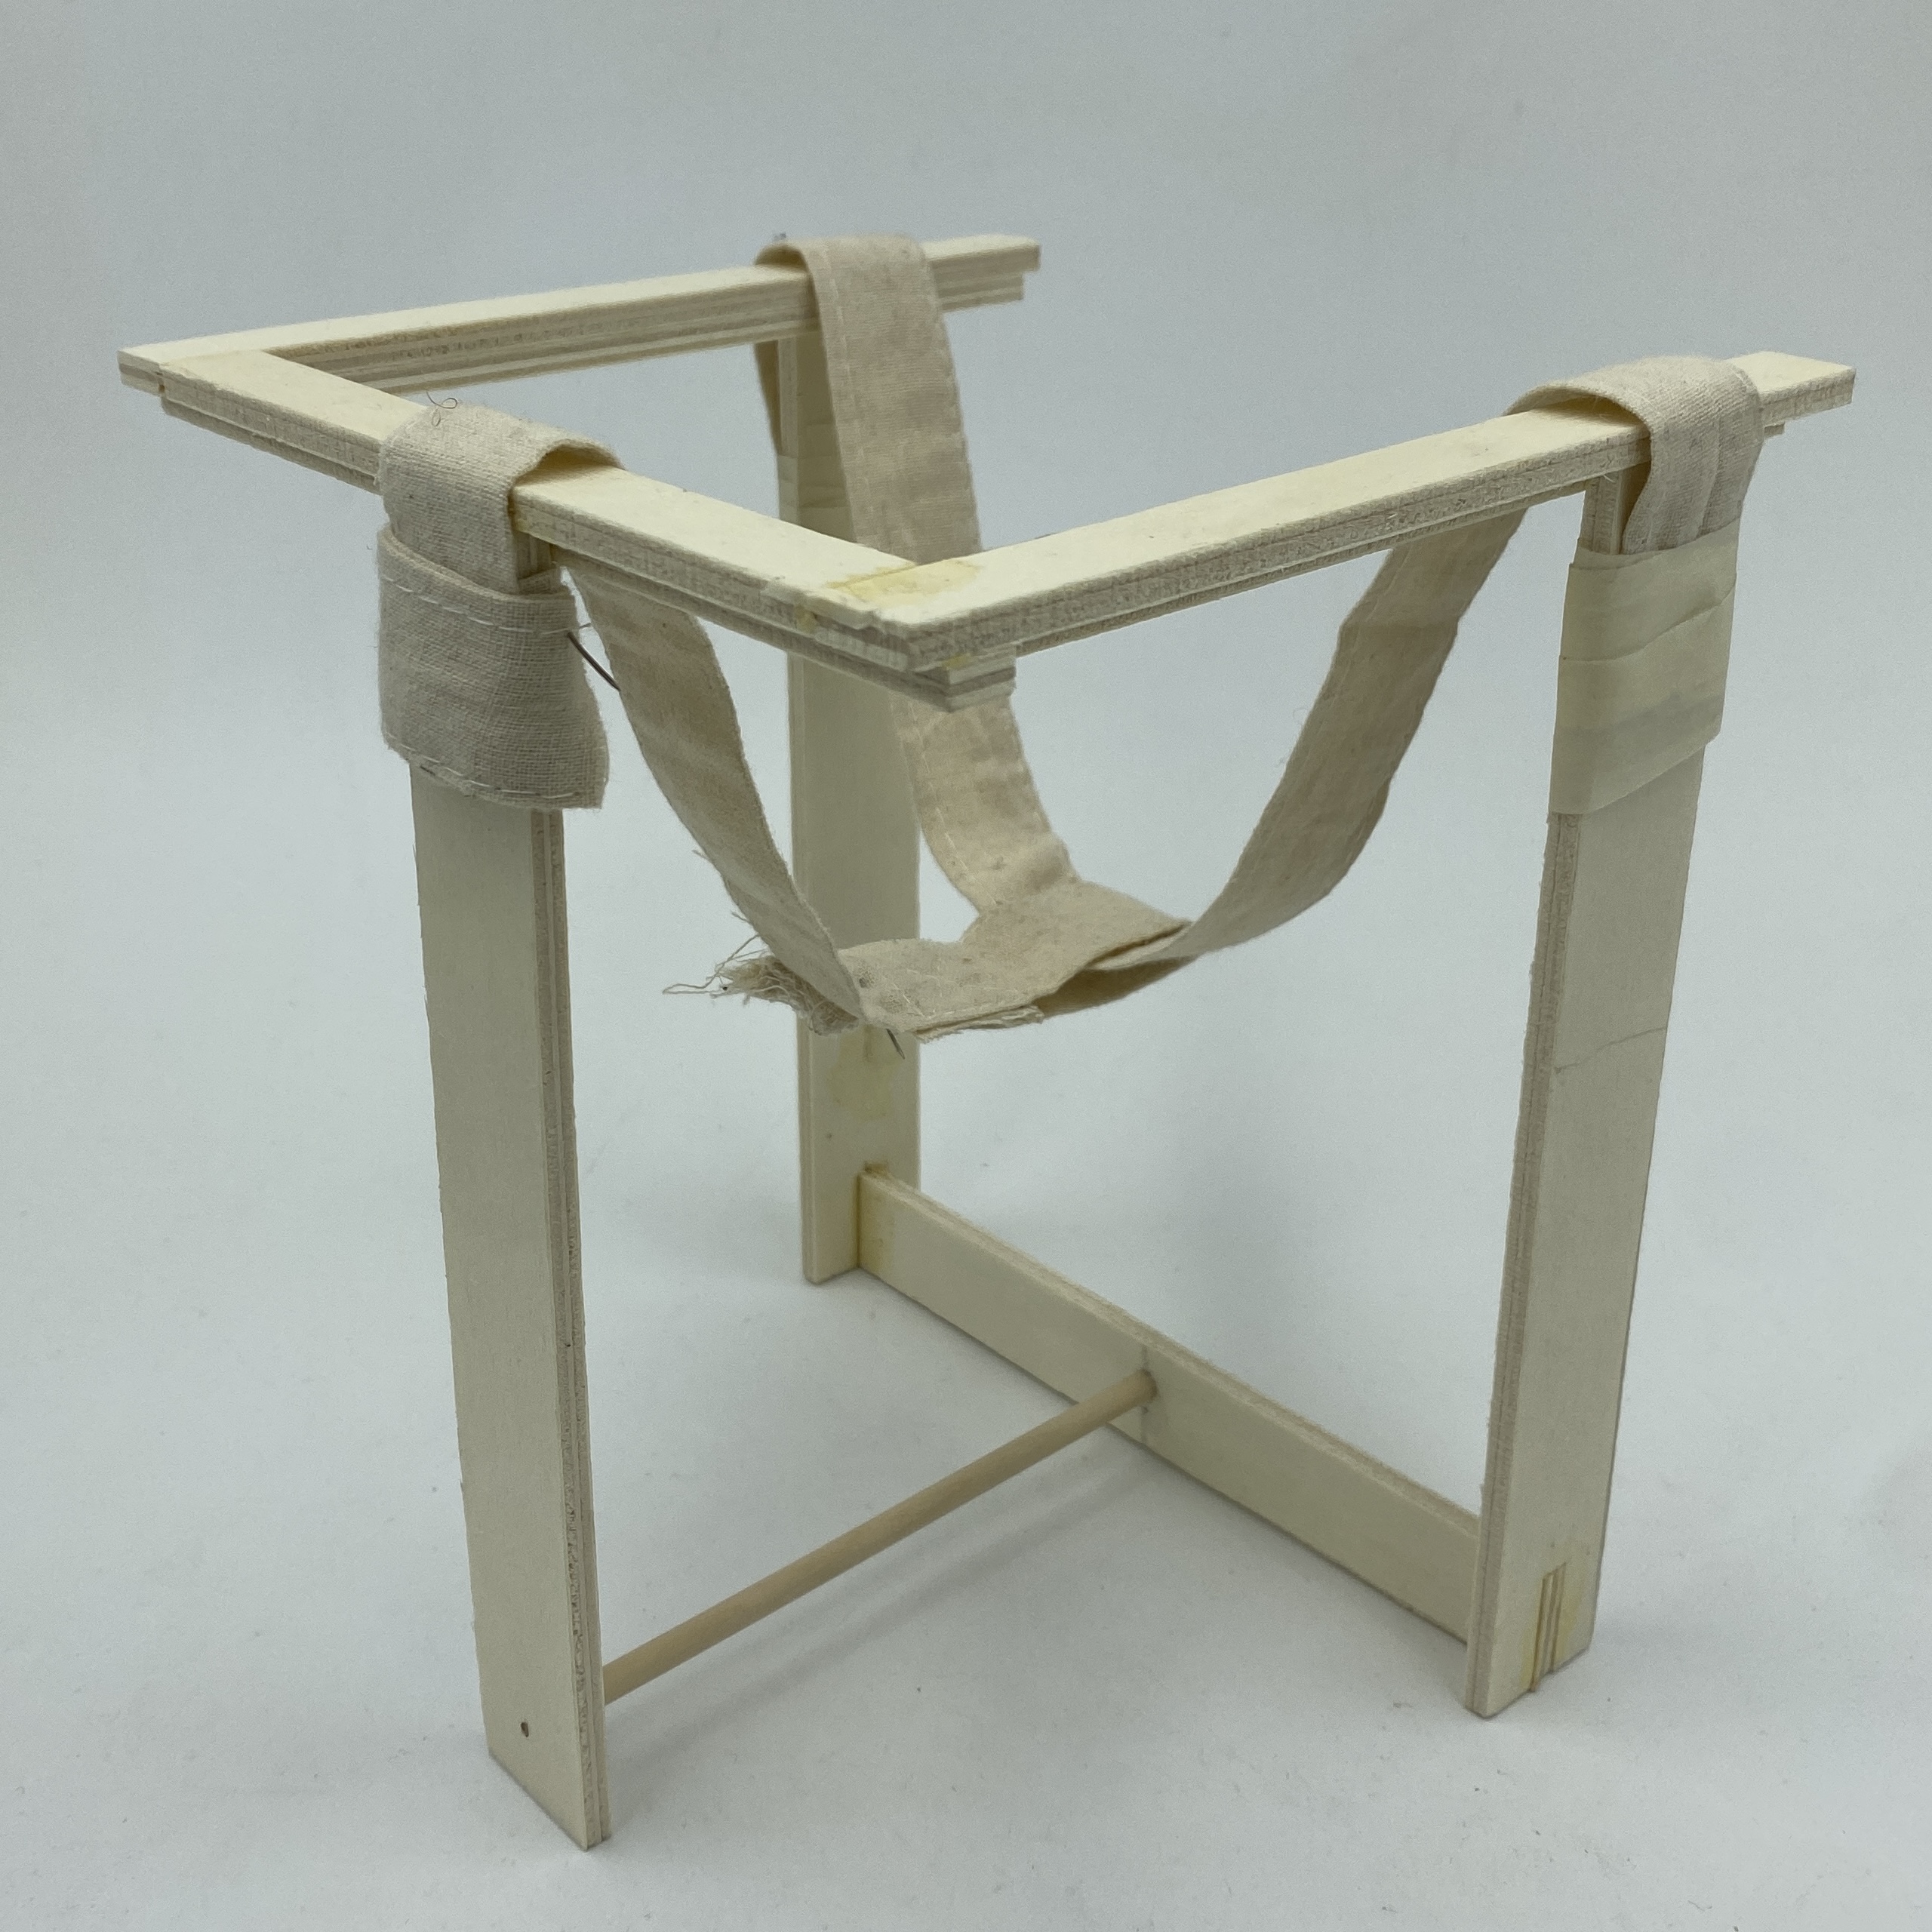
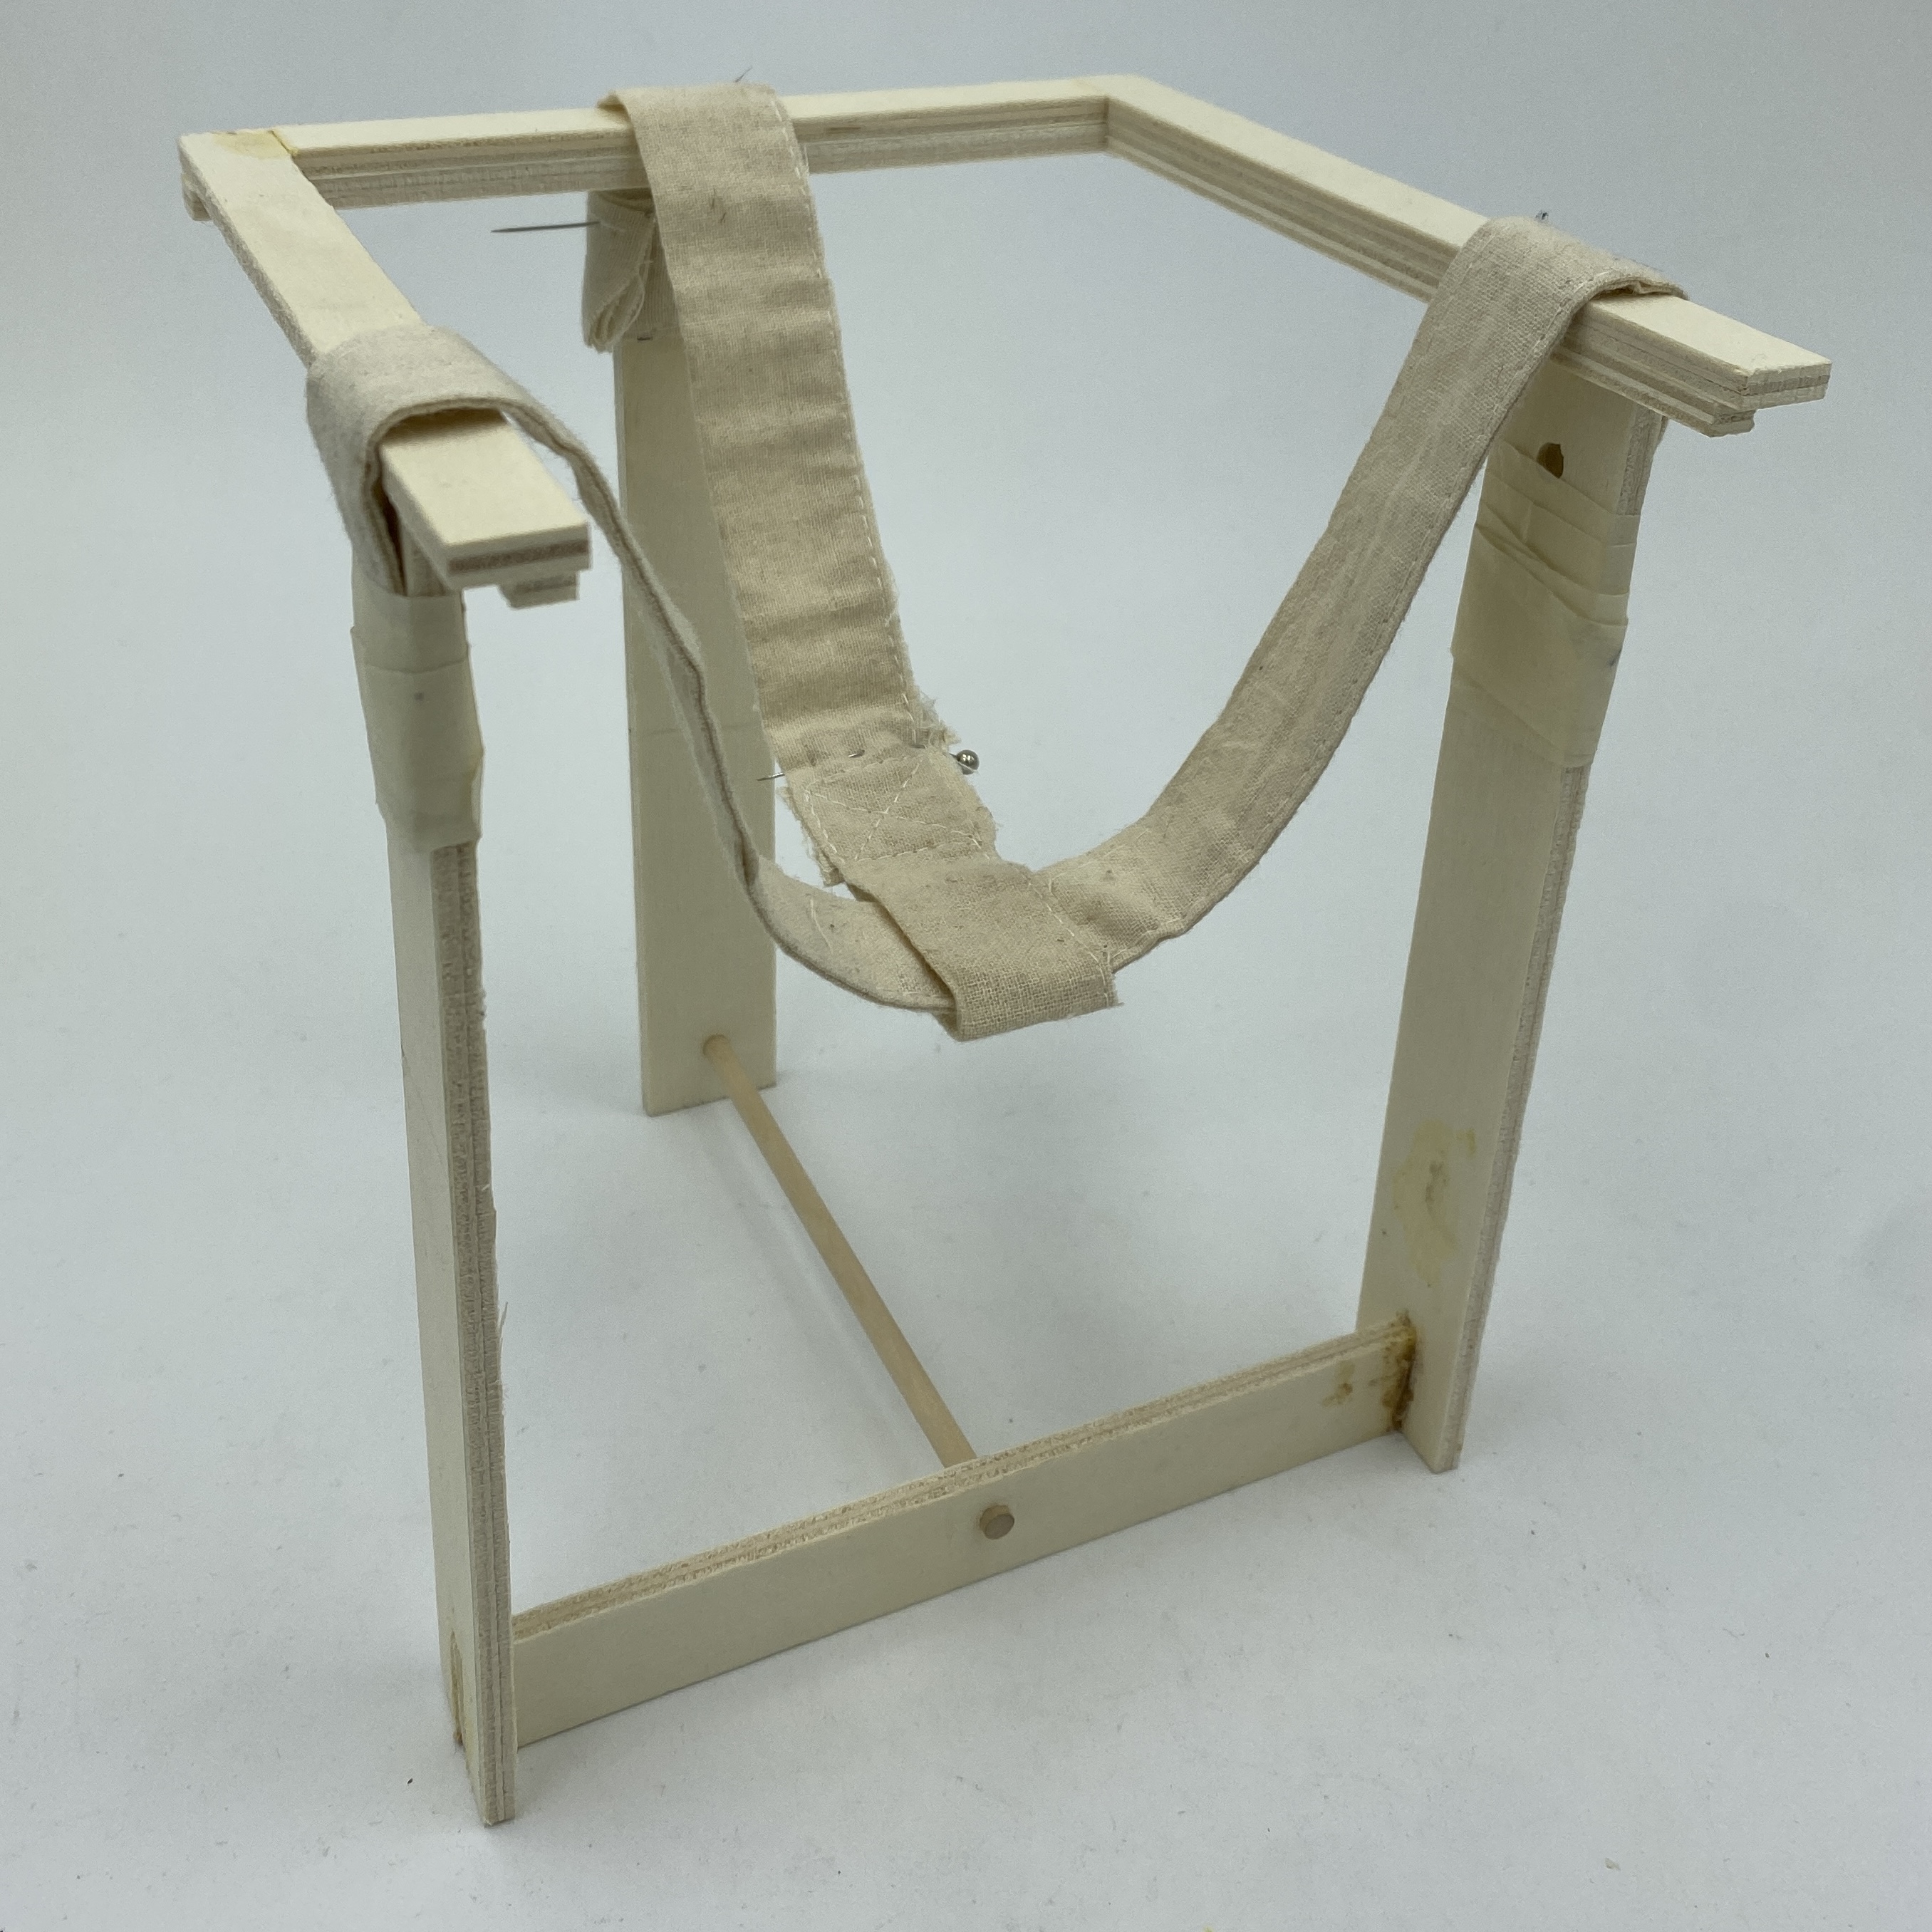
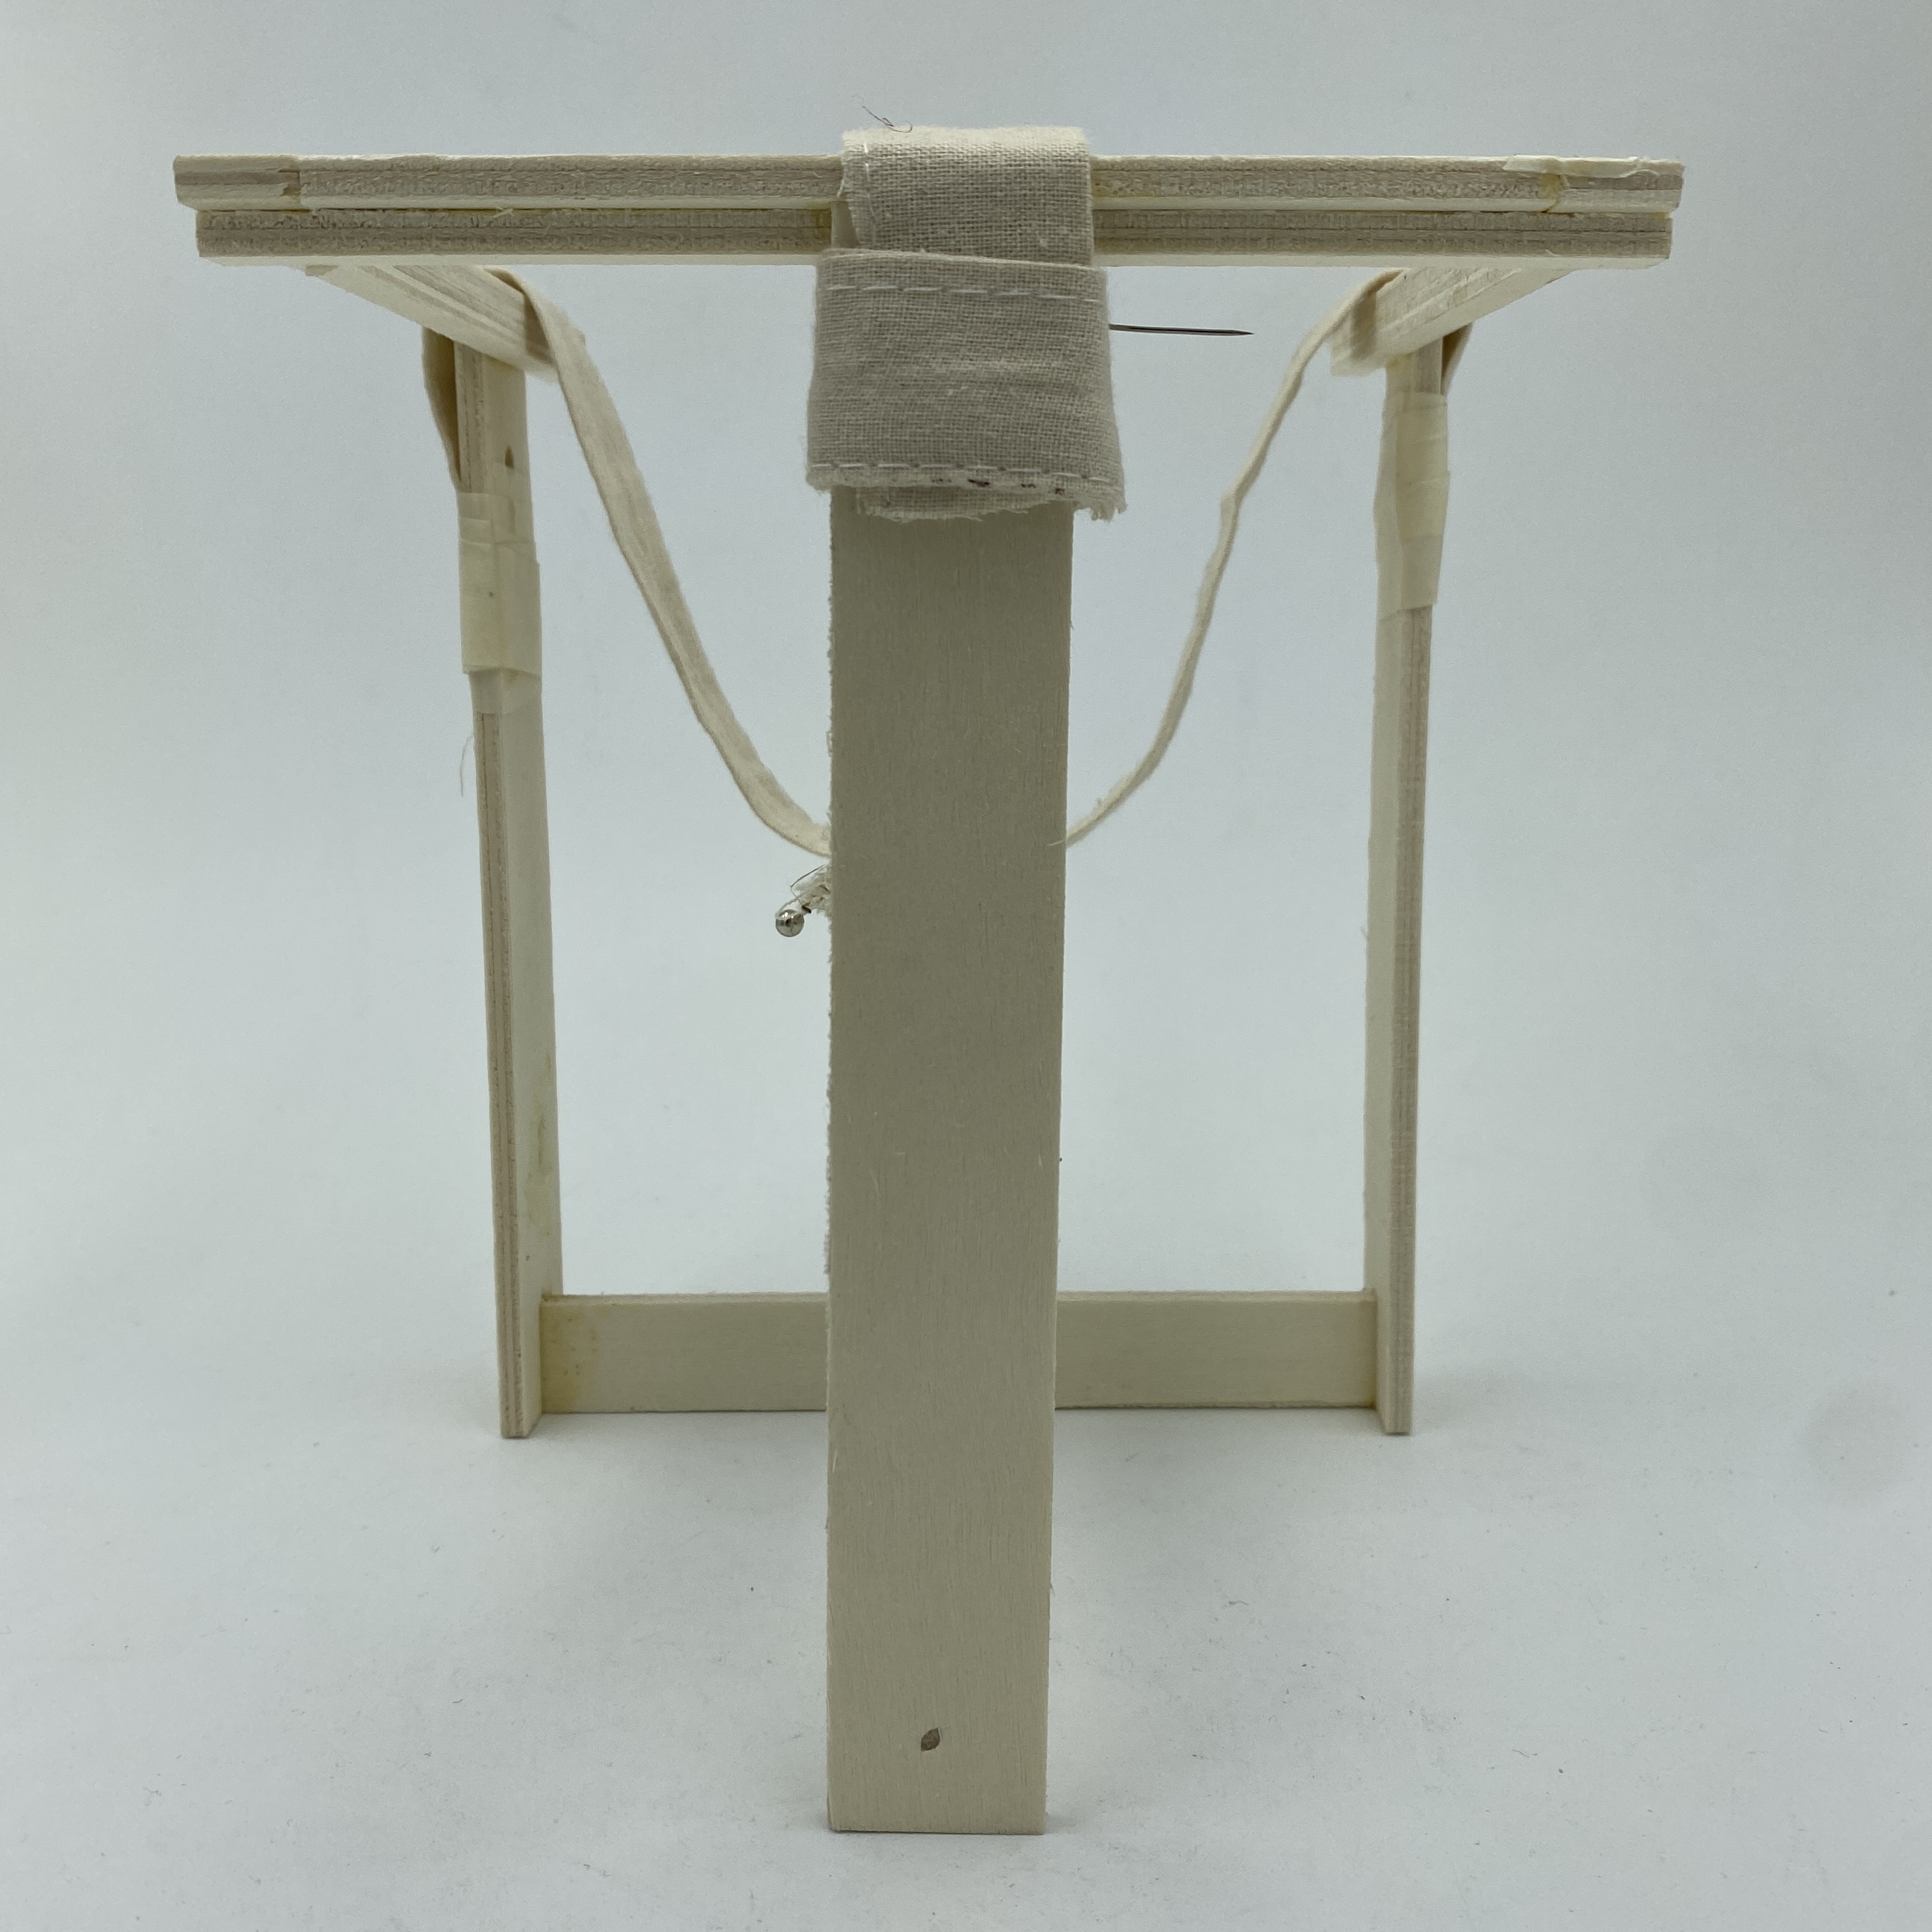
I used this model to develop my concept further. I want to keep in mind my original concept and keep it’s essence through the process. The form should remain simplistic and keep the brutalist feel I was inspired by earlier on. The chair should feel like two distinct components: the frame and the seat. I want these two components to contrast in form with the frame being rigid while the seat is fluid.
I make the decision to add a fourth leg to solve the balance issues. I still like the look of the three leg models that I’ve been exploring to this point. To try to keep this look with a fourth leg I place the two back legs close together and parallel so that they appear as one. Stacking them with a board between them which could also be a central spindle to add stability.
I decide to buy cherry and sapelle. I enjoyed working with cherry on a previous project and wanted to work with it again. It looked good, was cheap and was easier to work with than other hardwoods I had tried. I also bought a Sapelle board to use to accent certain areas of the chair and possibly use for plugs. Sapelle / African Mahogany pairs nicely with the cherry and will hopefully make for a nice contrast.
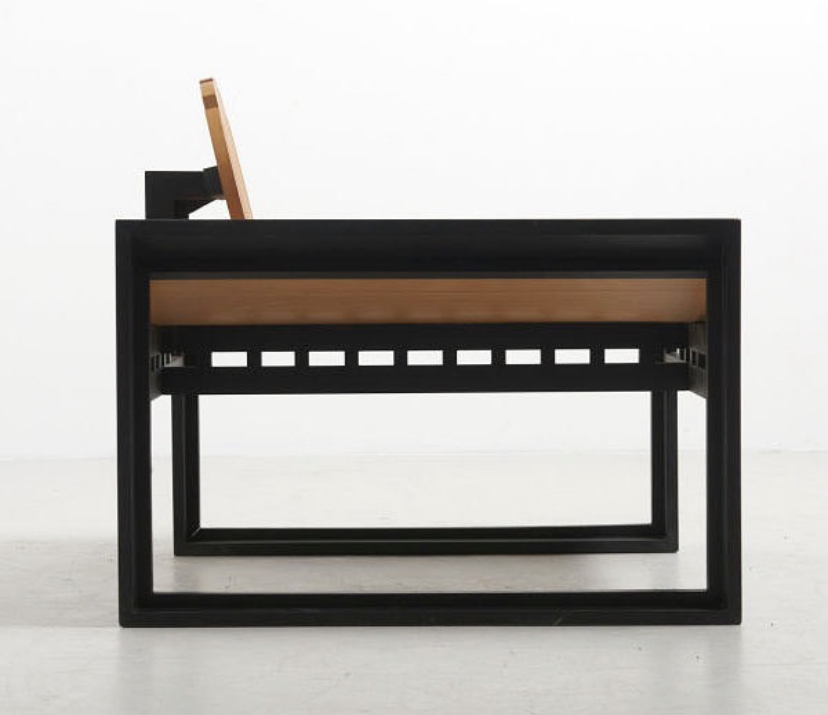
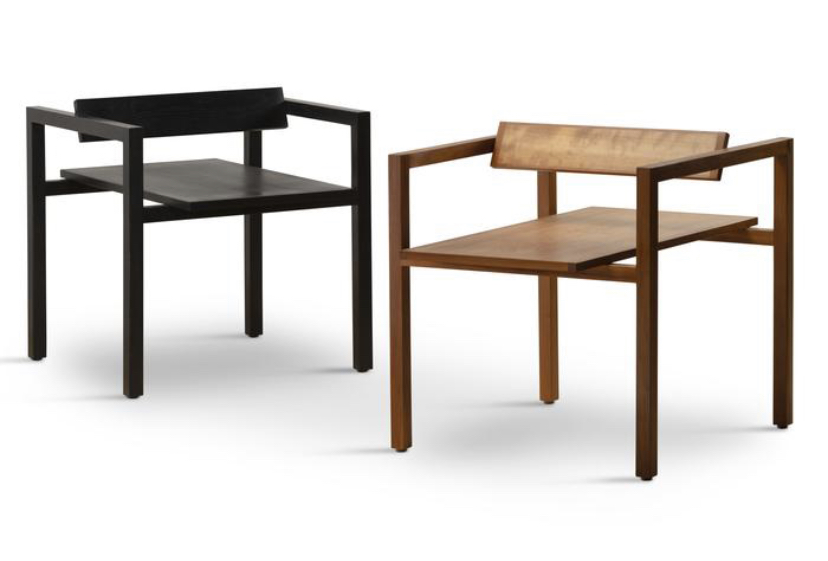
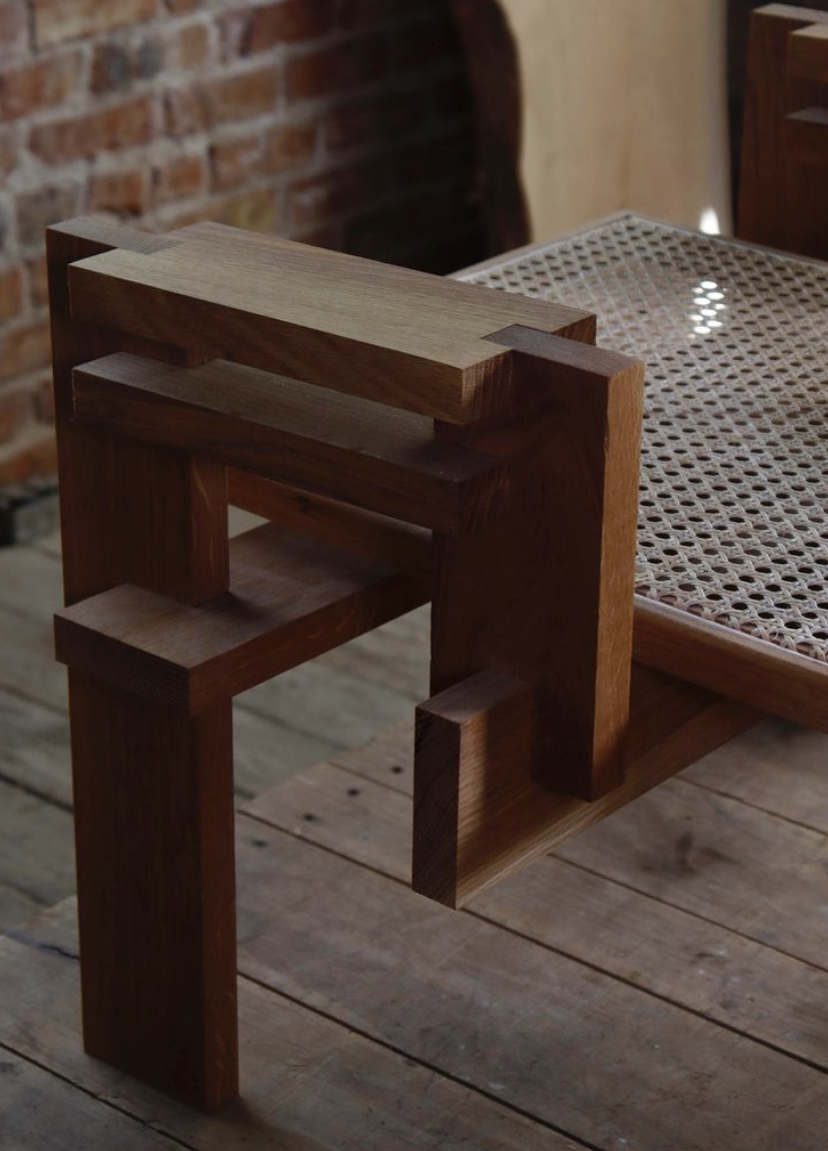

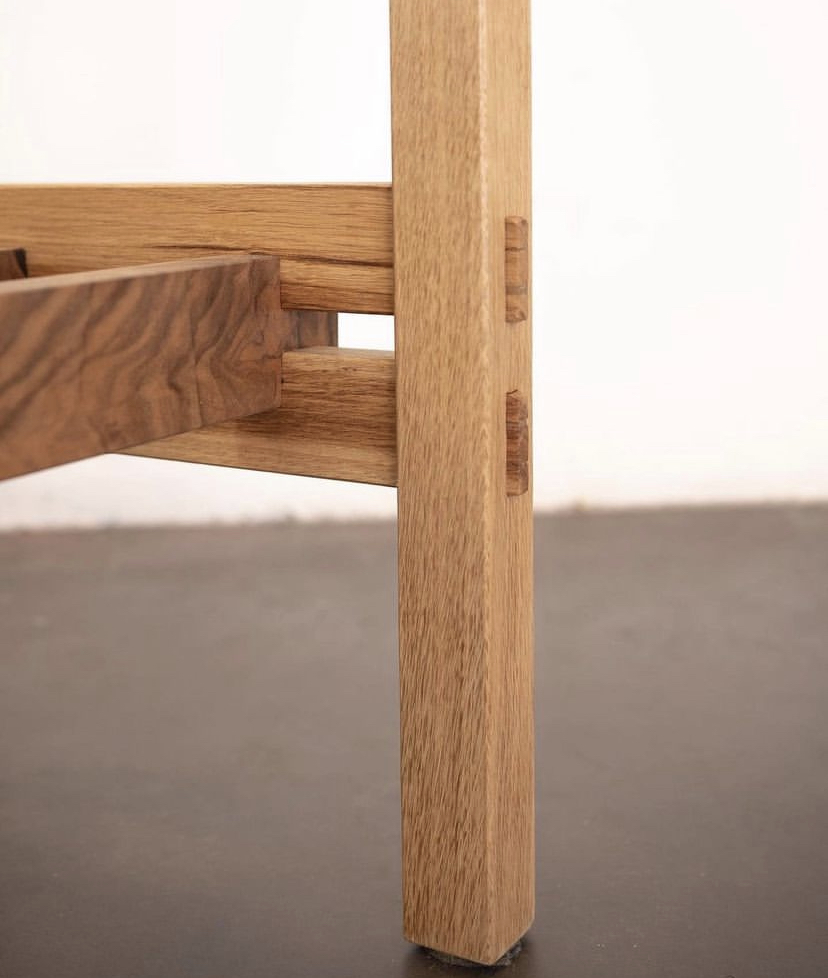
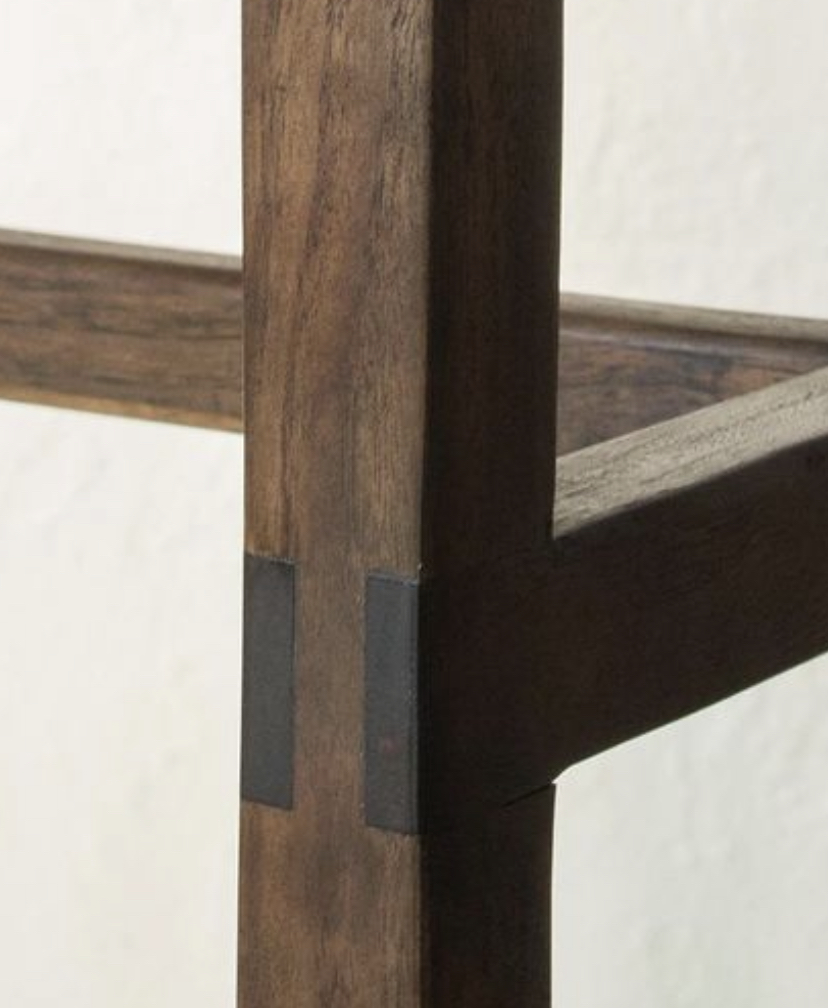
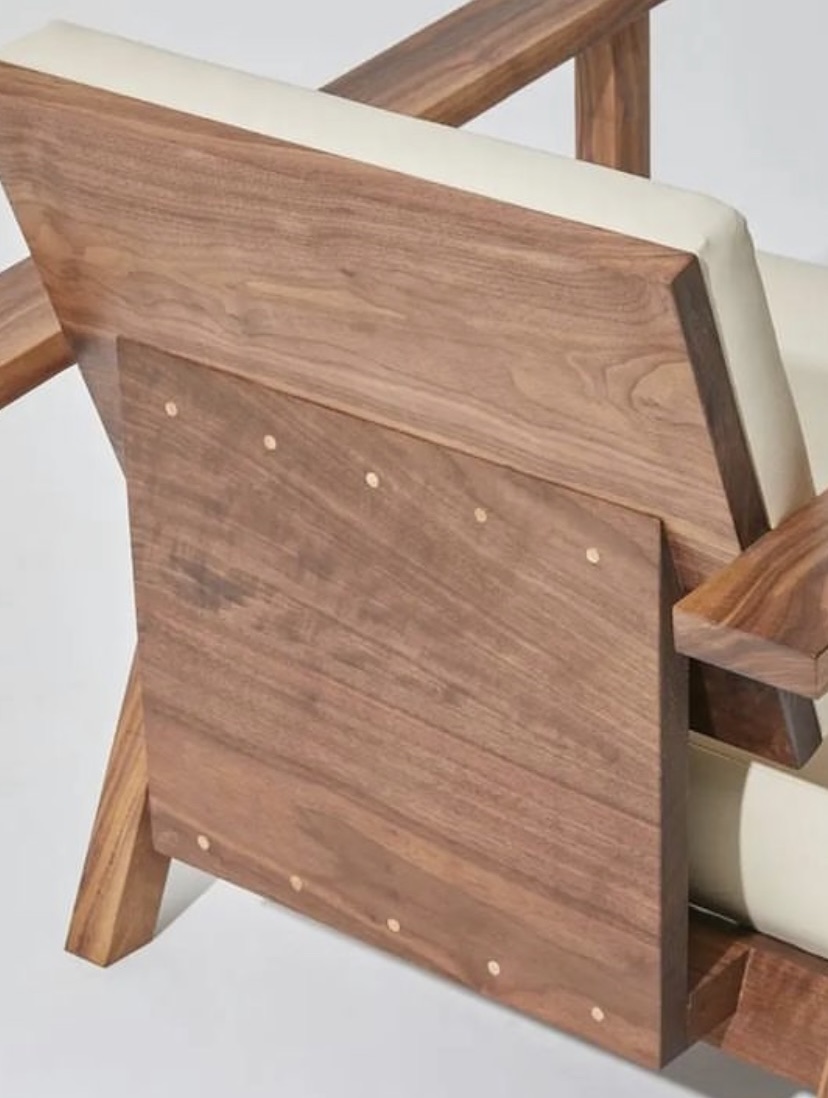
I continue to research and look for existing chairs and designs features that can assist me in this process. As I narrow my focus and finalize the design, I am thinking about the details more now.
At this point the project’s time constraints are starting to become a concern. I don’t have the time to keep building models so I make the decision to split apart the back two legs for a more cube shaped form. I’m not sure enough that my other design would have fixed the stability issues and decided against taking the risk. I opted for what I knew would be a sturdier safer design with the four equally spread legs.
Browsing vintage furniture online looking for inspiration for the seat I came across the work of the Brazilian furniture designer Jean Gillon and his Jangada armchair in particular. This type of seat is very close to what I had envisioned but had been unsure of how to execute.
Browsing vintage furniture online looking for inspiration for the seat I came across the work of the Brazilian furniture designer Jean Gillon and his Jangada armchair in particular. This type of seat is very close to what I had envisioned but had been unsure of how to execute.

Before getting too ahead of myself I did some stress tests on a piece of my lumber to see how both the wood and cord would hold up under pressure. I tested different ways of connecting the cord to the wood to see if any difference in stability was apparent.
The wood held up well when I tested it and the paracord seemed like it would work also. I decided that I wanted to create a net seat however I remained undecided on how the net would attach to the chair. I looked for inspiration around me and felt like I found it looking at a stairrail on campus.
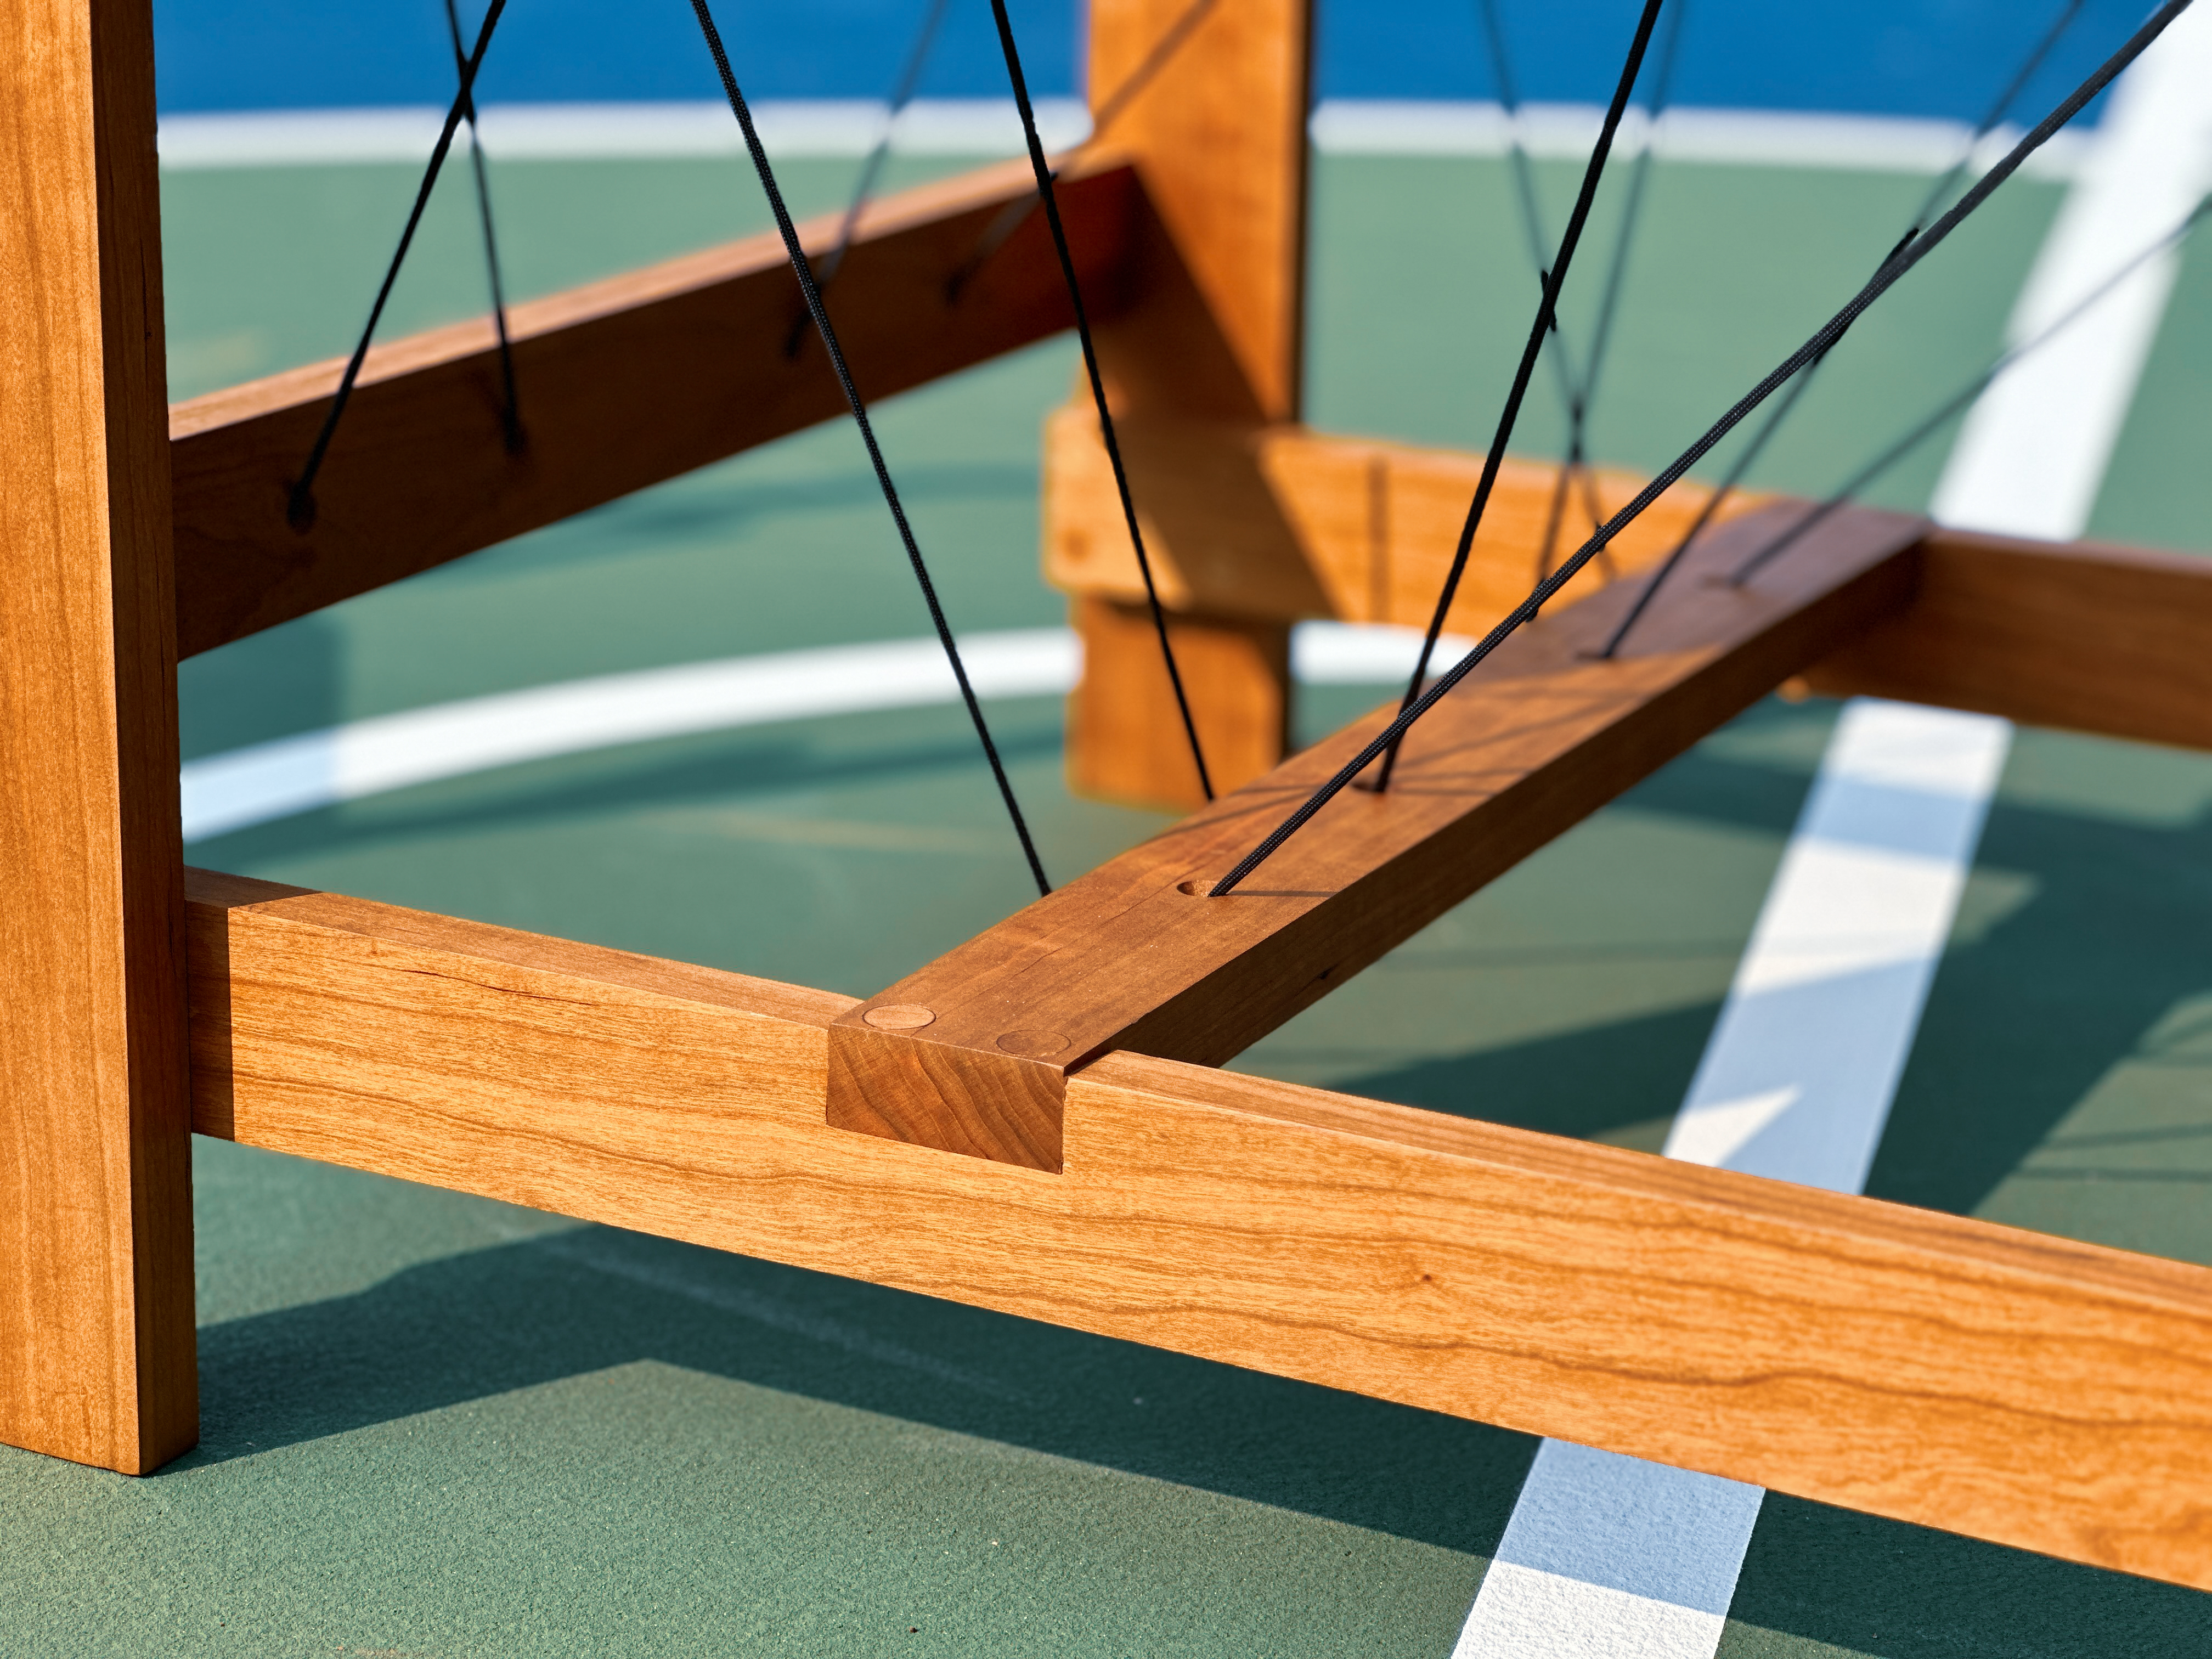
Now, after commiting to a system for connecting the net to the frame, I placed the holes for the cord in my digital drawing which I then used cut the pieces for my chair with the CNC router. After my last project I learned to really appreciate the efficiency of using CNC. Throughout this process I kept this in mind and tried to design a form that could be made with CNC entirely with as little touch-up work as possible.
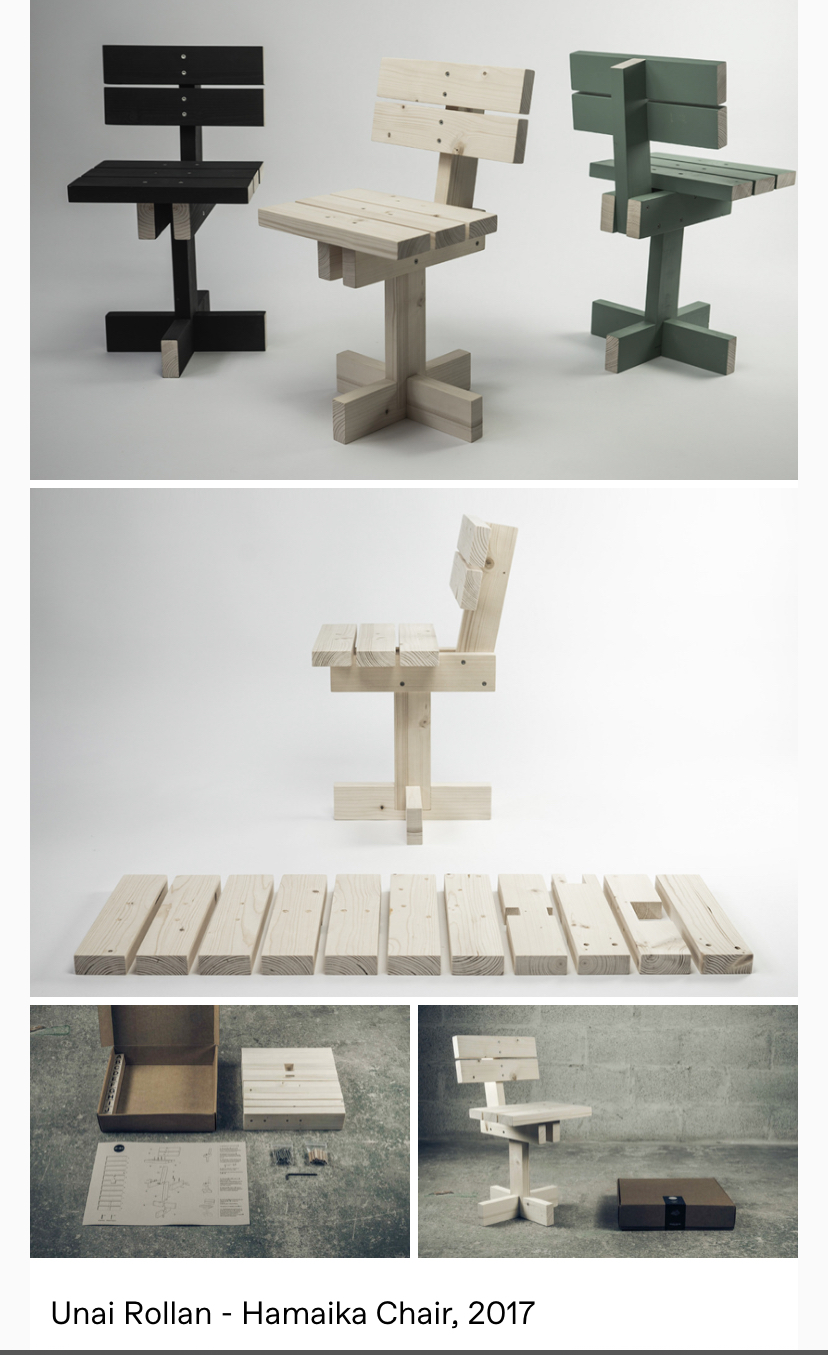
Designing a chair with CNC and flat-packaging in mind was something I discussed with professor in the early stages of the process during a conversation we had about a pair of images I put on the wall. This was something I wanted to at least think about with the construction of this chair. Through the process I tried to consider how this chair could be mass produced, flat packaged and possibly assembled by the actual user. In other words I wanted to create a chair that could work within the IKEA model.
The CNC router made the process of cutting the boards to the specifications in my drawings and drilling the holes take about a full day. The most time consuming part of the process was hand chiseling the square notches for the lap joints. The process of constructing the chair went relatively smoothly.
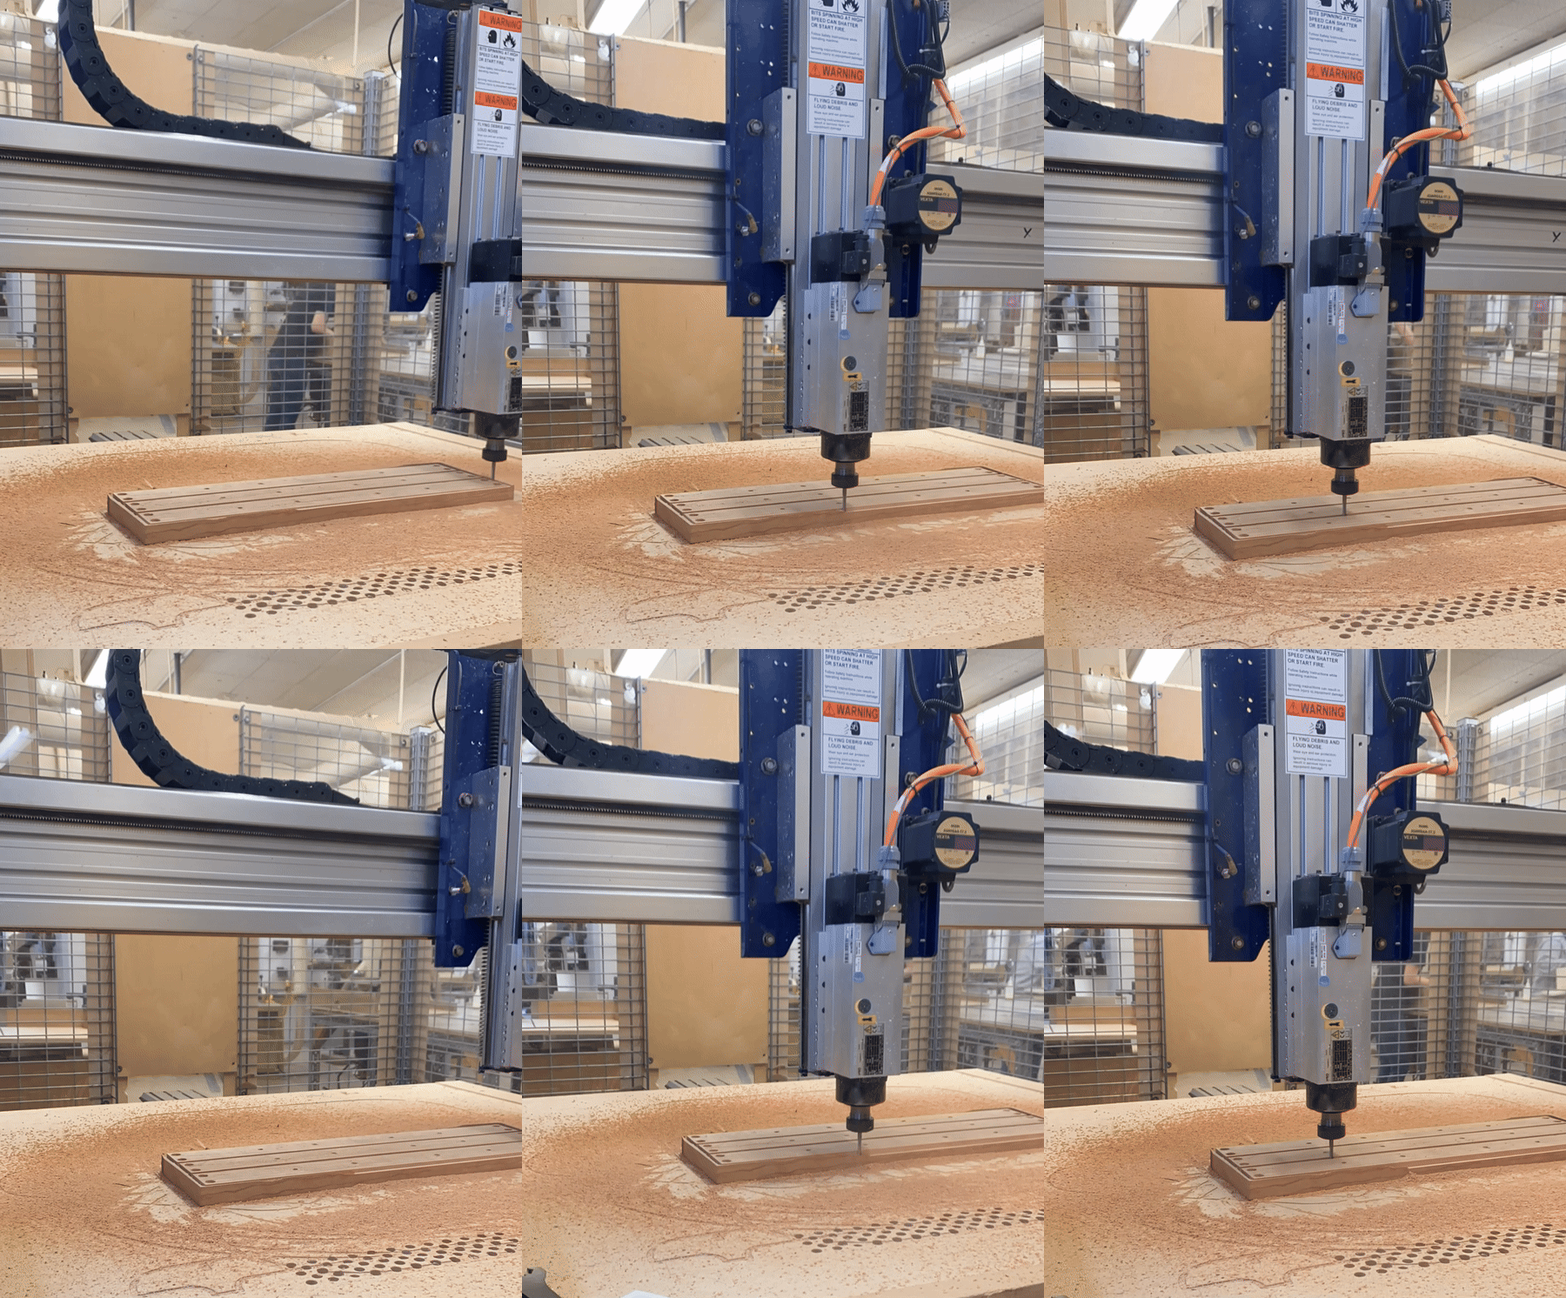
Due to an issue with the machine, I decided it would be easier and more accurate to drill the holes for the plugs and screws by hand. A bit of wobble in the drill bit during my first CNC operation with this project caused one the plug holes to be looser than what I had specified in the file.
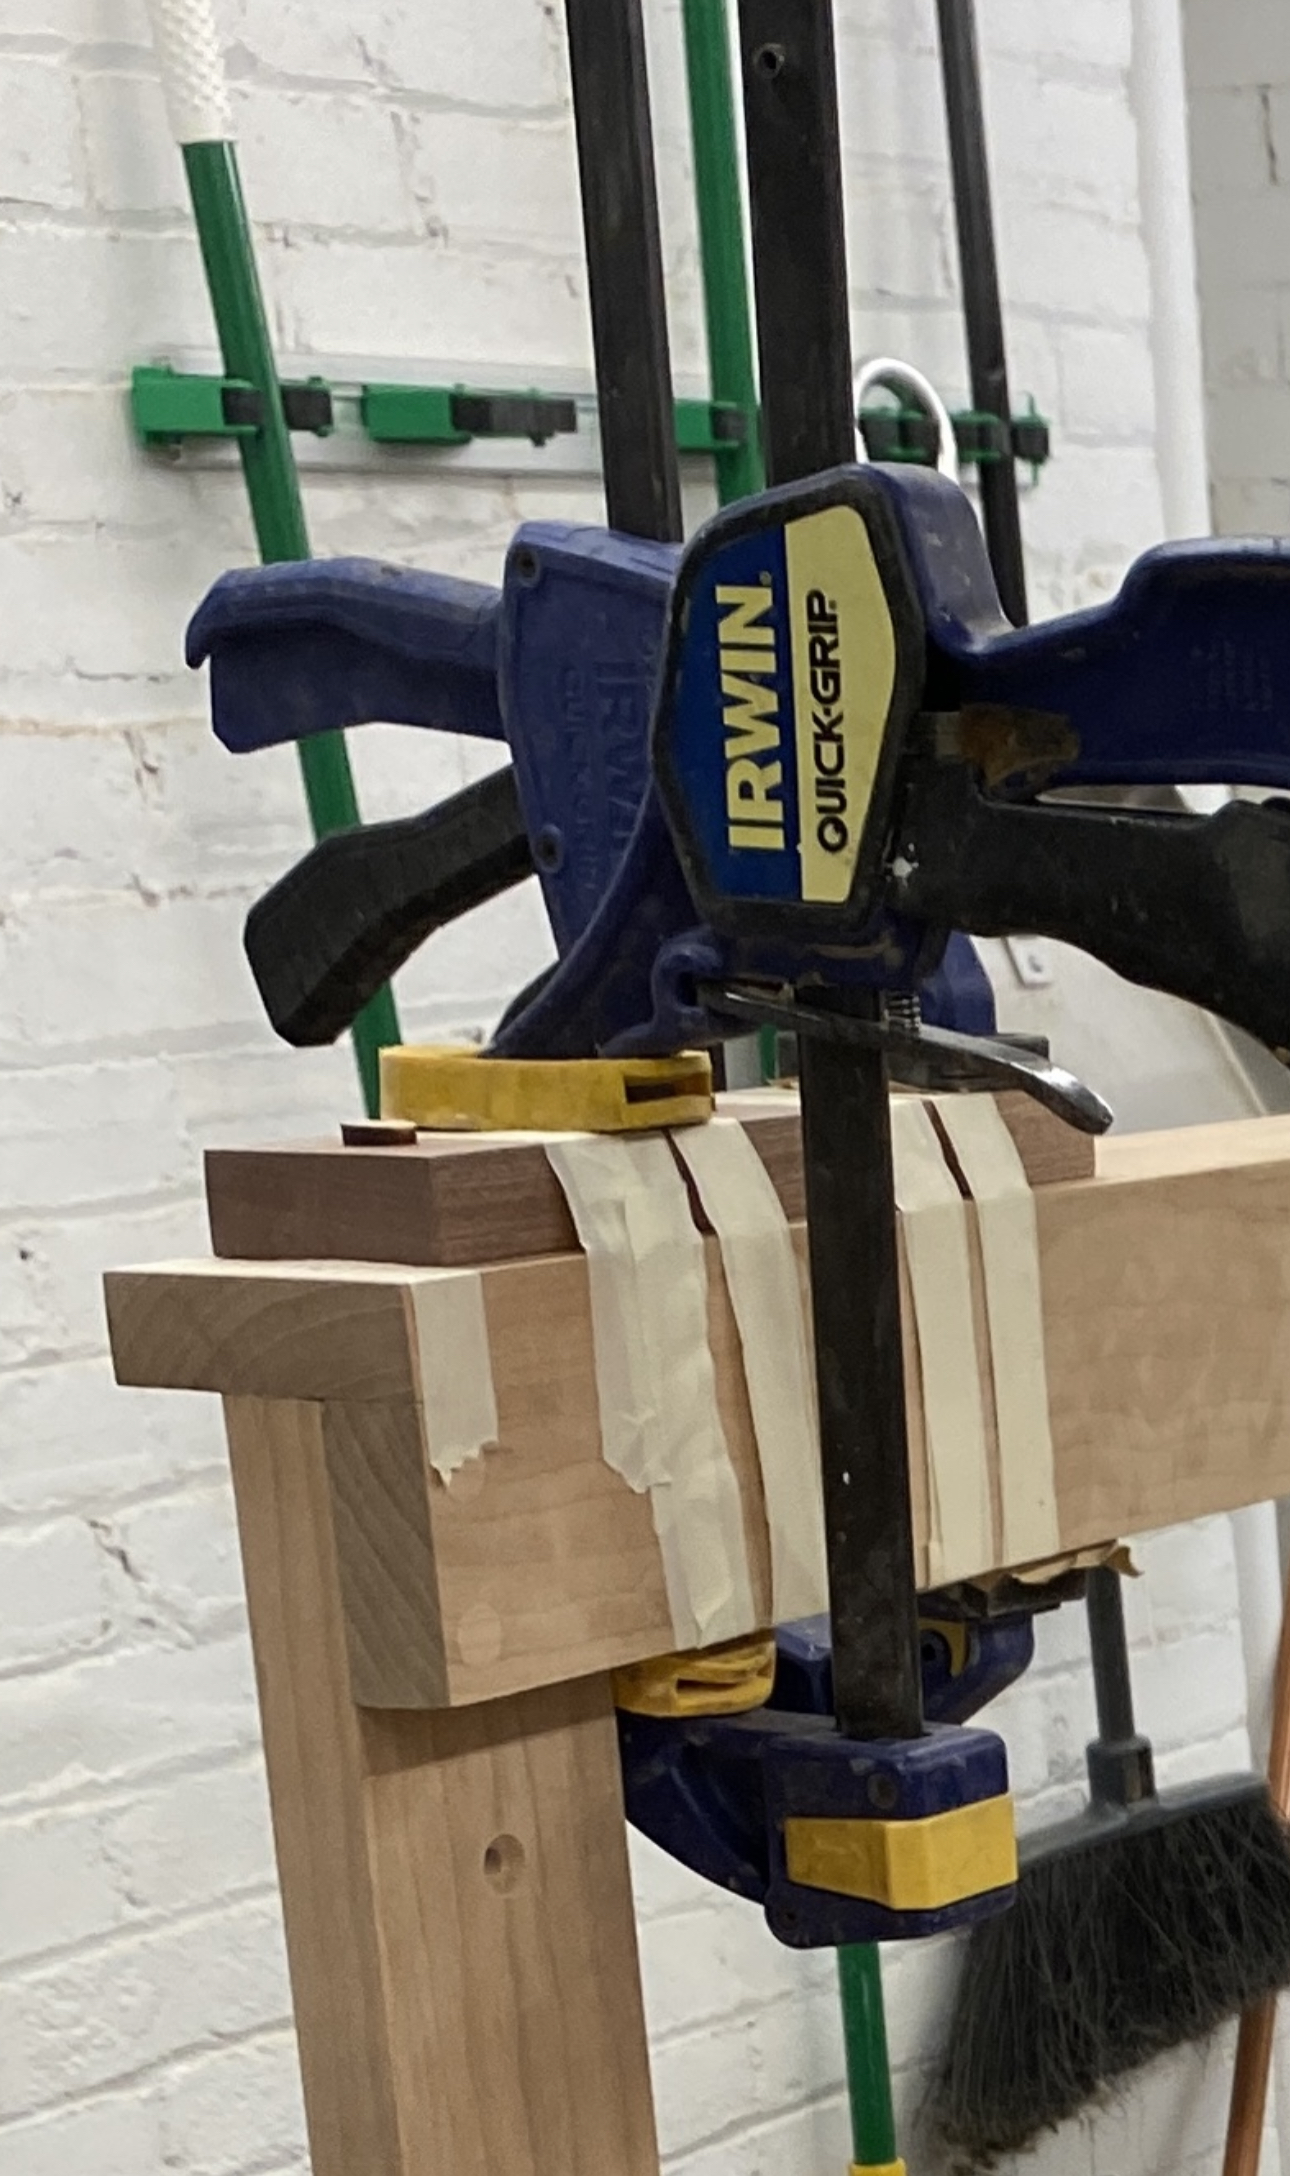
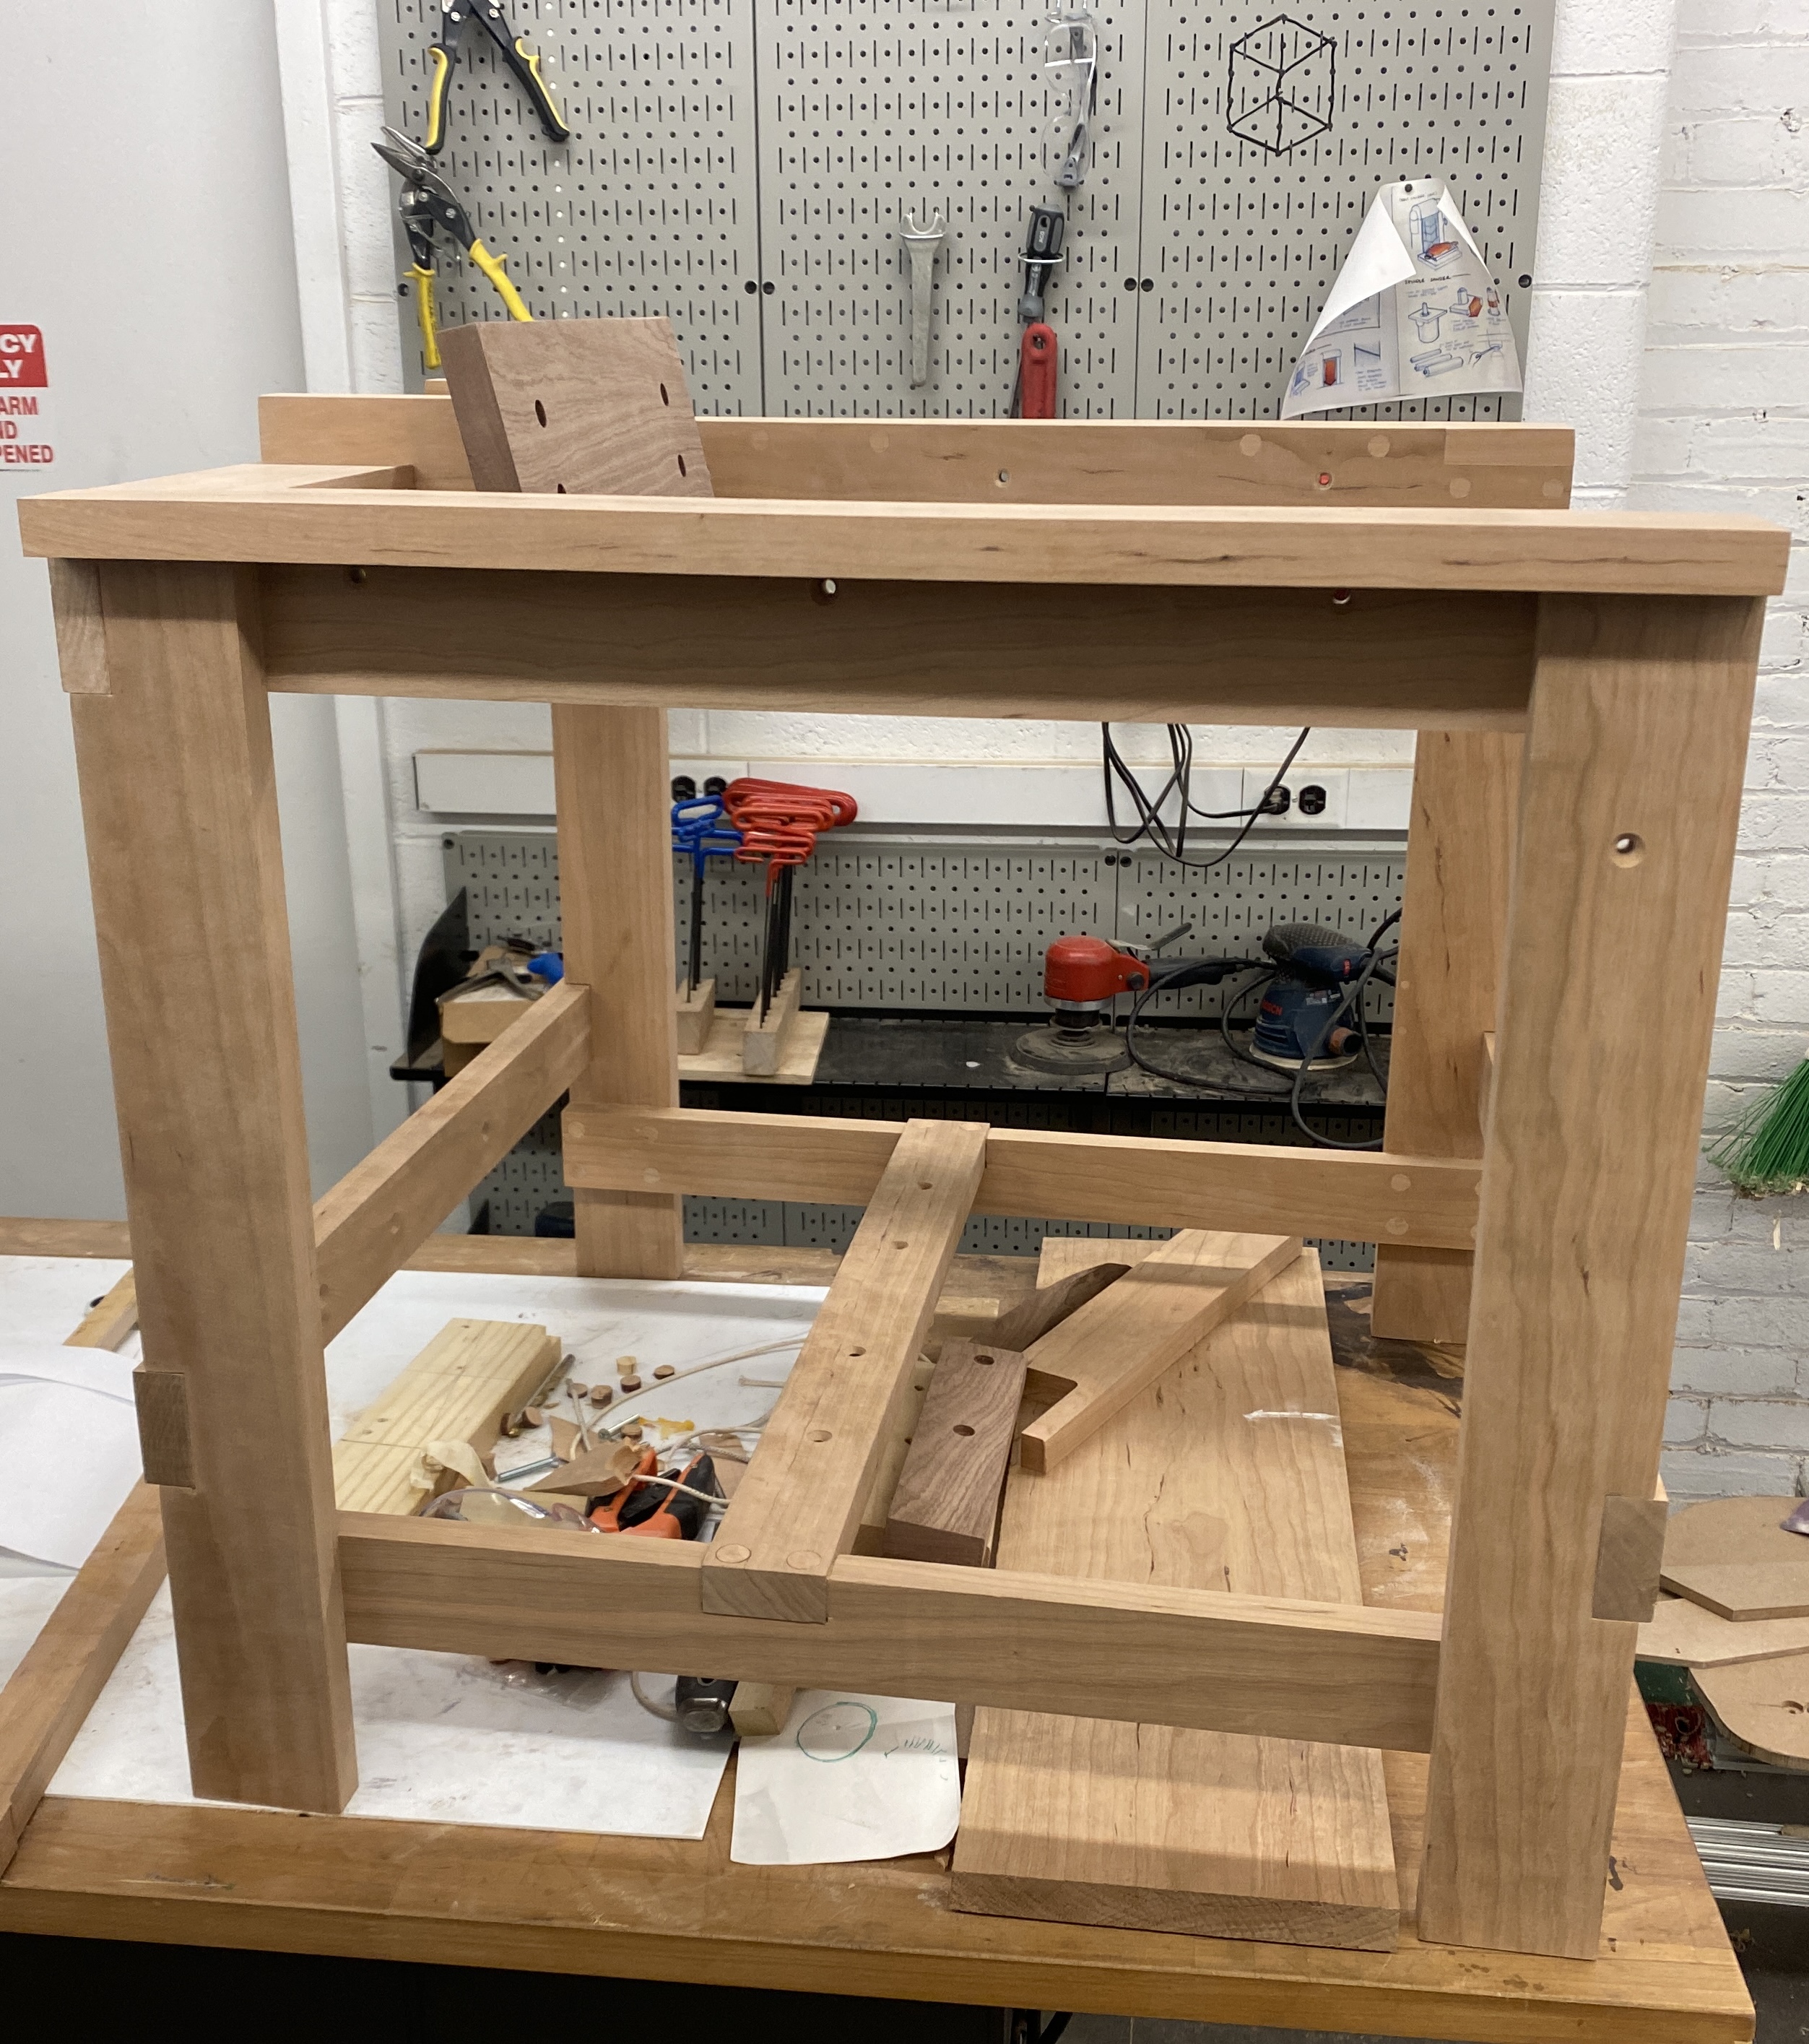
The frame came together quickly but needed a bit of touching up on some rough edges. Connecting the two sides with the middle pieces evenly was difficult and took a lot of clamps to get everything into place to glue and screw.
After getting everything put together and set in place, I added two layers of a Bees wax finish. This really brought out the color and patterns of the wood. I’m very satisfied with the outcome of the frame. I think I made the right decisions with my lumber choices and I’m exxcited to see how this chair looks as it darkens with age.
After getting everything put together and set in place, I added two layers of a Bees wax finish. This really brought out the color and patterns of the wood. I’m very satisfied with the outcome of the frame. I think I made the right decisions with my lumber choices and I’m exxcited to see how this chair looks as it darkens with age.

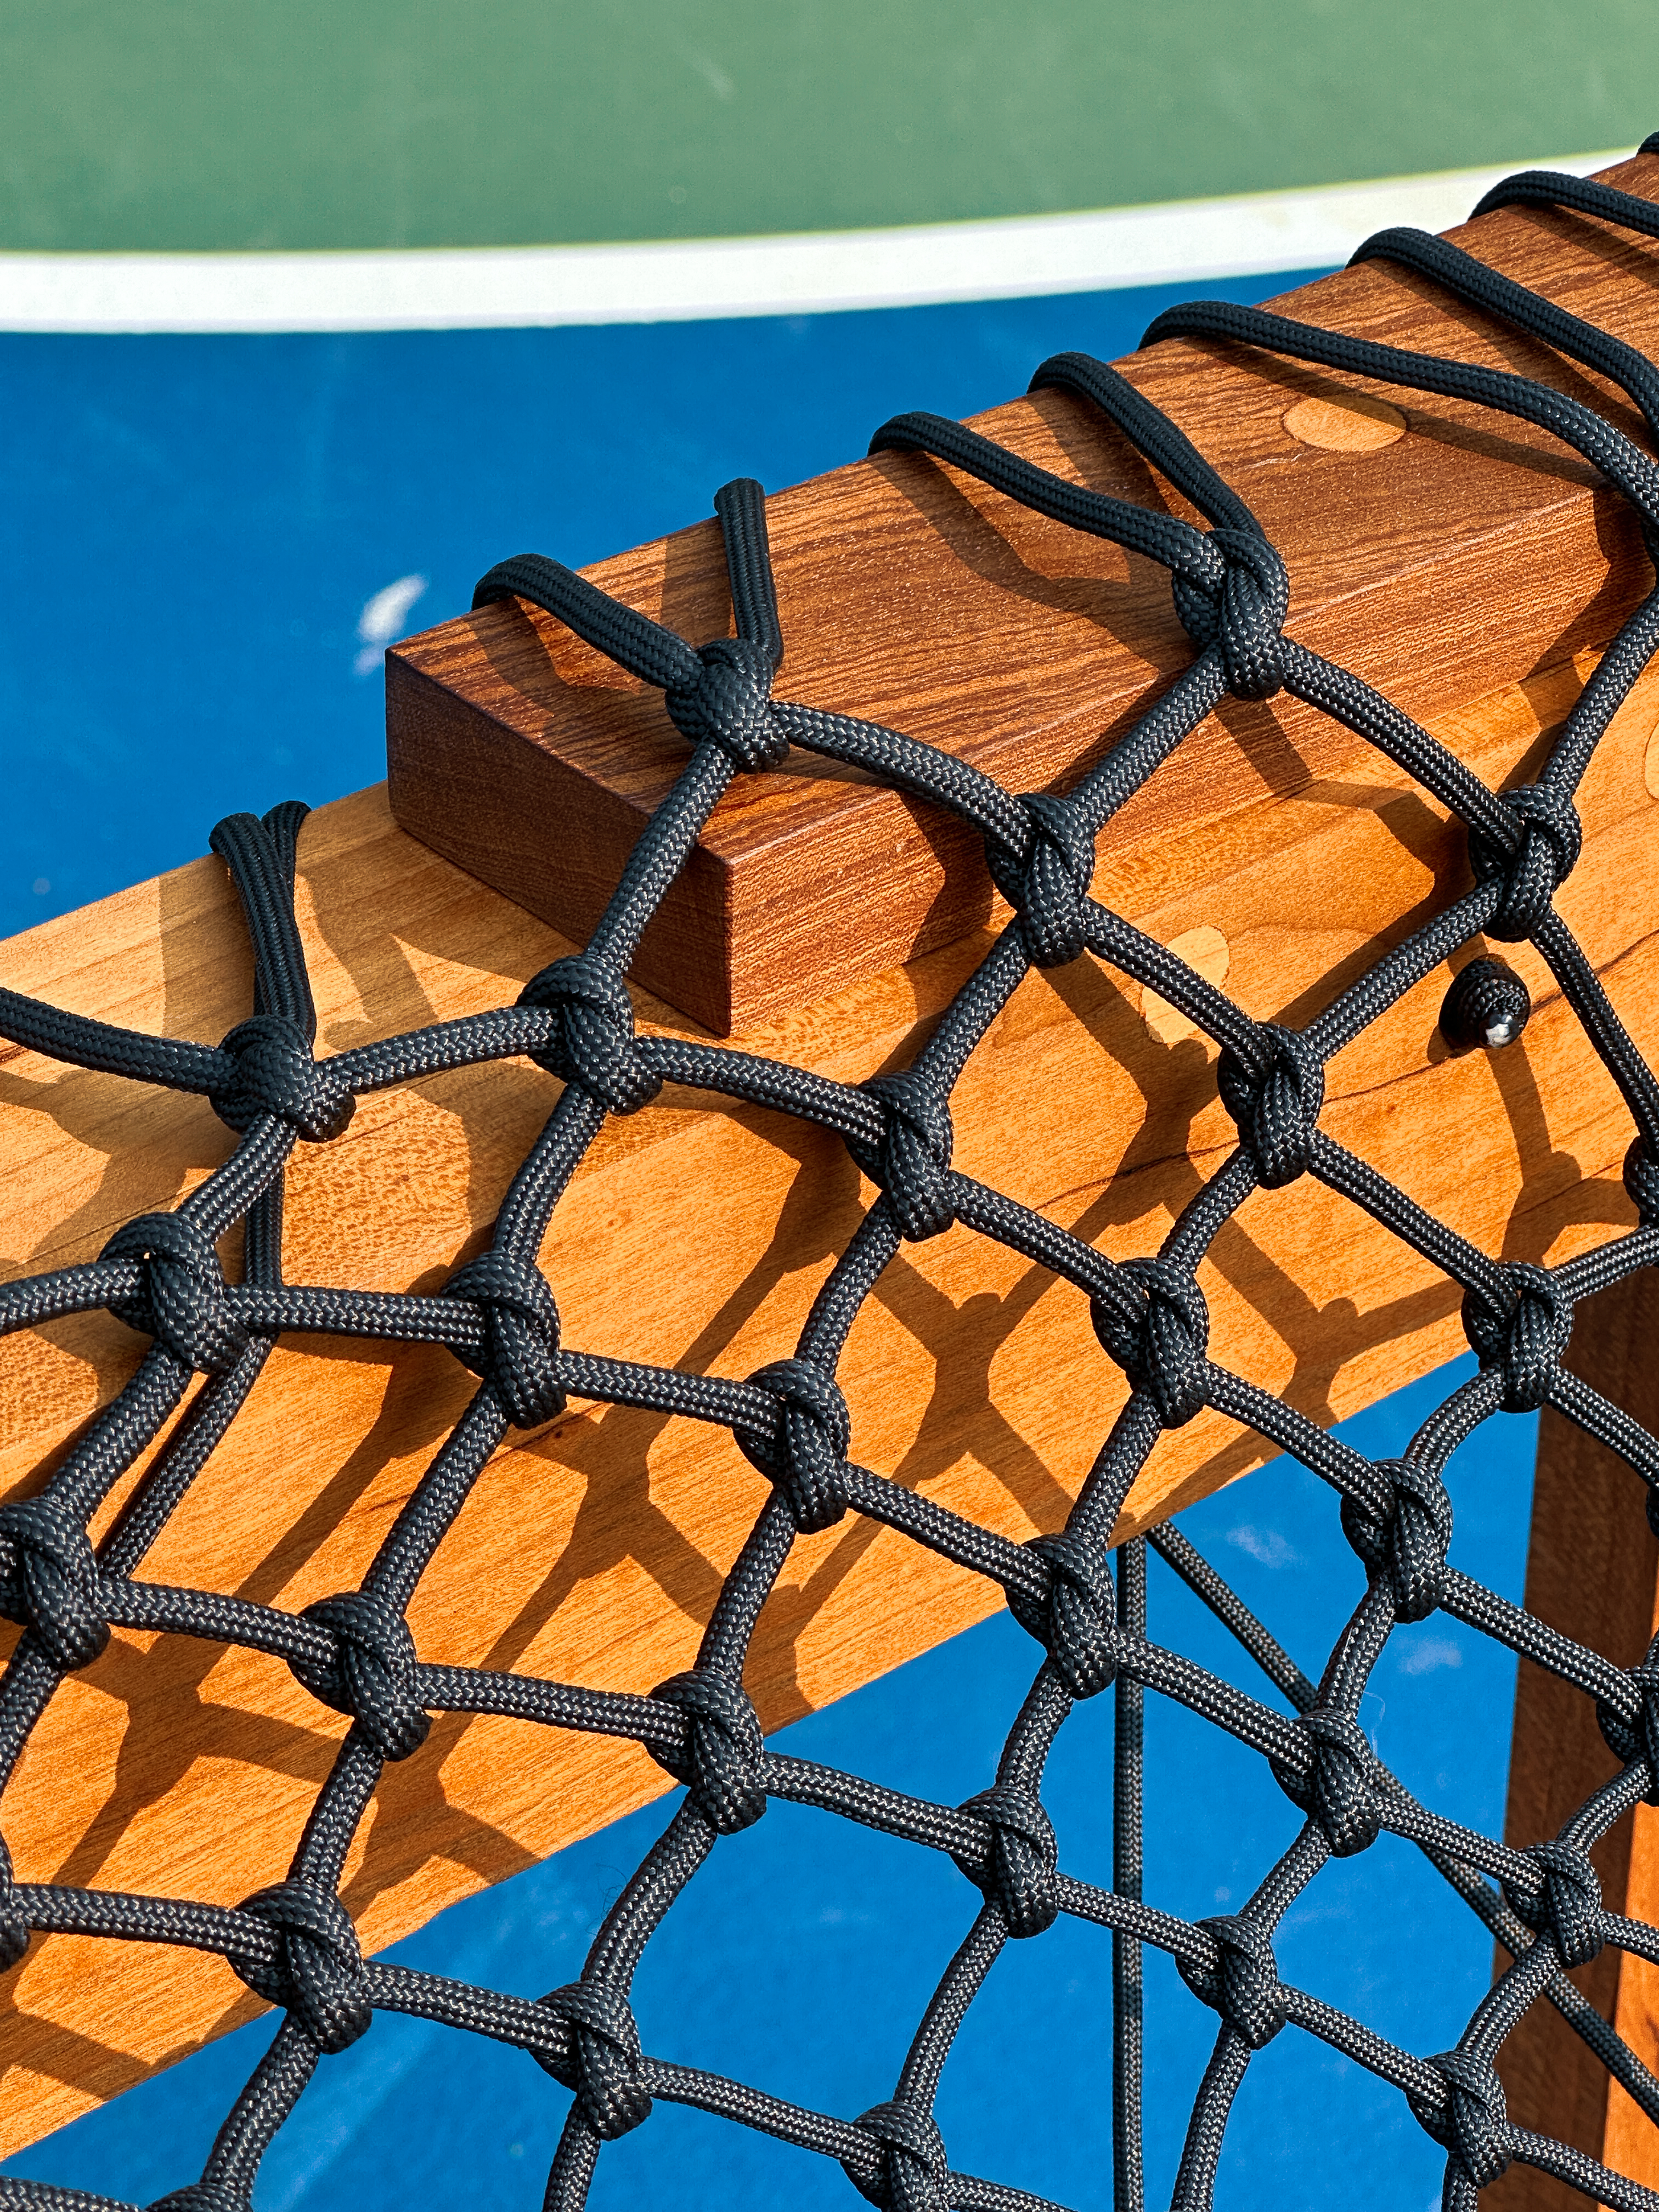
I saw an advertisement for some Bottega Veneta boots with a sort of leather cord net overtop the entire body of the shoe. This was the kind of look I wanted from the cord seat. I found a Youtube tutorial on how to tie this particular type of net.

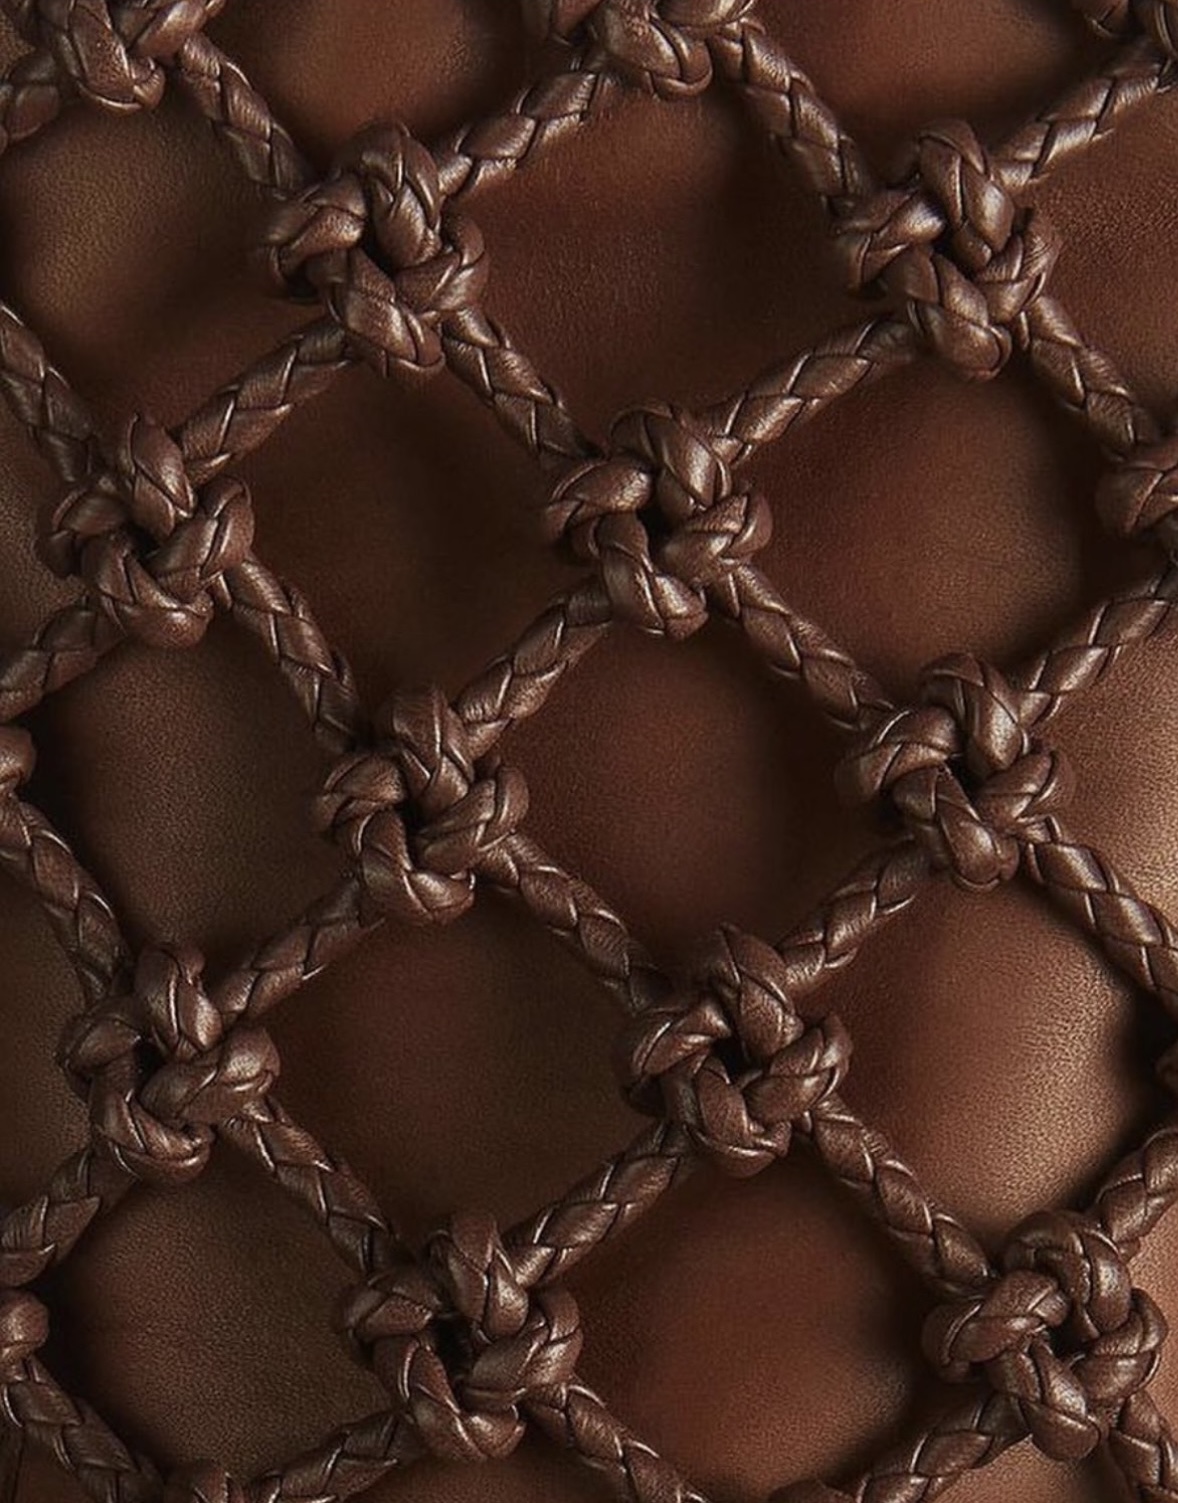
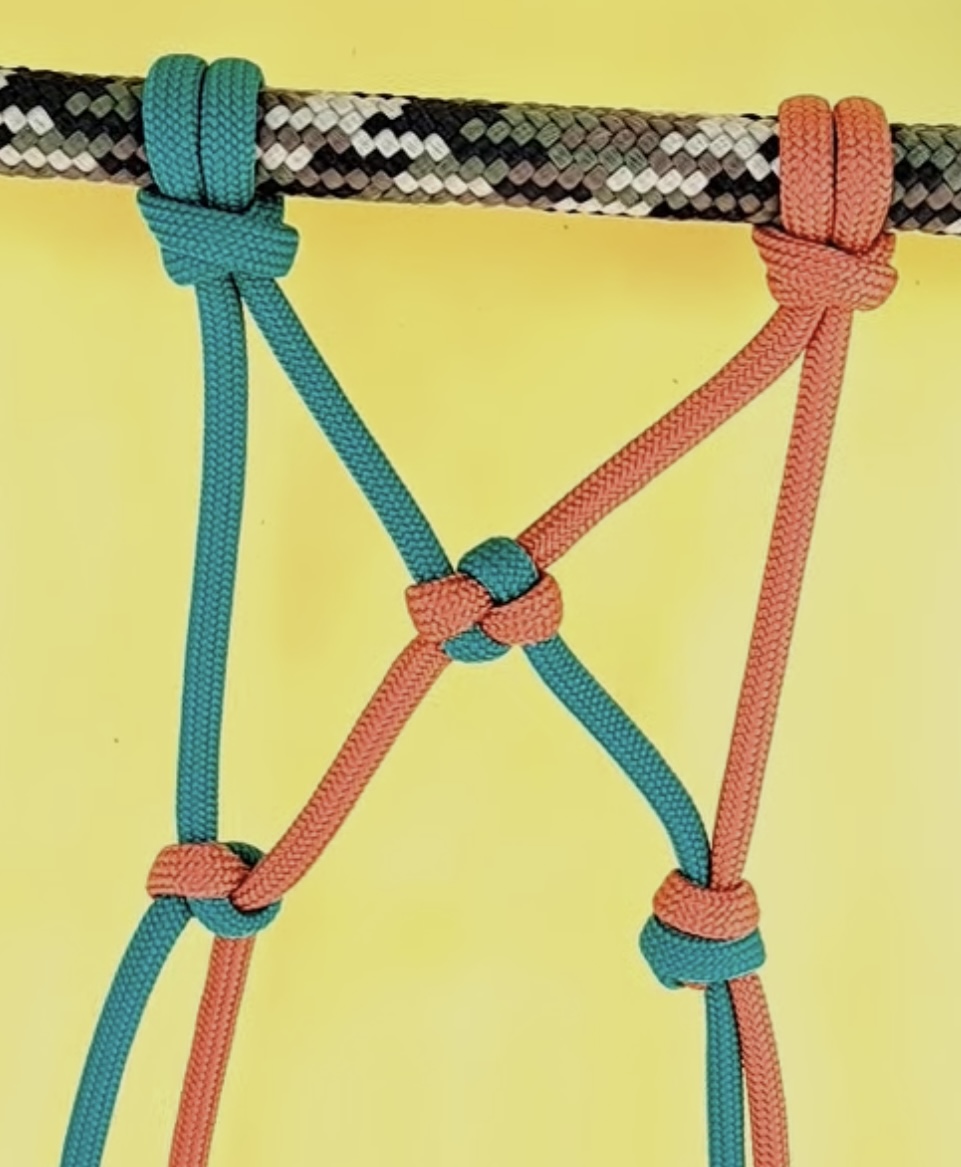
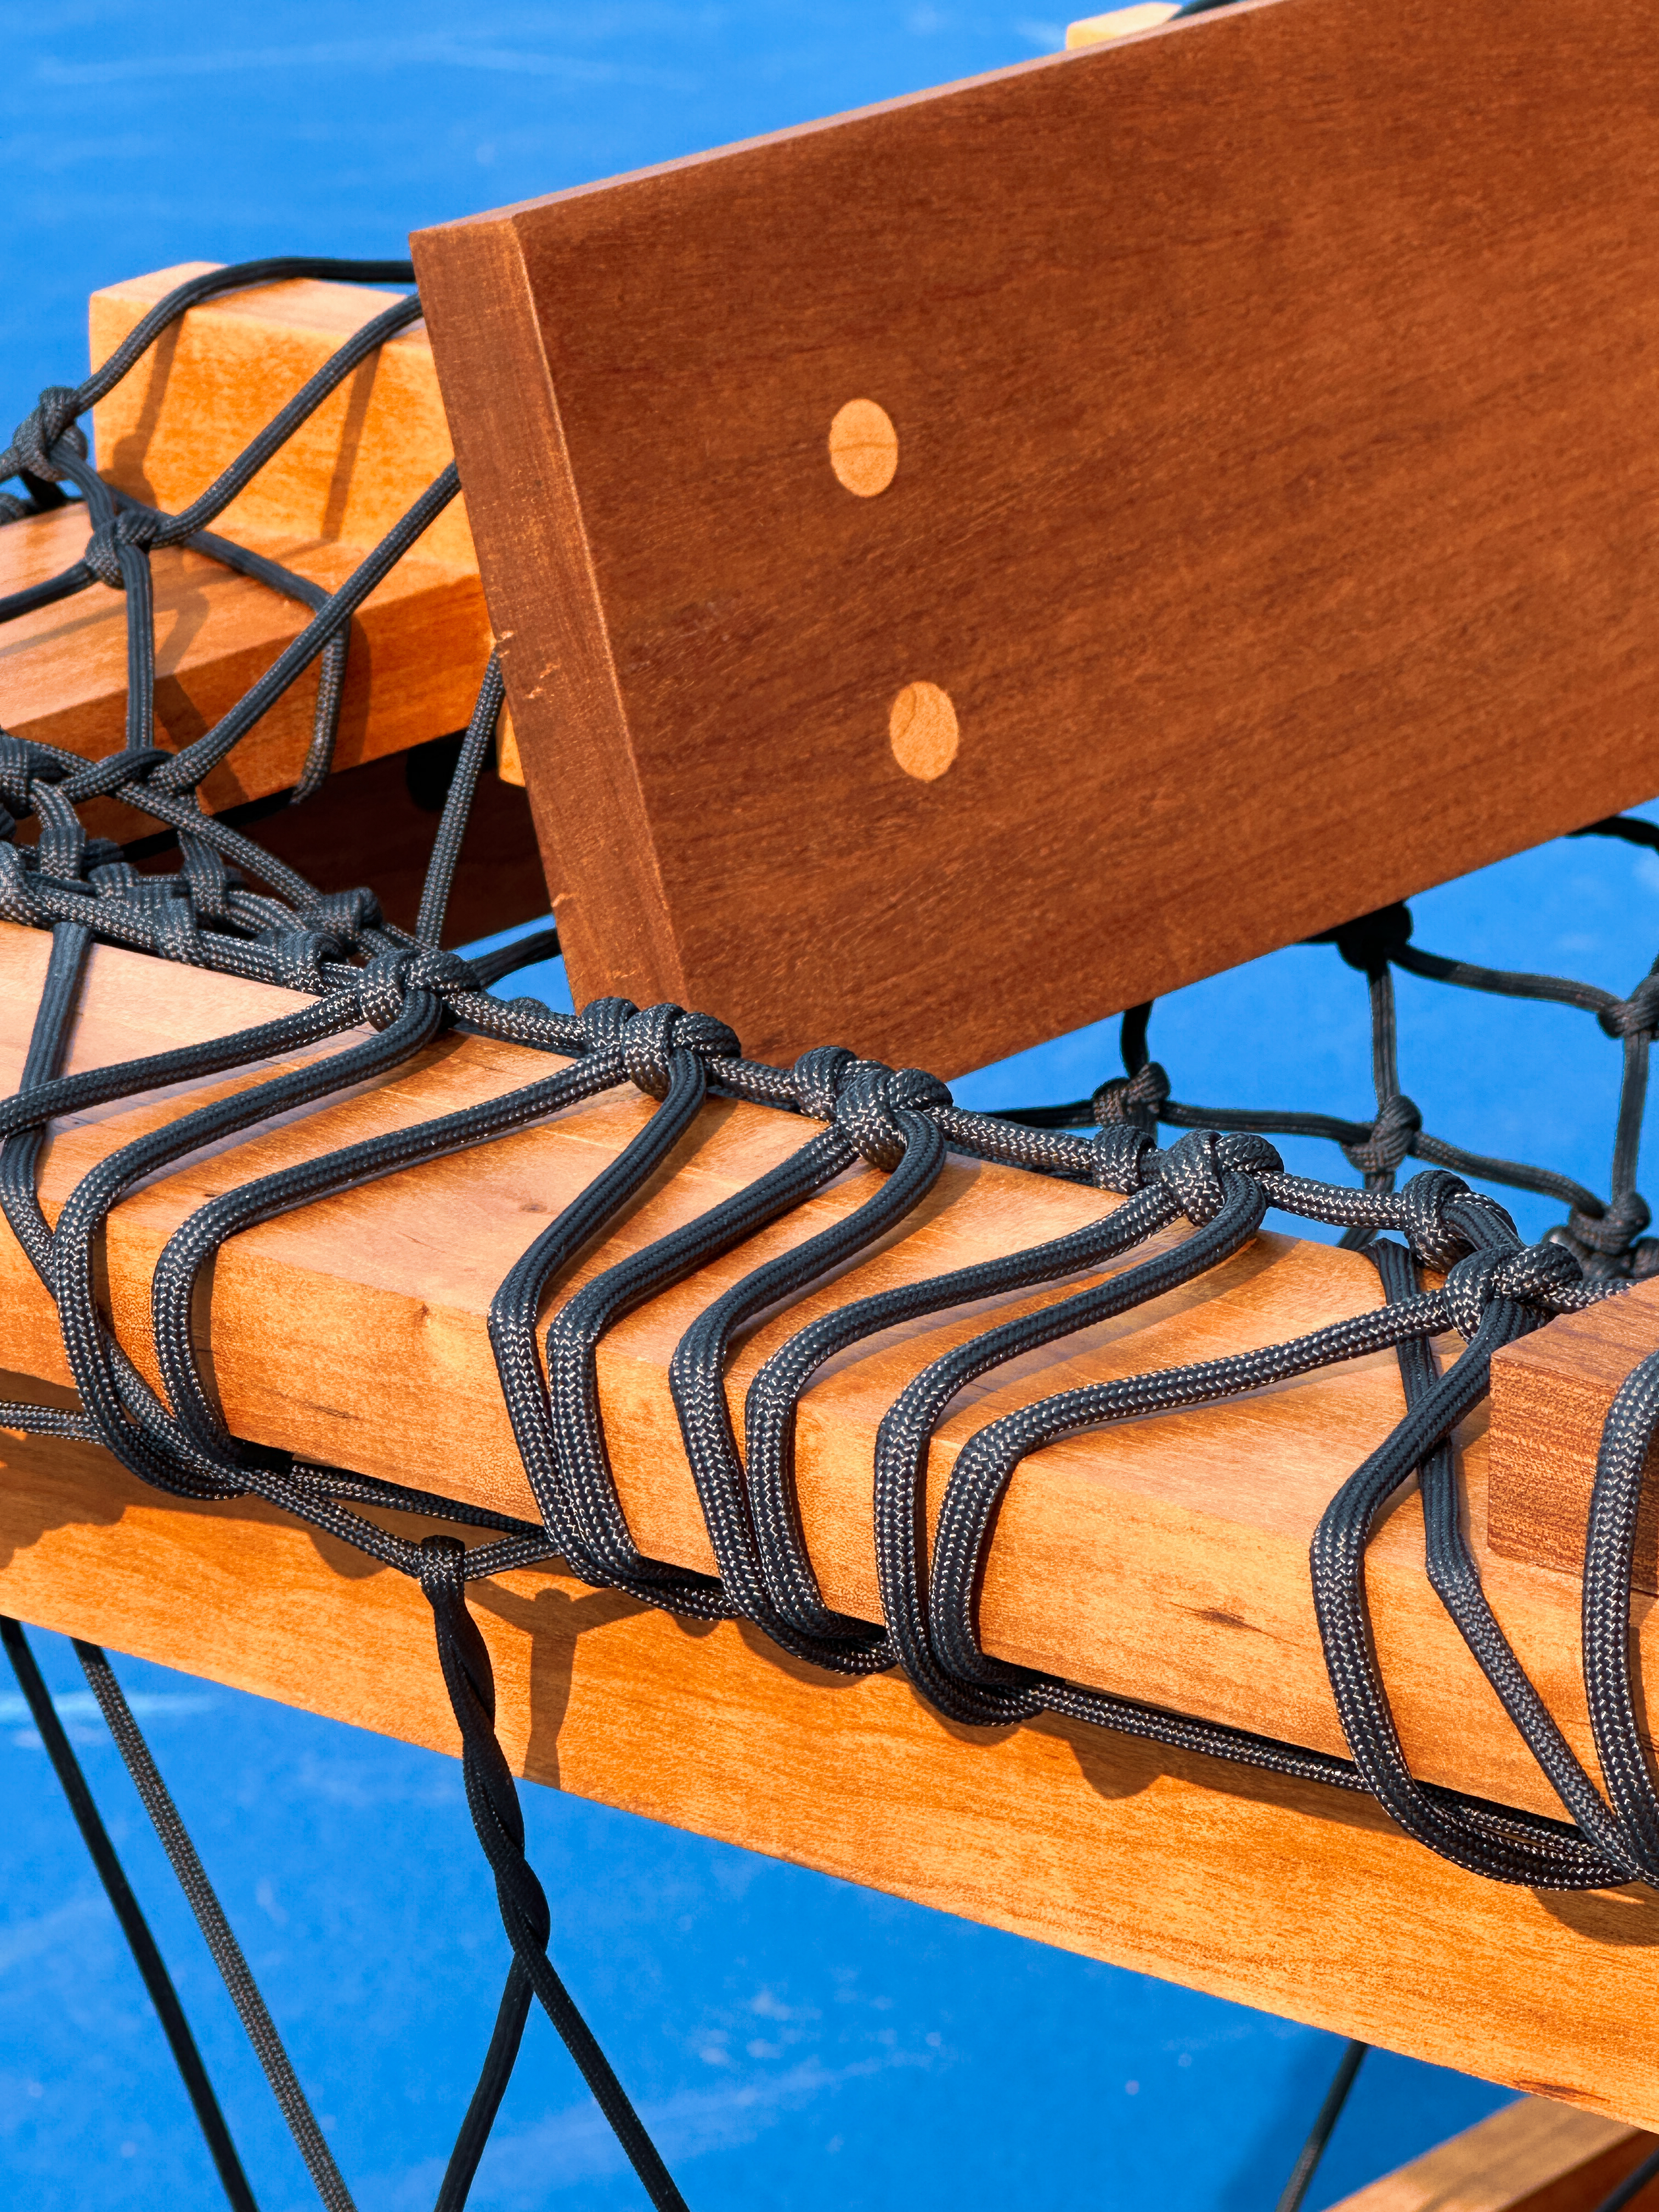
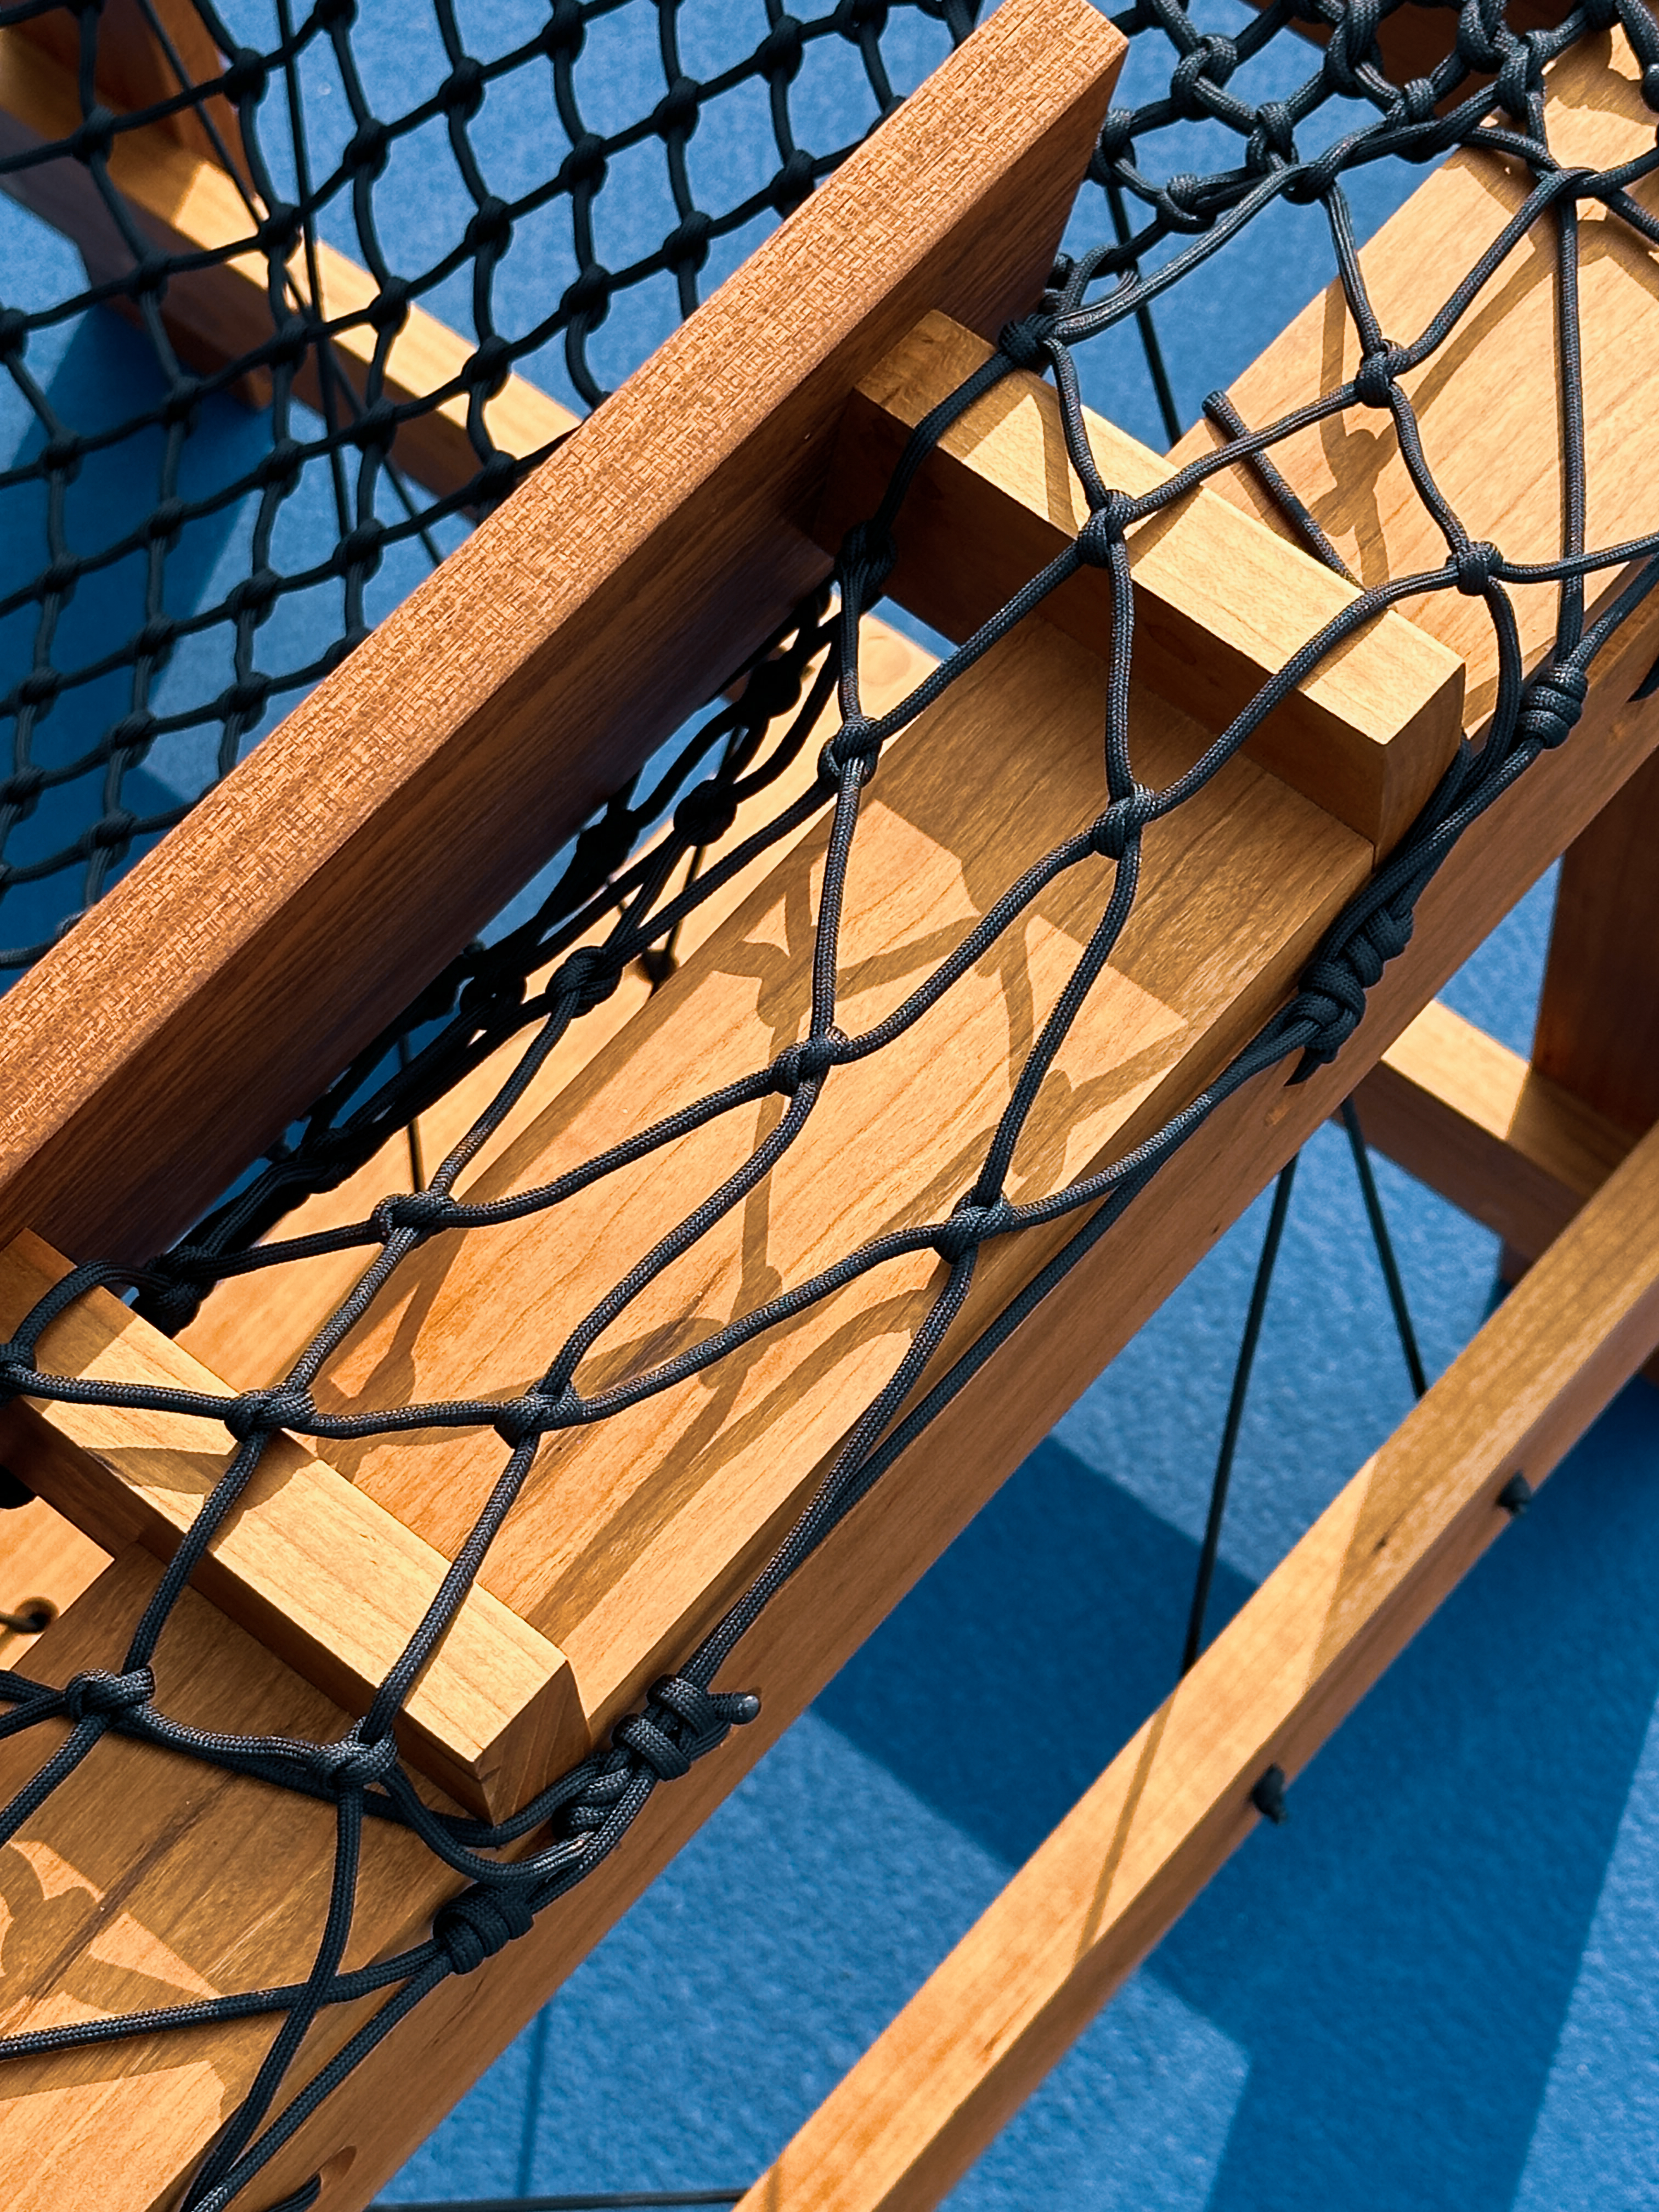
I ended up making the seat for the chair twice. The first time I did it I was unhappy with the result. Something felt very off with the visual weight of the seat and I felt like adding the net made the chair look not quite right. Also, I noticed some people appeared hesitant to sit in the chair is if it didn’t appear stable to them. This was the main factor in my decision to redo the seat. I had an idea to start the net on the outside of the frame and drape it over the middle to create a pocket to sit in. Hopefully with a denser more substantial looking net I can achieve the visual weight I was looking for and earn more user trust in the stability of the form.
My second attempt on the net felt much better. Overall I am happy with this result for this chair but there are numerous things I would do differently if I were to do a 2.0 design of this chair. I like the cord wrapped over the side but imagine a solution where the top is covered by another layer of wood to hide the cord on that top surface.
During the process, I intended for the backrest to also be covered with the net but decided against it after testing it and feeling how uncomfortable it was on my back. If I had known I was going to put that part of the net behind the backrest I would have set up the net differently.
On a second design my primary focus would be reducing the amount of unneccessary noise and simplifying the design to just it’s essential elements.


